Basic Eyebrow Shapes
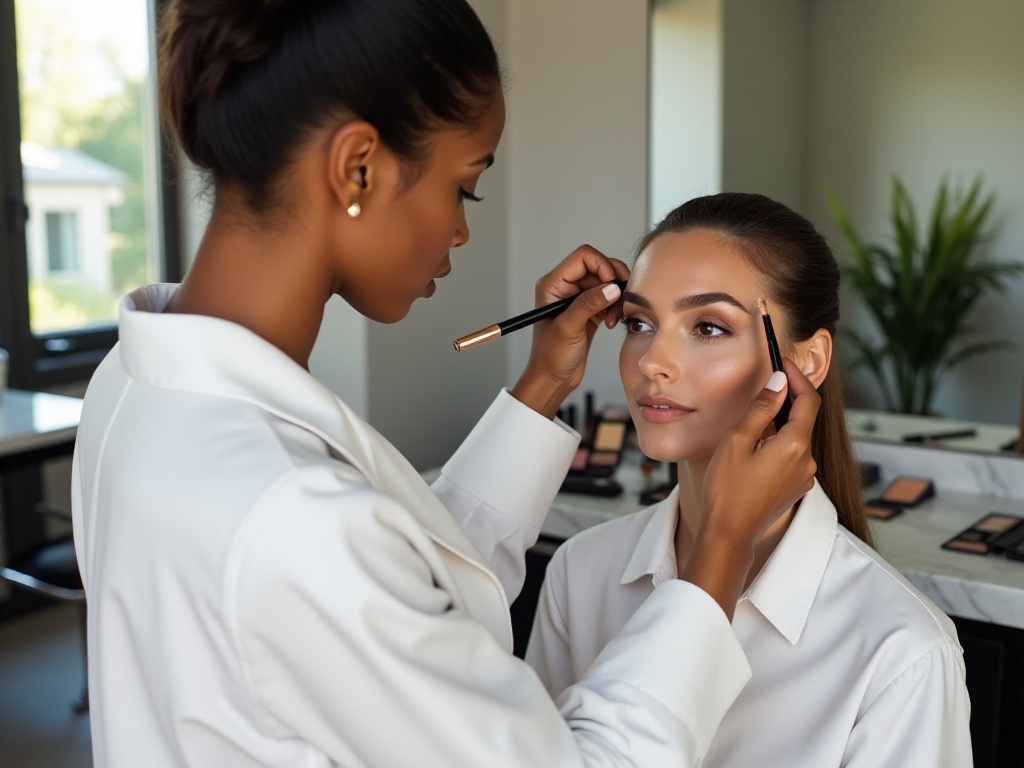
Sisters! Today I'm sharing some super valuable content - basic eyebrow knowledge! I know many of you admire others' beautiful eyebrows but struggle to achieve the same look, feeling your whole makeup is lacking something. I used to be the same way, envying the perfect brows of girls I saw on the street, but my own attempts would end up either too thick or too thin, or wiggling like caterpillars.
After years of learning and practice, I've finally mastered the essence of eyebrow makeup, and today I'm sharing all these tips with you! Let's first look at four basic eyebrow shapes: rounded brows, straight brows, arched brows, and S-shaped brows.
Rounded brows are characterized by their soft, gentle appearance with a beautiful overall curve, perfect for those wanting to create a sweet, feminine look. I have a friend who loves this shape because it makes her look especially gentle.
Straight brows are commonly seen in Korean makeup styles, with an overall straight appearance that gives a fresh, natural feel. When I traveled to Korea, I noticed many local girls favored this style, which looked very elegant with their flawless base makeup.
Arched brows are beloved by many Western celebrities, giving off a sharp and fashionable vibe. I remember struggling when I first tried to create arched brows - one was always higher than the other until I finally found the trick through repeated practice.
S-shaped brows have become particularly popular in recent years, combining features of both straight and arched brows - natural like straight brows but refined like arched ones. This shape is perfect for those wanting to create a mixed-race makeup look.
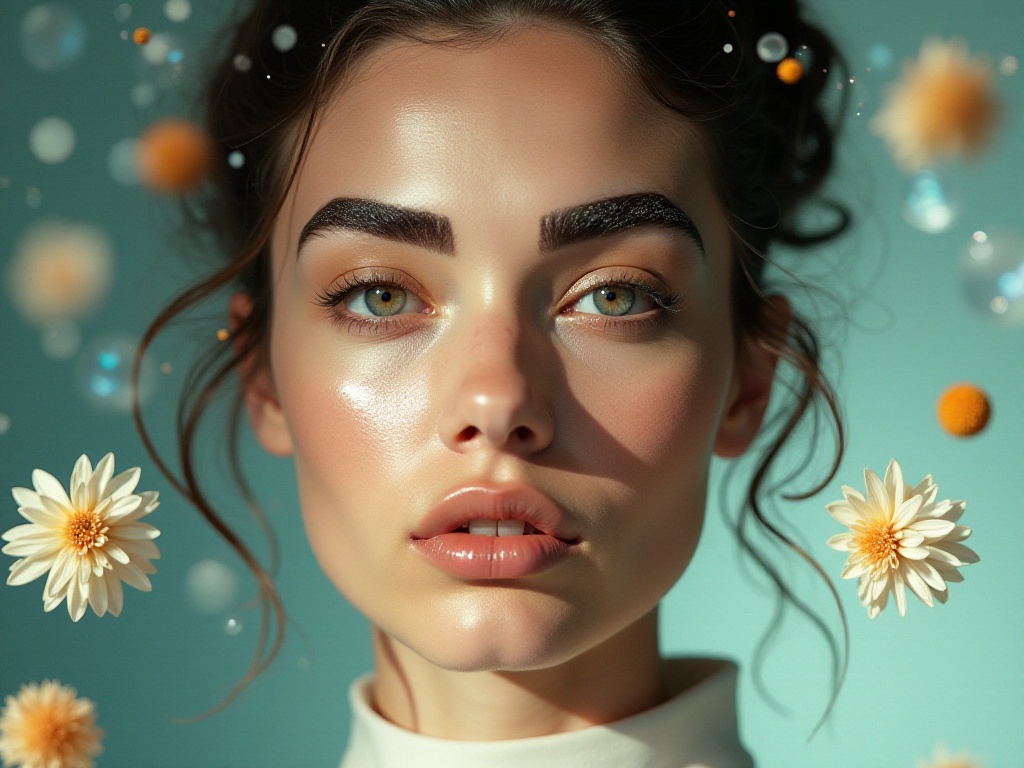
Face Shape Matching
The pairing of face shapes and eyebrow shapes is truly a science! I was once completely captivated during a beauty class about this. It turns out everyone's face shape has its most suitable eyebrow shape, like a tailored dress - when it fits right, you look absolutely divine!
For square-faced ladies, straight brows or slightly curved shapes work best. Why? Because square faces have prominent jawlines, and if you add angular brows, the overall look becomes too harsh. I have a square-faced friend who used to insist on arched brows, which made her look quite fierce, but after switching to gentle straight brows, she instantly became soft and approachable.
Round-faced girls suit brows with some angles. I have a round face myself, and nothing seemed quite right until I discovered the magic of arched brows! Angular brows can add definition to round facial features, creating more presence overall.
As for oval faces, that's truly nature's gift - a standard face shape! Those blessed with oval faces can pull off almost any eyebrow shape, but natural curved brows suit them best. I once saw an oval-faced girl at a makeup store with perfectly natural curved brows, and she looked absolutely stunning!
Heart-shaped faces, characterized by wider foreheads and pointed chins, look best with straight brows that have a slight gentle curve. This helps balance facial asymmetry and creates overall harmony. I have a friend with a heart-shaped face who's excellent at managing her brows - she says the secret is finding a balance between not too straight and hard, yet not too curved and soft.
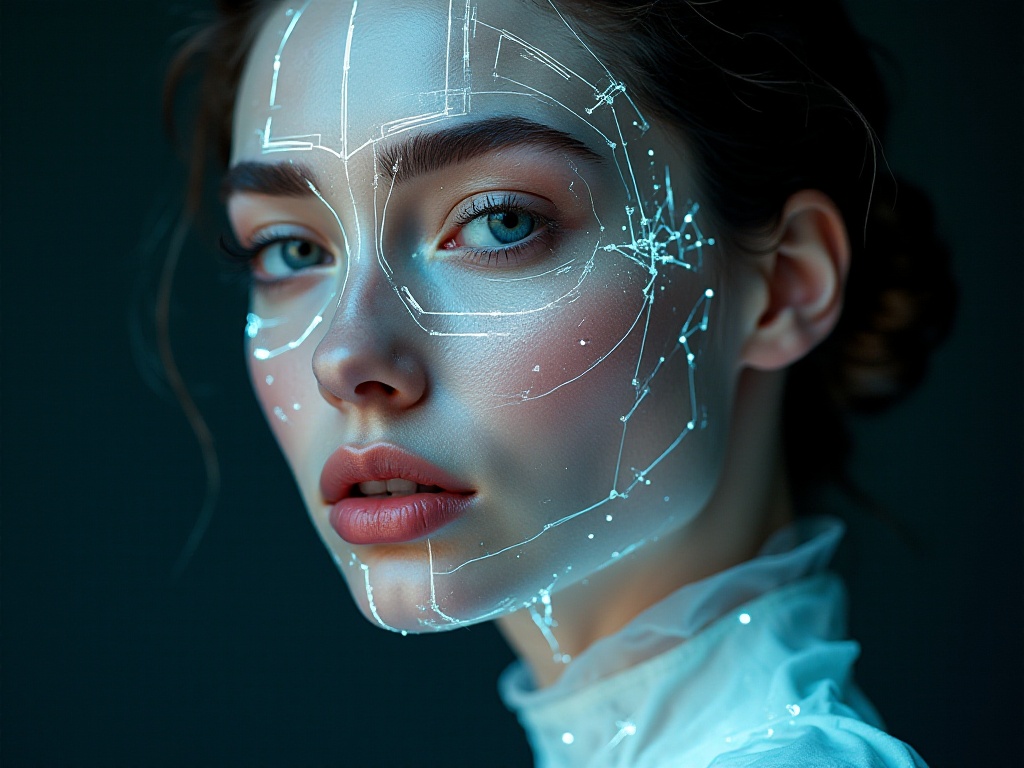
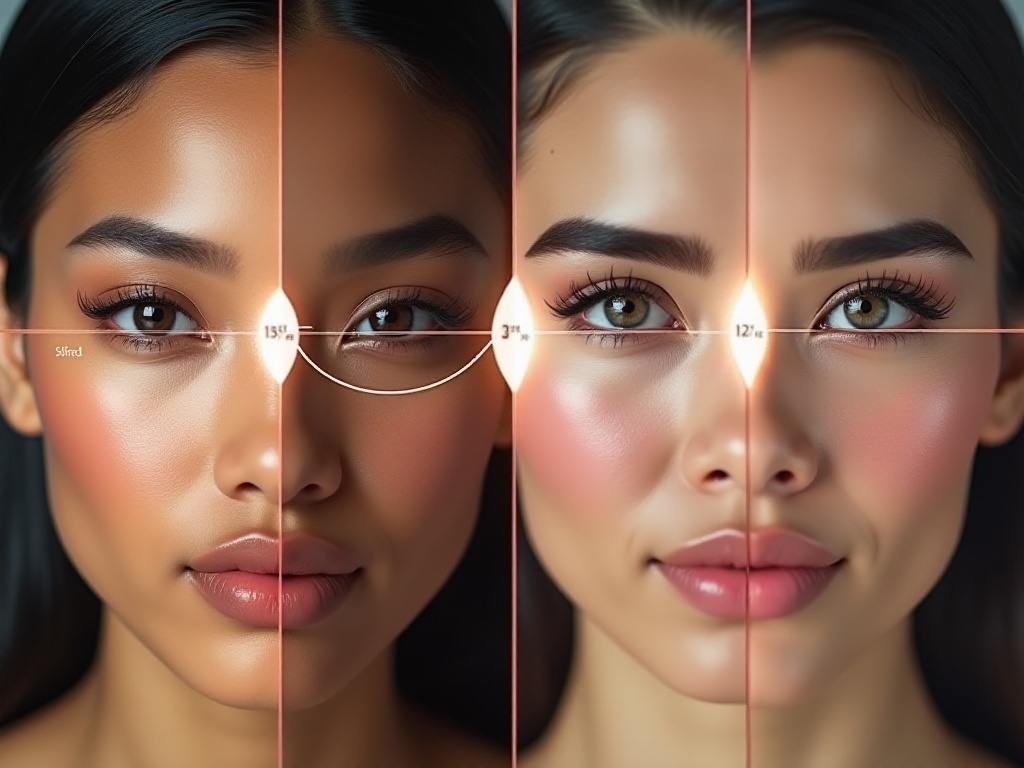
Eyebrow Measurement
When it comes to eyebrow measurement, this is absolutely one of the most crucial steps in eyebrow makeup! Previously, I didn't understand measurement techniques, resulting in brows that were either too long or too short, making my whole appearance look strange. Then one day, I met an incredibly nice makeup artist at a brand counter who taught me a super practical measurement method hands-on.
First, the brow head should align with the outer edge of your nostril. You can use an eyebrow pencil held vertically to check this - if you find the brow head is too far in or out, adjust accordingly. I used to draw my brow heads too far in, making me look fierce, but after adjusting using this method, I immediately looked much gentler.
Next, the brow peak should align with the outer edge of your iris. This position is particularly important as it directly affects the overall brow direction. I have a friend who used to draw her peaks too far forward, making her look anxious, but after adjusting the peak to the correct position, she immediately appeared more elegant.
Finally, the brow tail should end at the intersection of a line drawn from the outer nostril through the outer corner of the eye. This measurement method might sound complicated, but with practice, you'll find it's actually very practical. I used to draw my brow tails too long, making them look dragging, but after using this measurement method, I immediately found the most suitable length.
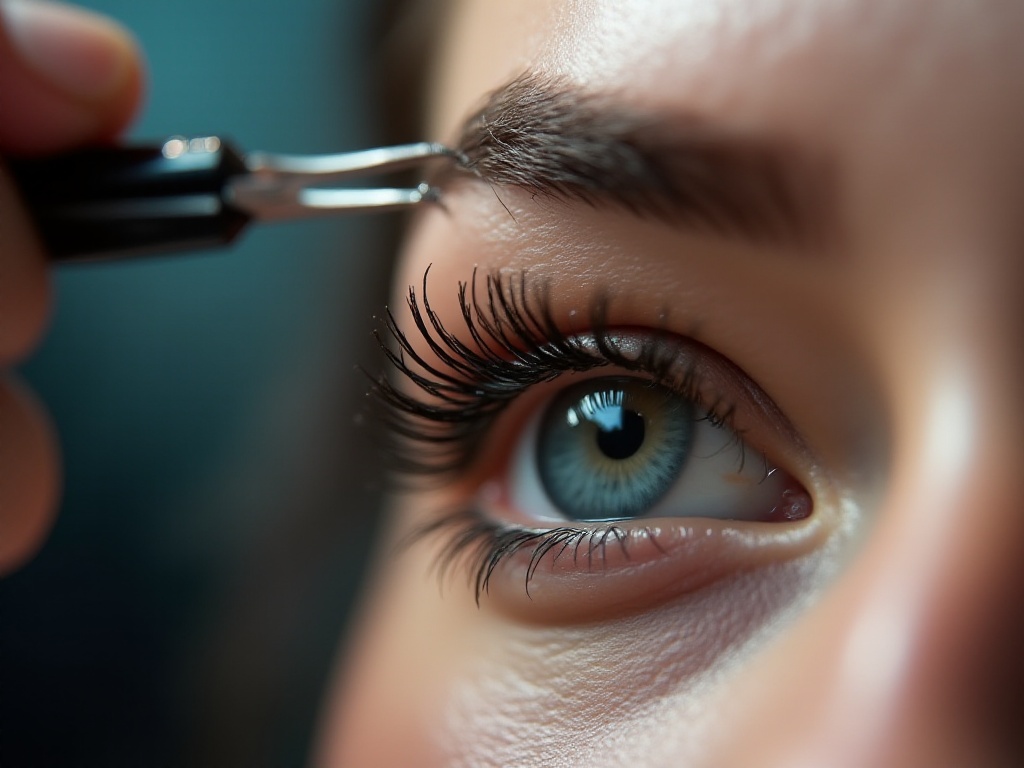
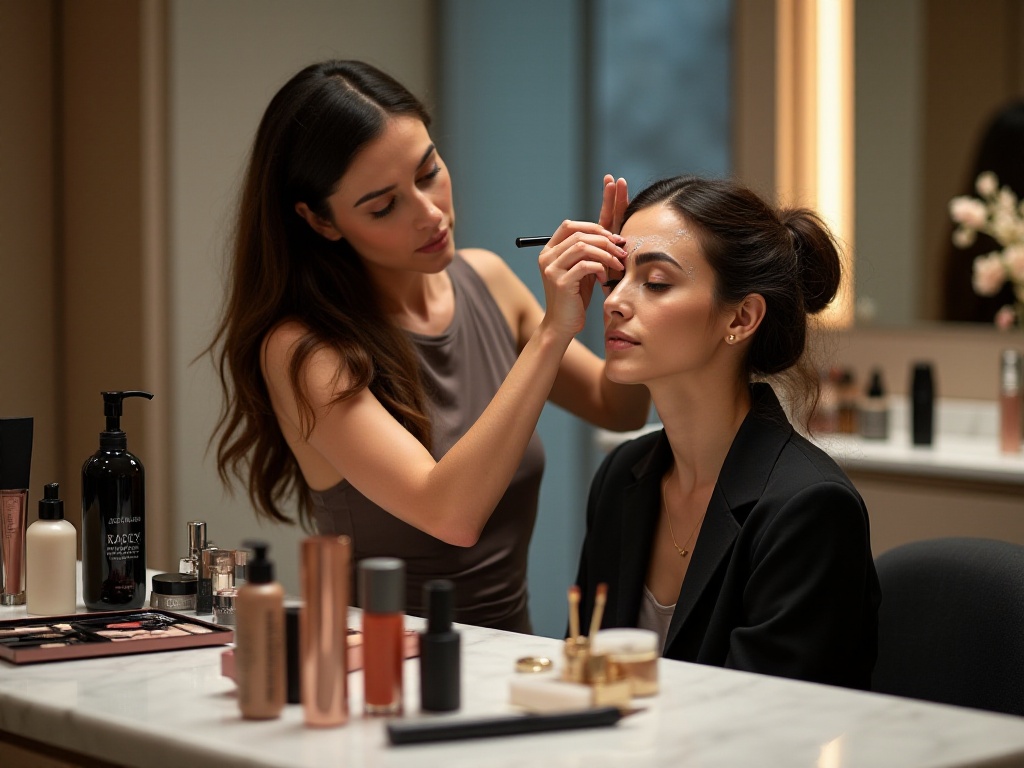
Preparation
Proper preparation before drawing eyebrows is really important! First, we need to carefully observe our natural brow shape. Everyone's brow growth direction and thickness are different, and understanding your own brow characteristics is key to creating the most suitable shape.
I suggest using tweezers or an eyebrow pencil to measure the position of your brow head. The specific method is to extend upward from the highest point of your nose bridge - this position serves as a reference point for your brow head. I used to draw my brow heads too far out because I didn't understand this, making my whole appearance look unnatural.
Then you can gently lift your brows upward to see where your natural arch falls. This trick is super useful! Since everyone's arch position is different, finding your natural arch position ensures your drawn brows will look harmonious. I have a friend who didn't pay attention to this point and always drew her arches too high, making her look constantly surprised.
Additionally, make sure to clean the brow area before starting. You can gently wipe the brow area with makeup remover to ensure there's no residual makeup or oil. This not only helps your new brow makeup last longer but also prevents smudging due to oil.
I also like to brush my brows gently with a brow brush before starting, which helps me see the growth direction and sparse areas clearly. When I first did this, I realized some parts of my brows were particularly sparse, which explained why my drawn brows never looked natural before.
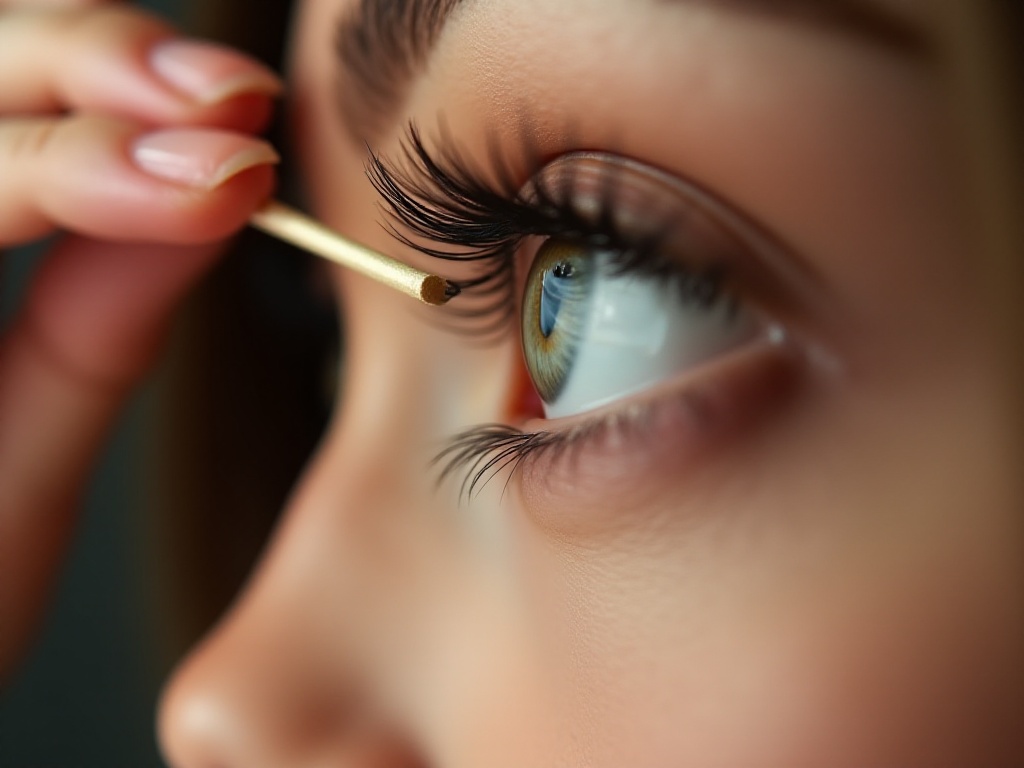
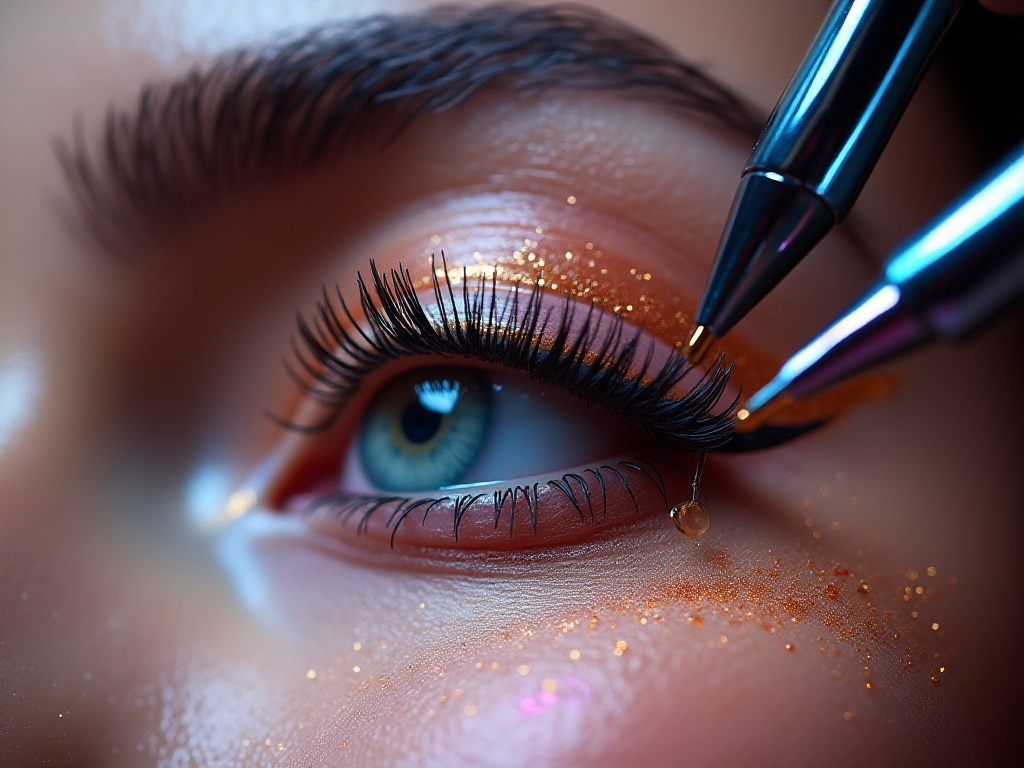
Basic Techniques
When it comes to eyebrow techniques, there's endless valuable information to share! First, the most basic technique is brow brushing direction. My most common method is to brush the brows upward first, which makes them look more fluffy and natural. I learned this little trick from a beauty blogger, and it's really effective!
If you want your brows to look more structured, you can brush them horizontally. The advantage of this is that it makes the brows look more neat and orderly. I remember using this method when attending a friend's wedding, and it made me look particularly polished.
For those with sparse brows like me, the technique for filling in sparse areas is particularly important. I usually use an eyebrow pencil or powder, making short strokes that mimic the direction of hair growth to fill in gaps. This process requires careful attention to pressure - too heavy looks fake, too light shows no effect. I can handle it well now, but honestly, this came from countless failures and experience.
When drawing eyebrows, you also need to pay attention to pressure variation. The brow head should be drawn lightly, becoming more natural towards the arch, and slightly heavier at the tail. This gradual change makes the entire brow shape look more three-dimensional and natural. I used to draw my brows in one uniform color because I didn't understand this, making them look very flat.
Finally, don't forget to set with brow gel - this is the key step to maintaining perfect brows. I prefer using clear brow gel because it doesn't change the color of the brows, only sets them in place. When in a hurry, you can also use a brow brush dipped in a bit of hair gel to set them, which works pretty well too.
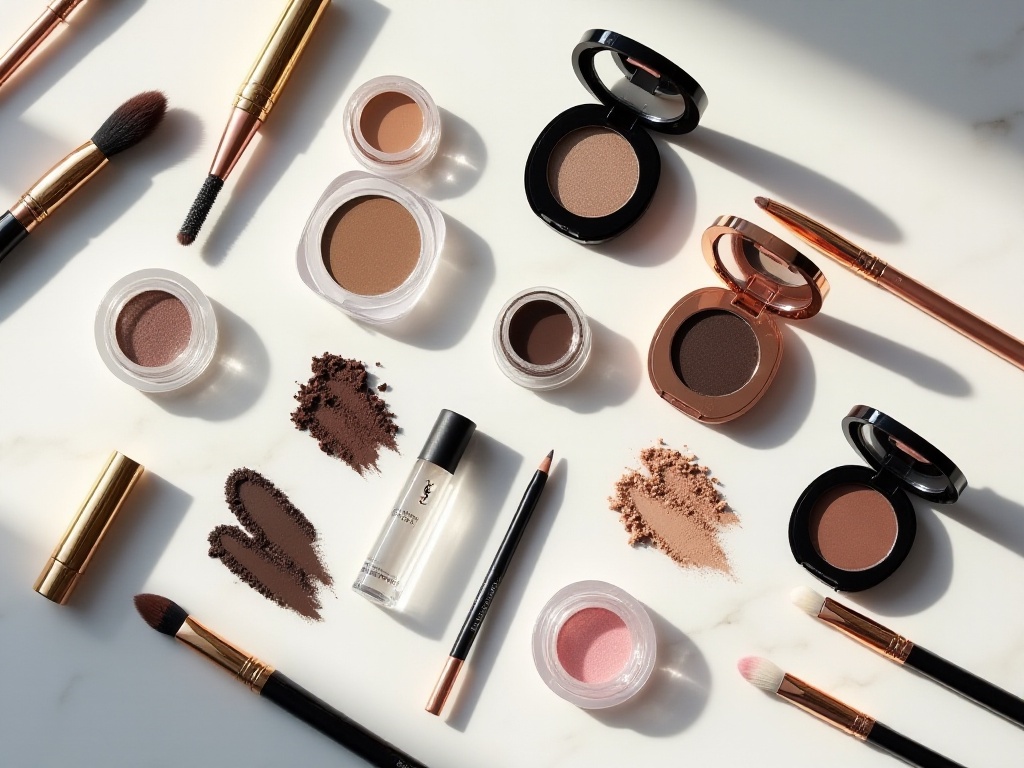
Product Selection
Choosing suitable eyebrow products is really crucial! My makeup bag now always contains three essential items: eyebrow pencil, powder, and gel. Honestly, this combination came from many trial-and-error experiences.
When I first started learning makeup, I thought darker eyebrow products looked better, but the result was very artificial-looking brows that made me look fierce. Later I learned that eyebrow product colors should be close to your hair color, or at most two to three shades darker.
For eyebrow pencils, I especially recommend those with angled tips. This design allows for both detailed line work and quick filling of broader areas. The eyebrow pencil I'm using now has this design, and it's very convenient to use.
For eyebrow powder, choose one with moderate color payoff to avoid making the brows too heavy. I once used a highly pigmented powder that required extremely careful control, which was very troublesome. Now I've switched to a moderately pigmented powder, which is much easier to work with.
As for brow gel, I suggest choosing a clear one, as colored gels can sometimes alter the original brow color. Plus, clear gel works perfectly with any color of pencil or powder you use.
Usage Experience
When it comes to using eyebrow products, I could talk all day! There are so many products available now, from powders to pencils to gels, and each has its own characteristics and suitable occasions.
Eyebrow powder is one of my favorite products, perfect for creating natural-looking brows. When using powder, pay attention to even application. I usually test the color on the back of my hand first after picking up product with the brush to ensure the color is appropriate before starting. This helps avoid applying too much color initially.
Eyebrow pencils are better suited for precise detailing. I particularly like using pencils to outline the brow shape, then filling in with powder, creating brows that are both natural and refined. However, be careful not to press too hard with pencils, or the color will be too dark.
Brow gel is an essential product in the entire eyebrow makeup process, keeping brows perfectly shaped all day. I've developed a habit of always setting my brows with gel after drawing them, so I don't have to worry about my brow makeup smudging even in summer.
Besides these basic products, there are many new eyebrow products like brow stickers and stamps. Honestly, I've tried these products but still prefer traditional pencils and powders. Maybe because while these products are convenient, they're not flexible enough to adjust according to your face shape and personal style.
Advanced Tips
To truly master eyebrow techniques, knowing theory alone isn't enough - practice and reflection are most important. I now record my eyebrow makeup experiences daily, noting which products I used, how they worked, and what needs improvement.
Once, I carefully documented my eyebrow routine for an entire week, including products used, time spent, and how long the makeup lasted. Through this recording, I discovered I tend to draw crooked brows when rushing in the morning, so I developed a habit of starting makeup a few minutes earlier.
Besides practicing alone, I often exchange tips with my friends. Sometimes they share really useful tricks, like lightly brushing over penciled brows with a clean brush to make them look more natural.
During practice, I've found patience is most important. Don't expect to achieve perfect brows immediately - give yourself time to explore and improve. Looking back at my progress from crooked attempts to now being able to easily draw beautiful brows, I've certainly experienced many failures along the way.
But if you persist, everyone can find their best eyebrow drawing method. As I often say: there are no naturally ugly brows, only brows that haven't been drawn properly. With these basic knowledge points and continuous practice and reflection, I believe you can also easily achieve satisfying brows.
Remember, makeup isn't about pleasing others, but about making yourself more confident. Everyone has their own characteristics, and finding the right brow shape for yourself is most important. I hope my sharing helps you avoid some detours on your eyebrow journey and find your perfect brow shape sooner!