
Introduction
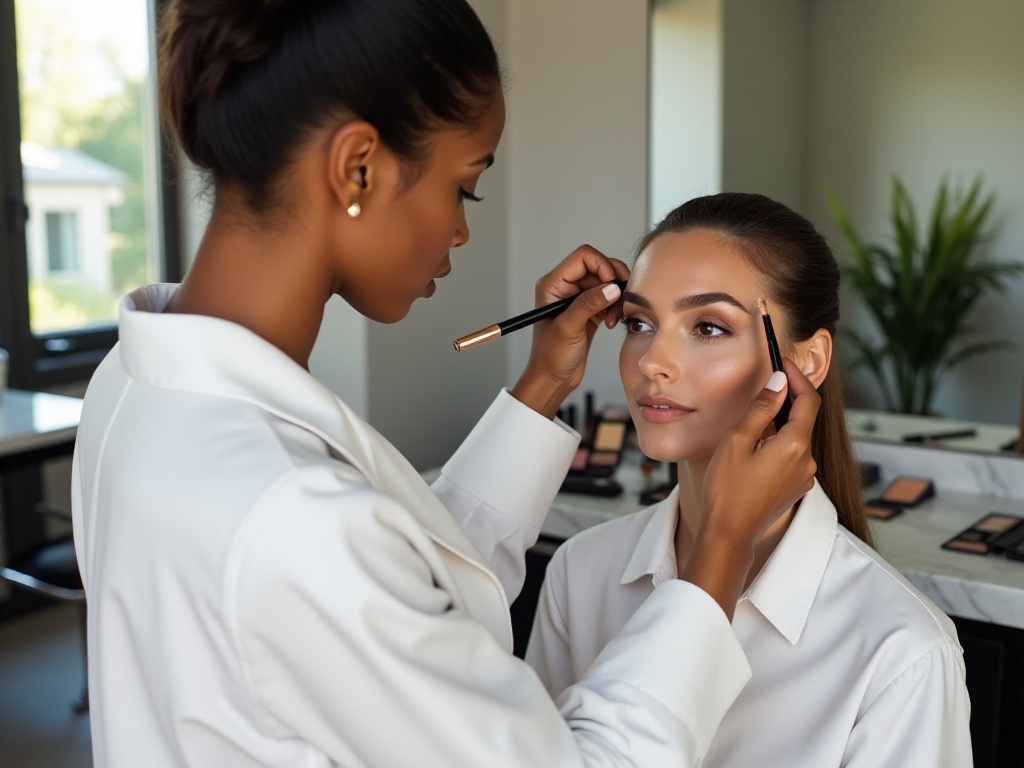
Hello everyone! Today I'm super excited to share a topic with you - eyebrow grooming. You might not believe it, but three months ago I was a complete novice in the eyebrow department, fumbling in front of the mirror, taking half an hour to draw my eyebrows only to end up with crooked results. But now? Not to brag, but I've totally mastered the art of eyebrow design. Even my picky best friend says my eyebrows are amazing! People often ask me: how did I transform from a beginner who couldn't even hold an eyebrow pencil steady to become an "eyebrow expert"? Today, let me share this journey with you.
Understanding Eyebrow Shapes
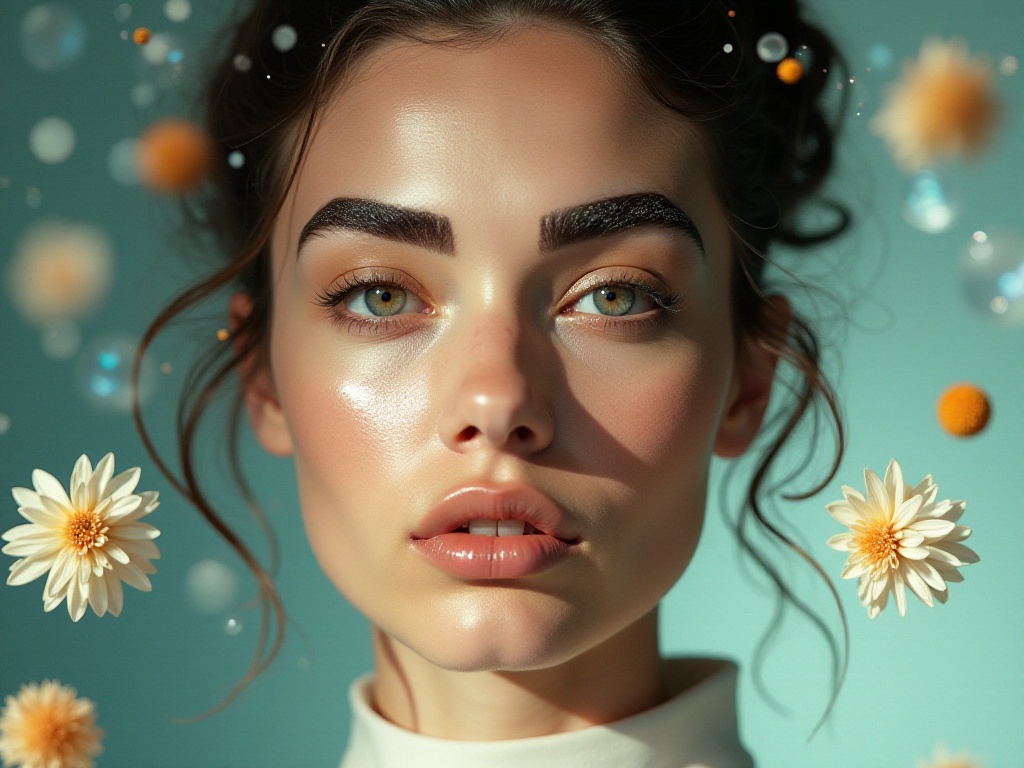
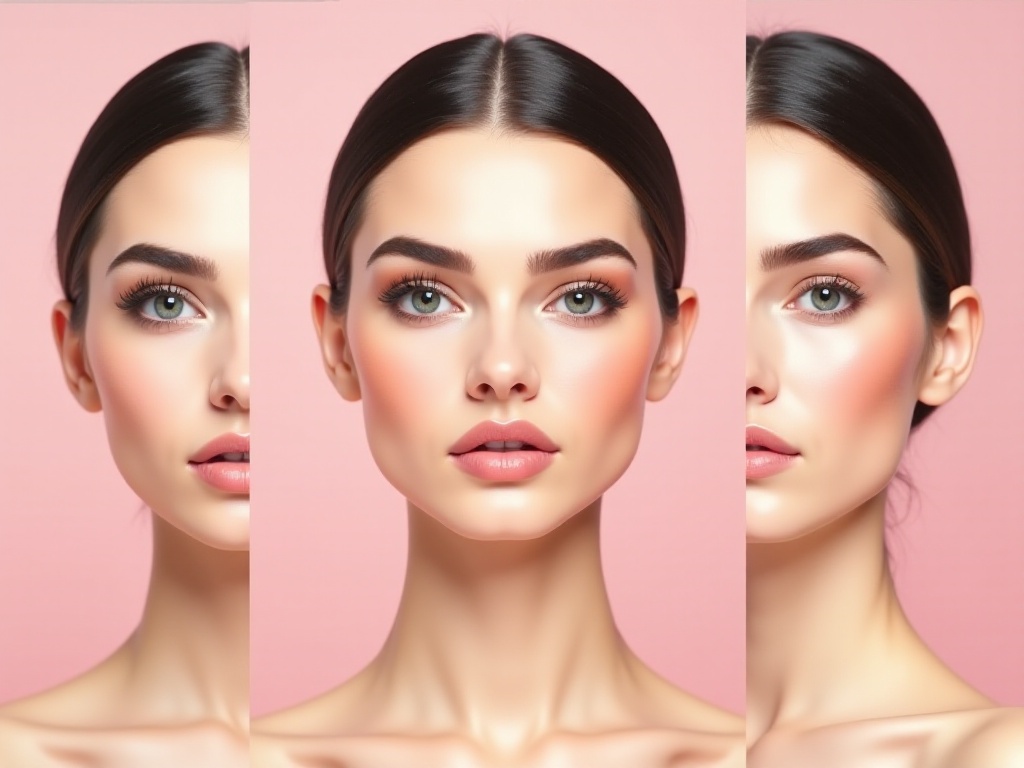
When it comes to eyebrow shapes, I'm sure you've heard terms like willow leaf brows, straight brows, and natural brows. But did you know, sisters, that all eyebrow shapes can actually be categorized into four basic styles: round brows, straight brows, arched brows, and S-shaped brows. Just like choosing a character in a game, these four basic styles are our initial options. By adjusting the arch height, tail length, and thickness, we can create countless variations that suit us.
I remember when I first started learning about eyebrow grooming - it was a complete disaster! Once, I saw a blogger on Xiaohongshu saying that round brows look super gentle, so I followed a video tutorial and changed my decent arched brows into round ones. You can guess the result - I looked like I hadn't slept, totally lacking energy. Later I realized that choosing an eyebrow shape isn't about following trends, but about considering your face shape!
Matching Face Shapes
Listen up, sisters with square faces! You're actually super lucky because straight eyebrows suit you best. I know some might think straight brows look too fierce, but trust me, that's a misconception! Straight brows can soften your facial contours and visually reduce the squareness of your face. Take my square-faced friend for example - she used to insist on drawing willow leaf brows, which looked totally out of place. After my persistent persuasion, she finally tried straight brows, and the result amazed everyone! She immediately looked much softer, and her whole aura improved significantly.
Round-faced cuties, I know your biggest concern is looking chubby. But don't worry, choosing the right eyebrow shape can instantly make your face look smaller! I suggest choosing angled brows and drawing them slightly thicker. Why? Because angled brows can visually elongate your facial features, making your round face look more defined and structured. Plus, appropriately darkened brows can add dimension to your face, making your round face look more refined.
I have a classic oval face, and honestly, this face shape works well with various eyebrow shapes. However, after extensive research and practice, I've found that naturally arched, full brows work best for oval faces. Here's a special reminder: never draw them too thin! I made this mistake before, drawing super thin brows that made my whole face look strange with no dimension. Now I maintain medium thickness, which makes me look both natural and elegant.
As for heart-shaped faces, you're truly blessed! You look best with slightly arched straight brows, which perfectly balance your facial features and create overall harmony. Just remember not to draw the tails too long, or it will disrupt your perfect facial proportions.
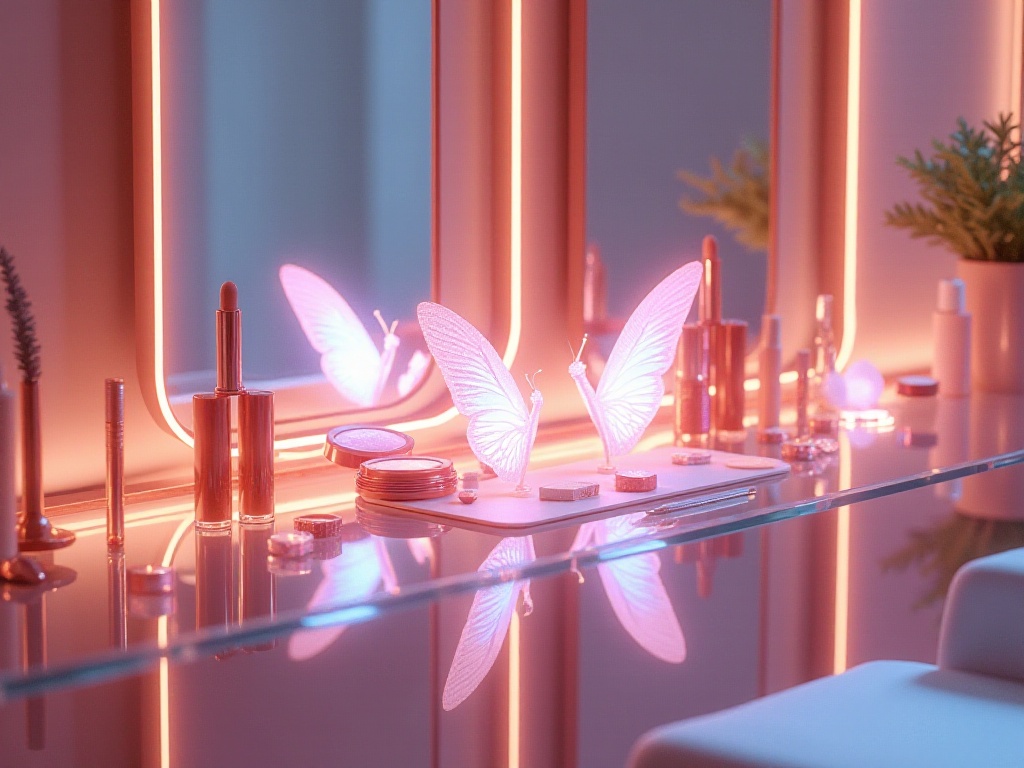
Tool Selection
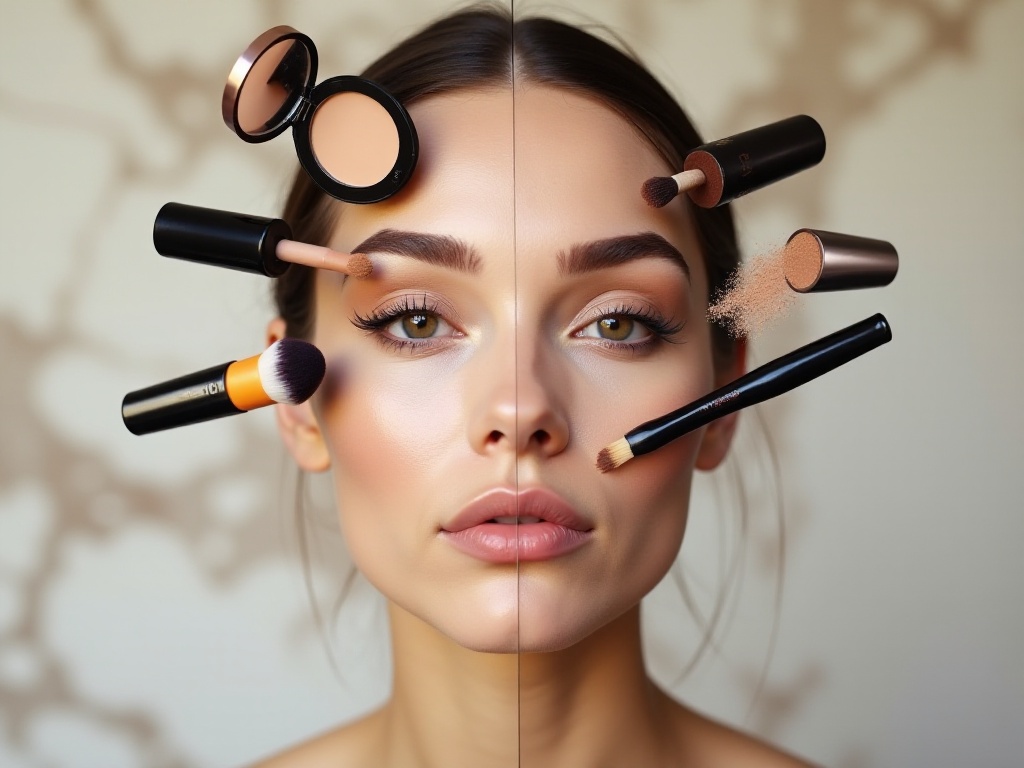
When it comes to eyebrow tools, the choices are overwhelming! Eyebrow powder, pencils, gels - every product claims to be essential. At first, I almost bought everything, only to find that many tools weren't necessary. After much experimentation, I've concluded that beginners should start with eyebrow pencils. Why? Because pencils are the easiest to control in terms of pressure and shape, unlike powder that can fade easily or gel that's hard to control.
Also, choosing the right color for eyebrow products is crucial. I learned this the hard way after buying a super dark eyebrow pencil that made my brows look like black tape - so fake! Later I discovered a super useful tip: choose a product 2-3 shades darker than your natural eyebrow color. This creates brows that look both natural and defined, without any awkwardness.
When choosing an eyebrow pencil, I recommend one with an angled tip design. This design not only creates fine brow hair texture but also easily outlines the brow shape. That's the type I'm using now, and it's super easy to work with. The hardness of the pencil is also important. Pencils that are too soft tend to smudge and are hard to control; those that are too hard can hurt your skin. Choose a medium-hardness pencil that provides good color payoff without causing injury.
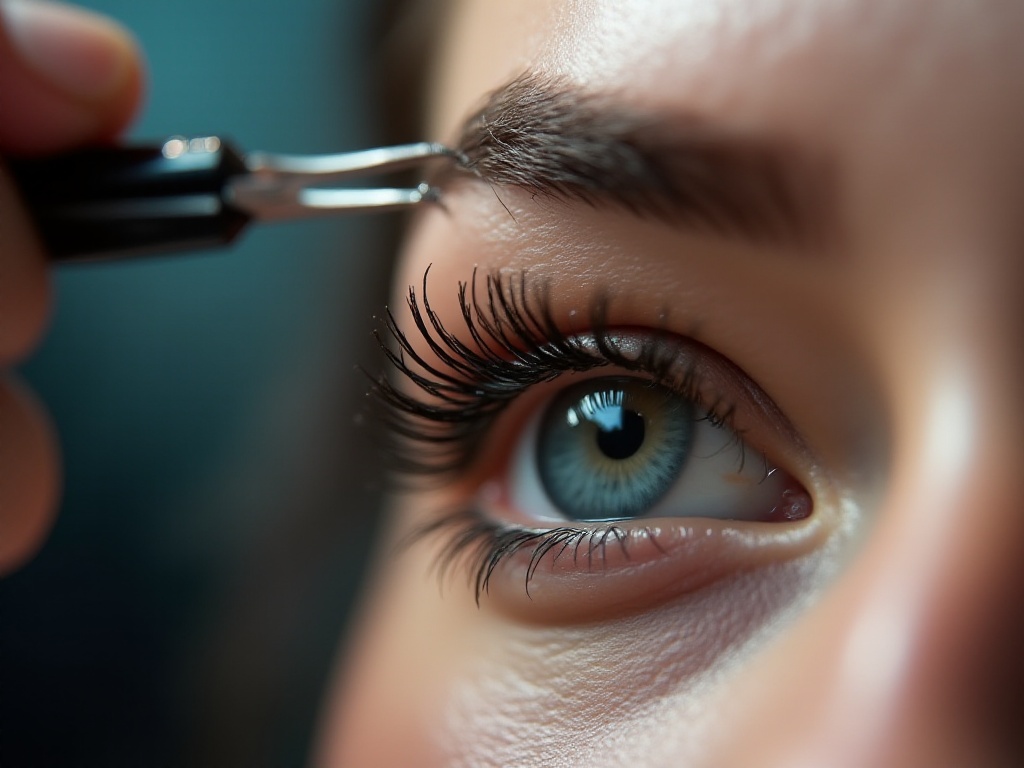
Oh, and one particularly important tool is the eyebrow stencil! While many think stencils are just for beginners and not professional enough, I find them incredibly efficient. They're especially helpful when you're still learning, helping you quickly find suitable brow shapes. Even though I can now draw brows freely, I still use stencils when I'm in a hurry - they're really convenient.
Advanced Techniques
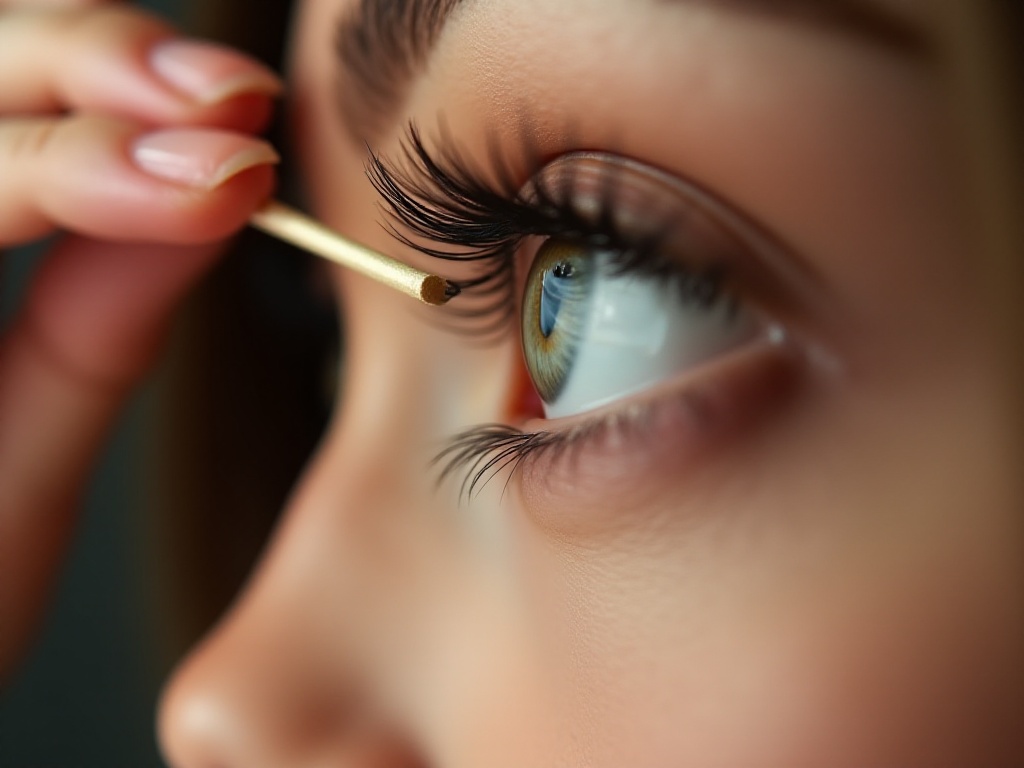
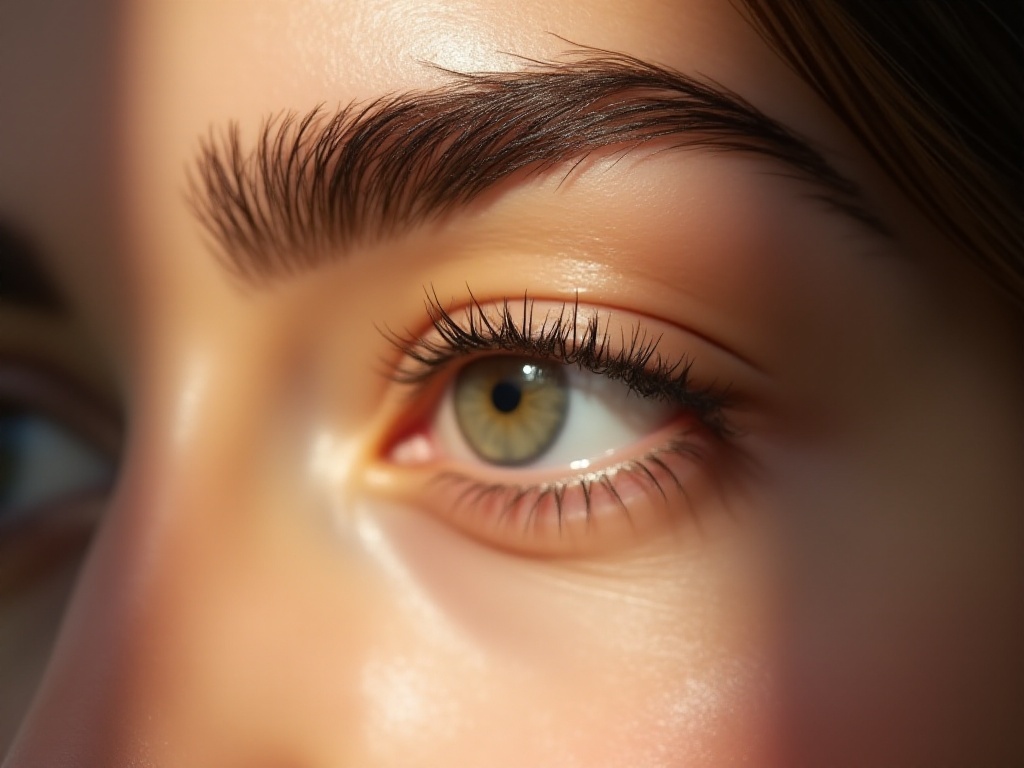
If you want your eyebrows to look more natural, here's a professional tip I spent a long time figuring out: always use small, short strokes when drawing your brows, mimicking the natural direction of eyebrow growth. Don't make my previous mistake of drawing one continuous line - that makes the brows look obviously fake.
Here's my current eyebrow routine: first, lightly outline the brow shape with a pencil, then fill in with short strokes following the natural growth direction. Finally, brush through with a spoolie - this creates super natural-looking brows.
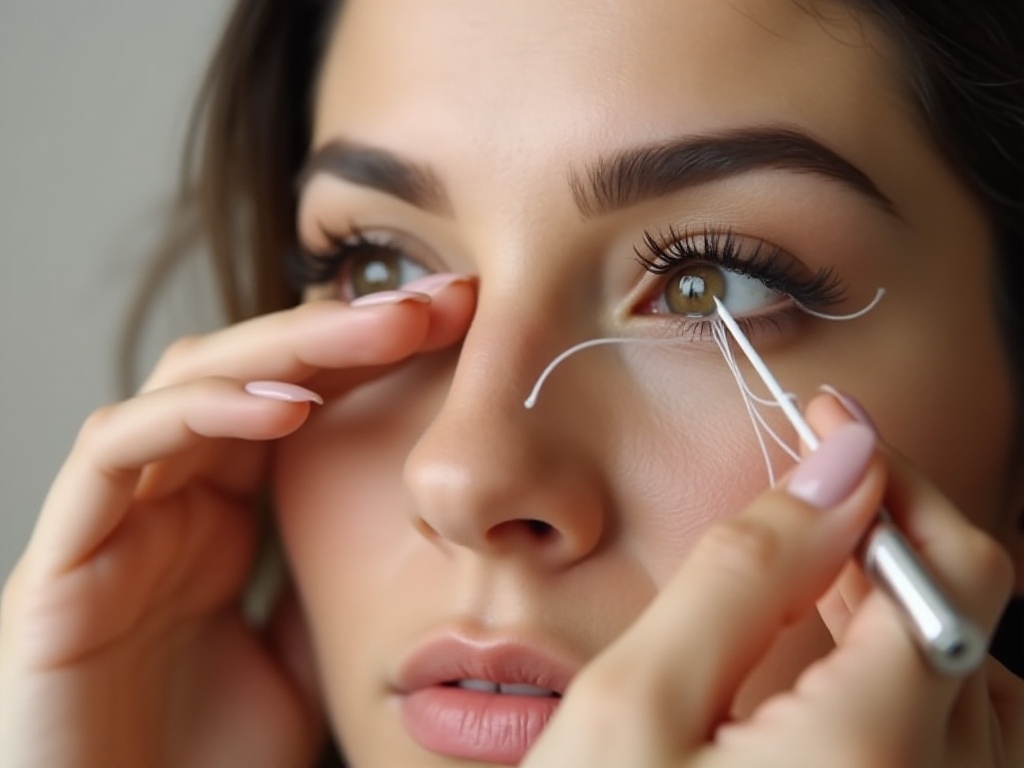
For those with sparse brows, I especially recommend trying eyebrow care treatments. But be careful - avoid using skincare products directly on your brows. Why? Because many skincare products contain oily ingredients that might clog hair follicles and cause brow hair loss. If your brows have become sparse from over-plucking, don't panic - it usually takes 6 months to a year for full recovery.
During this time, you can try some gentle brow growth serums. I've used one before, and although the results were gradual, consistent use did make my brows noticeably fuller. However, remember to check the ingredients carefully and avoid products containing hormones.
Another super useful technique is dual-color brow makeup. Start with a lighter pencil or powder as a base, then use a darker product to define the outline and key areas. This creates incredibly natural and dimensional brows without any patchy areas. I use this method regularly now, and the results are amazing!
Also, lighting is crucial when doing your brows. I suggest drawing them in natural light to see their true effect. Drawing brows under artificial light can easily result in them being too heavy or asymmetrical.
Final Thoughts
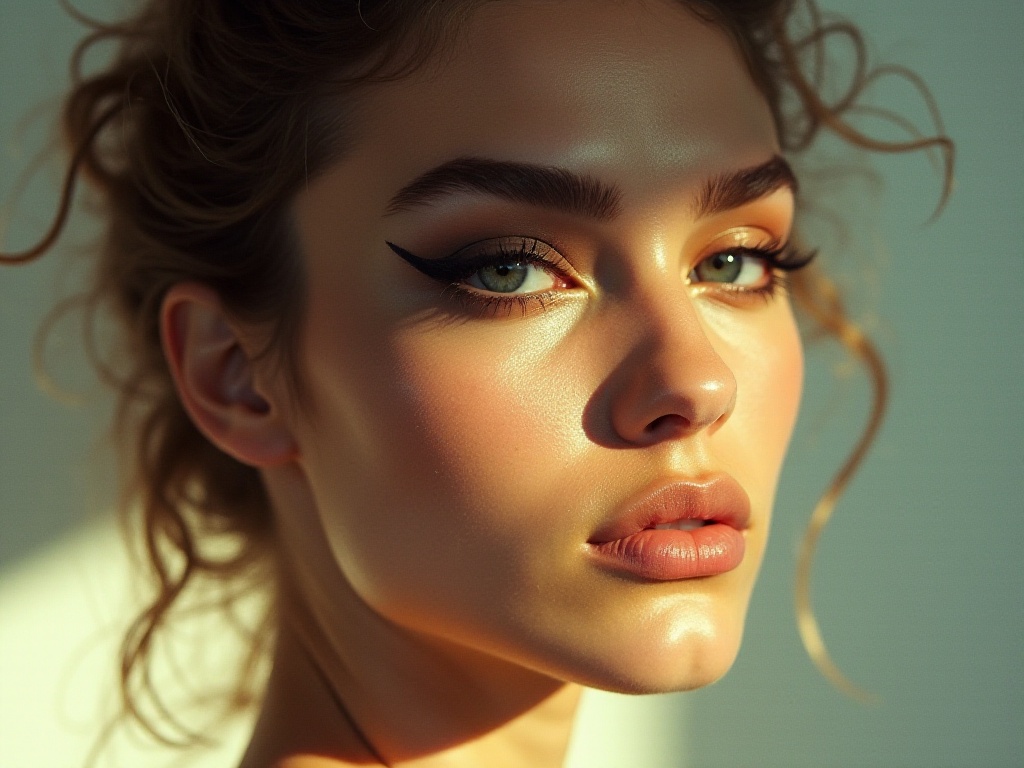
Looking back, mastering eyebrow grooming has completely transformed my overall makeup look and presence. You know what? A pair of well-groomed eyebrows can really define your features and make you look more alert. As they say: eyebrows frame the face, and getting them right is half the battle in makeup.
The journey from complete confusion to mastery wasn't easy, but it was definitely worth it. Now I only need five minutes each morning to create natural, beautiful brows. Finding the right brow shape has significantly improved my overall appearance.
Most importantly, I've learned that makeup isn't about changing yourself, but about better presenting who you are. Everyone's face shape and character are unique, and finding the right brow shape for yourself is what matters most. Don't blindly follow trending brow shapes; choose what works best for your features.
After these three months of learning and practice, I've not only mastered eyebrow techniques but also built confidence. I no longer envy others' brow shapes because I know that with the right method, everyone can achieve their perfect brows.
So, here's a question: are you satisfied with your current brow shape? Have you encountered any difficulties in your eyebrow grooming journey? Feel free to share your eyebrow stories in the comments section - let's learn and improve together!