
Opening Thoughts
Hello beauties! Today I'm sharing an incredibly important makeup tip - contouring and highlighting! I know many of you are like me, feeling that your face looks as flat as a pancake after applying foundation, with no dimension at all, making it look super fake. Don't worry, let me teach you some techniques that will help you say goodbye to "flat face" forever!
Understanding Contouring
To be honest, I was super scared when I first tried contouring, worried that I might accidentally make myself look like a clown. But after countless attempts and failures, I finally got it! Contouring is just like painting - it's about creating natural light and shadow effects. Like our face naturally has highs and lows, some areas catch light while others create shadows. Contouring just slightly enhances these natural light and shadow effects to make features more three-dimensional.
Plus, today's contouring products are super easy to use, so there's no need to worry about overdoing it. I remember when I first started learning contouring, I would study the light and shadow changes on my face in the mirror every day and research others' contouring techniques. Looking back, I really put in a lot of effort! But hard work pays off - now I can contour super naturally.
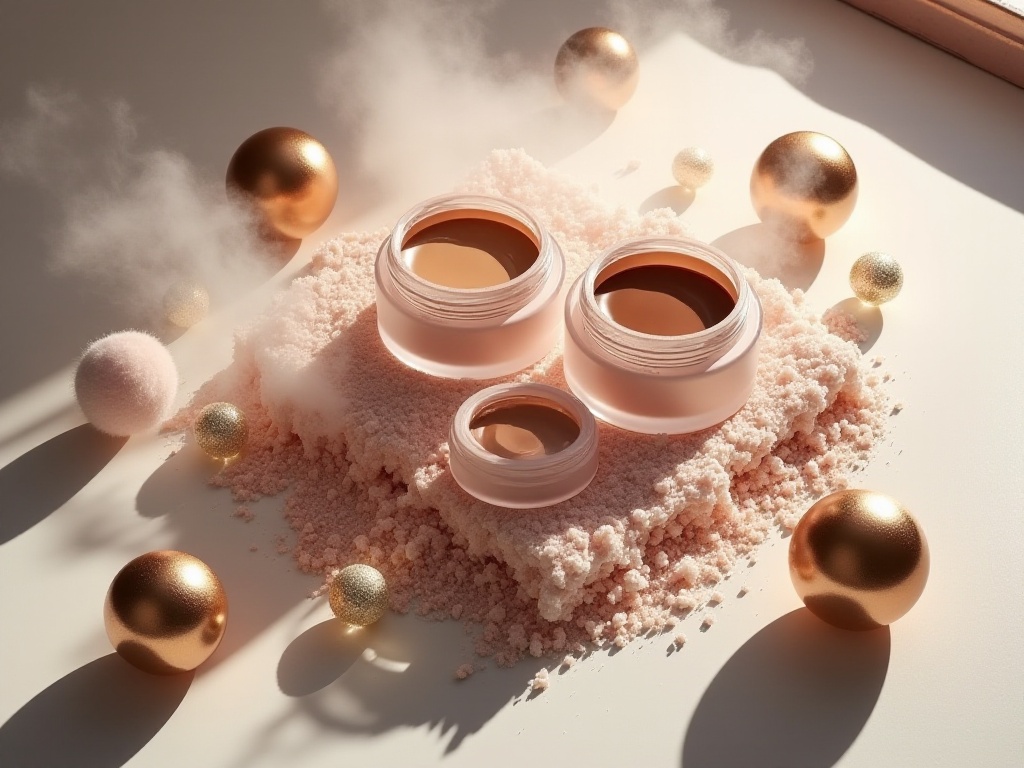
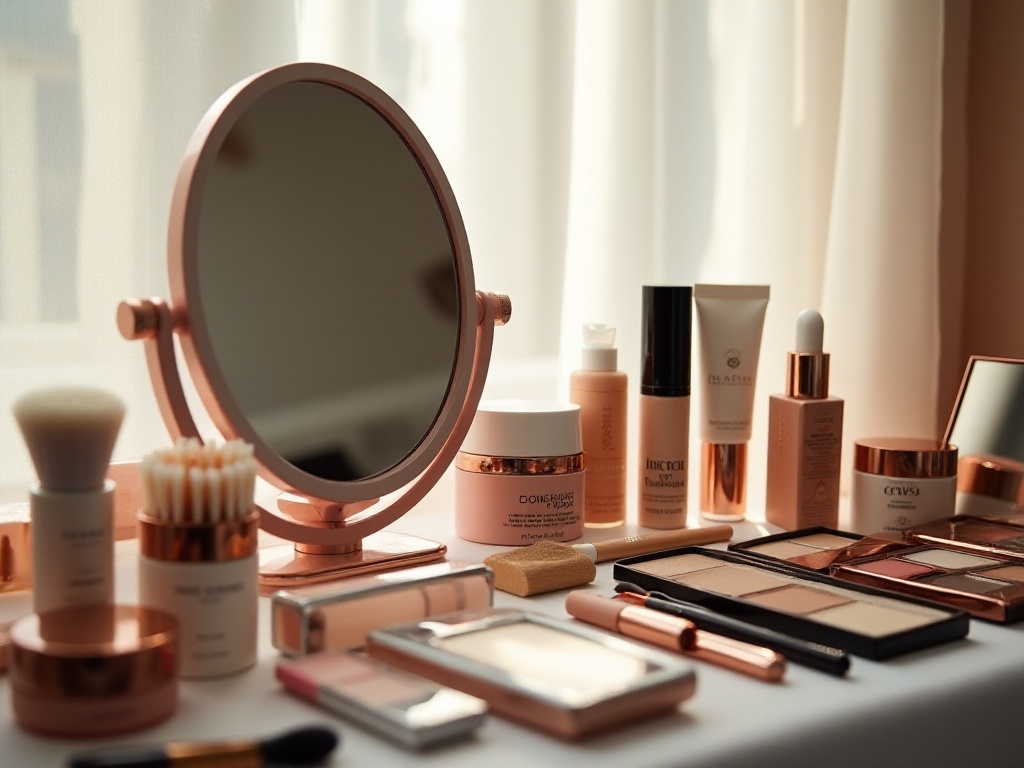
Product Overview
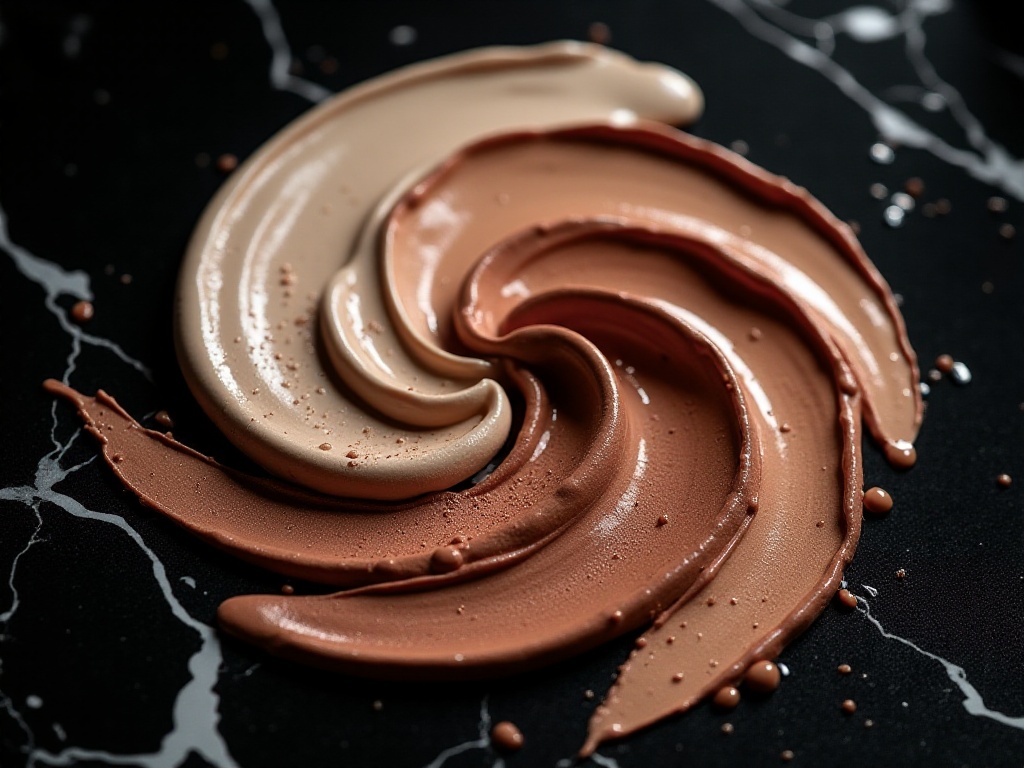
When it comes to contouring products, there's a dazzling array of choices, but they generally fall into two categories: cream and powder. I can confidently tell you that both textures have their own characteristics, and choosing the right one can make your work twice as effective!
Let's start with cream products. My favorite is the Anastasia Beverly Hills contour stick! It's a blessing for beginners, available in three depths. The texture is super smooth, with no caking or difficulty in blending. I was conquered by its texture from the first use, and it shows up very naturally, not too heavy at once. It has never disappointed me after using it for so long.
Another great thing about their contour stick is that it doesn't clump on your face. I've used other contour sticks before that would get patchy, which really affects the overall makeup look. But the ABH contour stick never has this problem - it blends seamlessly and has great staying power, not fading by afternoon.
As for powder products, I want to recommend L.A. Girl's contour powder. Although this brand is budget-friendly, the quality is truly outstanding! Their contour powder contains coconut extract and vitamin E, not only showing up naturally but also being very skin-friendly. I've used some contour powders before that would make my face very dry, but L.A. Girl's doesn't have this problem at all.
Moreover, their contour powder is very fine, with no powder flying everywhere. Every time I use it, I feel it's very thoughtful because the powder quality is really fine and blends very evenly. Most importantly, it's a cruelty-free product, which really touches me. Now more and more people are starting to pay attention to this issue, and it's really not easy to find a product that is both good and environmentally friendly.
Highlighting Secrets
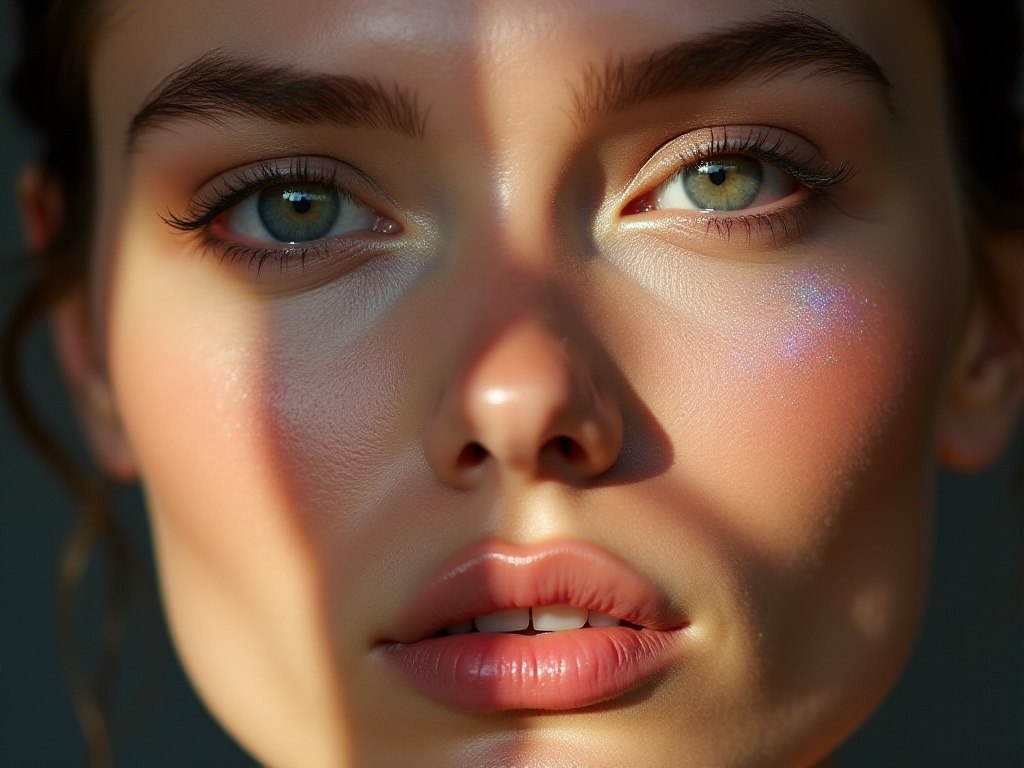
After talking about contouring, let's discuss highlighting! Highlighting products are like putting a soft spotlight on your face, making the entire makeup look more refined. Sometimes when you finish your makeup and feel something's missing, it's because you're lacking the finishing touch of highlighting!
I remember when I first started doing makeup, I always felt others' makeup looked particularly refined, but mine always seemed to be missing something no matter how I did it. Later I realized it was because I wasn't using highlighting products! Highlighting products are mainly used on areas you want to emphasize, such as under the brow bone, nose bridge, and the highest points of the cheekbones.
The choice of highlighting products is also important. I personally prefer highlighting products with fine shimmer because the highlighting effect looks more natural. But for work or daily makeup, I choose highlighting products with slightly more subtle pearl finish, which looks more everyday appropriate.
When using highlighting products, you must control the intensity. More highlight isn't necessarily better; it should be adjusted according to the occasion and overall makeup. For example, for daily makeup, you can use less highlighting, mainly focusing on the nose bridge and highest points of the cheekbones. For evening makeup or photo shoots, you can appropriately increase the highlighting areas, such as under the brow bone, philtrum, and chin.
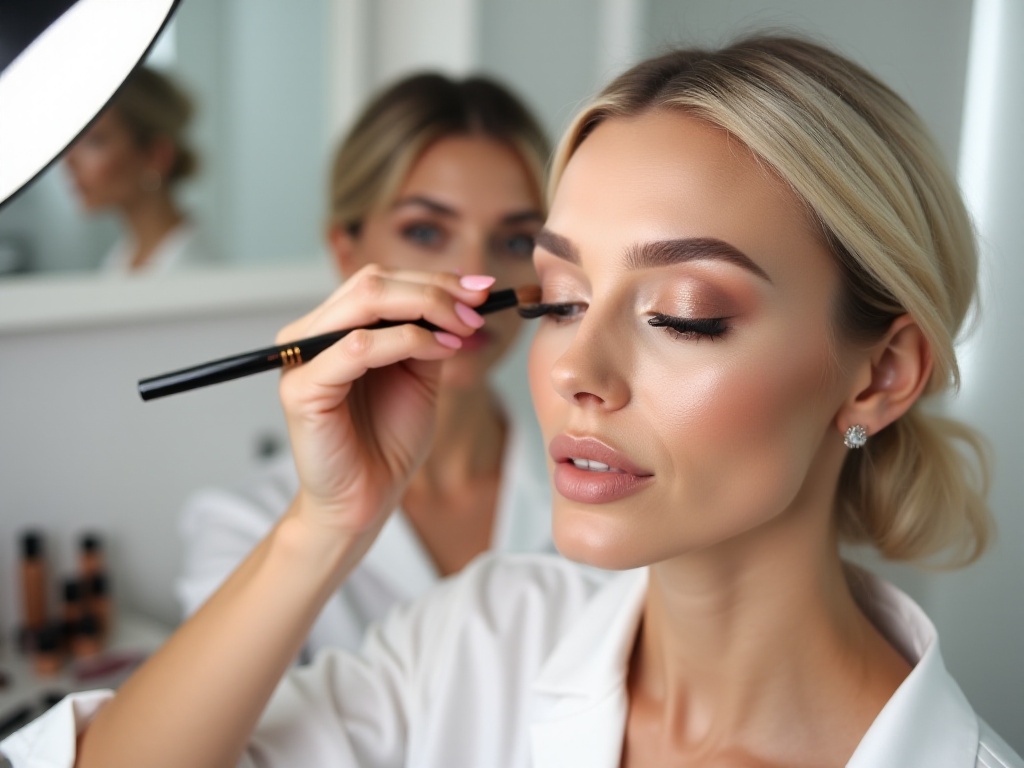
Practical Tutorial
Alright, after discussing so much theory, now we're at the most important practical section! First, we need to determine the contouring positions based on our face shape. For example, for sisters with square faces, the focus is on softening the forehead, cheeks, and jawline contours.
Here are the specific steps: First, we need to determine the contouring positions. You can make an exaggerated "pout" expression - the hollow areas of your cheeks are where we mainly want to contour. This trick is super useful because everyone's face shape is different, so this helps you find the most suitable contouring positions for yourself.
Second, take an appropriate amount of product and gently blend from the ear area towards the middle of the cheek. Here's something to particularly note: always remember the principle of "light to dark, gradual layering." Don't apply too much product at once, as it's easy to go too heavy. I suggest starting with a small amount of product, blending it lightly, seeing how it looks, and gradually building up if it's not obvious enough.
Third, use a clean brush or beauty sponge to gently blend, ensuring there are no obvious lines. This step is particularly important because the key to contouring is looking natural. You can use a larger brush to gently blend the edges, which will look more natural.
During the contouring process, I have another tip to share with everyone. When using cream contour products, you can first warm up the product on the back of your hand with your fingers or beauty sponge before using it. This not only makes it easier to control the intensity but also helps it blend more evenly.
Let me also detail contouring methods for different face shapes. Sisters with round faces can focus on contouring the jawline and temples, which can make the face shape look more dimensional. Sisters with long faces can apply slightly heavier contouring on the forehead and chin areas, which can make the face appear less long.
Common Mistakes
At this point, I must warn everyone about several common pitfalls. First, contouring doesn't mean "darkening" your face! I've seen many beginners apply contour very heavily right from the start, making their whole look very artificial. The key to contouring is making the entire makeup look naturally dimensional, not creating a completely different contour.
Second, brighter isn't always better with highlighting. Some sisters really like to apply highlighter all over their face, resulting in an overly greasy look. Highlighting products should be used in moderation, mainly to emphasize certain areas you want to highlight. And the choice of highlighting products is also important - don't choose those extremely sparkly highlighting products as they can look fake.
Another common mistake is incorrect placement of contour. Many people apply contour at the most hollow part of their cheeks, which can actually make the face look too thin. The correct approach is to choose contouring positions based on your face shape to make the entire makeup look more dimensional and natural.
Advanced Techniques
After covering the basics, let's talk about some advanced techniques! For example, to make features more dimensional, you can lightly add shadows on both sides of the nose wings, then draw a thin line of highlighter down the center of the nose bridge. But remember, nose contouring must be especially natural, with very fine lines.
One technique I personally really like is using blush as a transition after contouring. That means lightly applying a bit of blush at the edges of the contour, which can make the entire makeup look more natural. The choice of blush color is also important - I suggest choosing orangey or rose-colored blushes, which will look healthier and more natural.
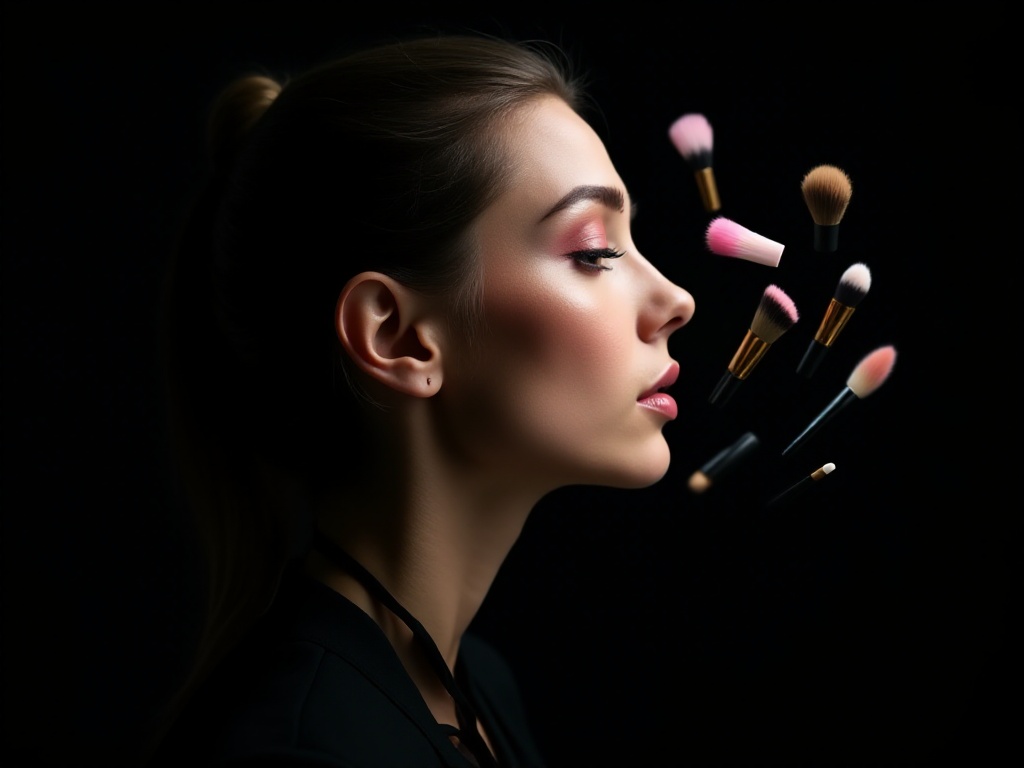
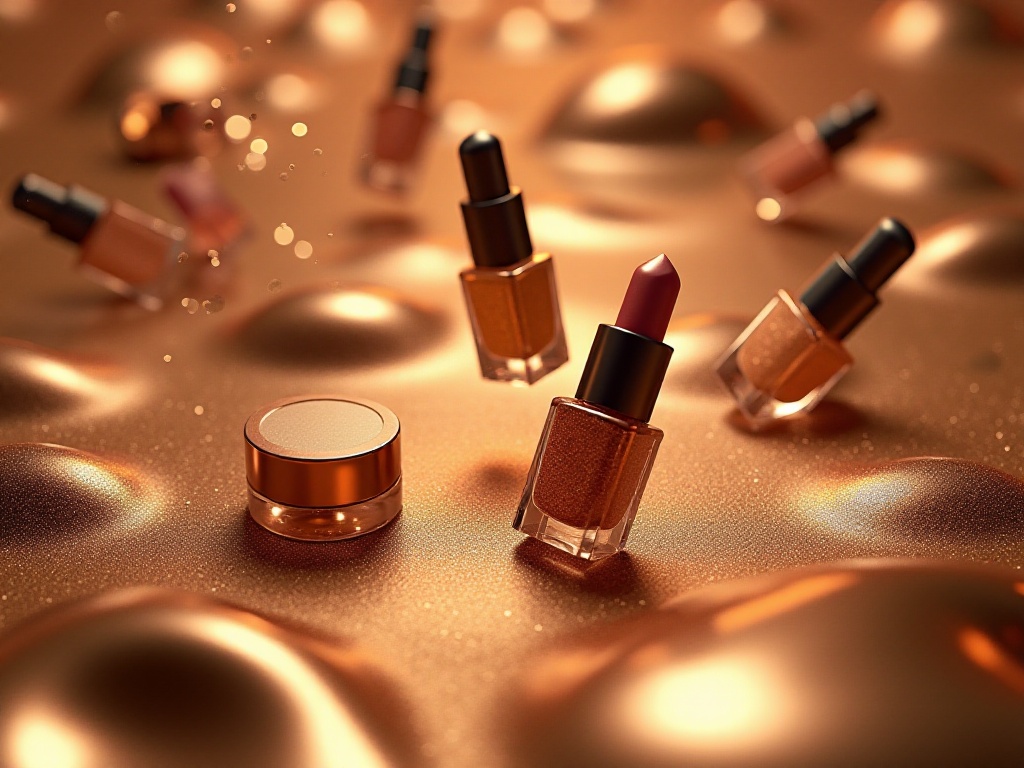
Another advanced technique is about choosing contouring tools. Different tools will create different effects. For example, if you want more precise contouring effects, you can choose a smaller angled brush. If you want a more natural effect, you can choose a larger powder brush. The choice of tools really affects the final result, so everyone should try different tools to find what works best for them.
I'll also share some contouring techniques for different occasions. For daily makeup, I suggest keeping the contouring intensity lighter, mainly to make the entire makeup look more dimensional and natural. For photo shoots or evening makeup, you can appropriately increase the contouring intensity because cameras tend to eat up some of the makeup effect.
Shopping Advice
When it comes to choosing contouring products, this is really a science! I suggest beginners start with powder products because they're easier to control the intensity. Plus, powder products are easier to fix if you apply too much - just lightly brush a few times with a brush.
After gaining some understanding of contouring, then try cream products. Although cream products adhere better, they require more skilled technique. However, the advantage of cream products is better lasting power and better adhesion to the skin.
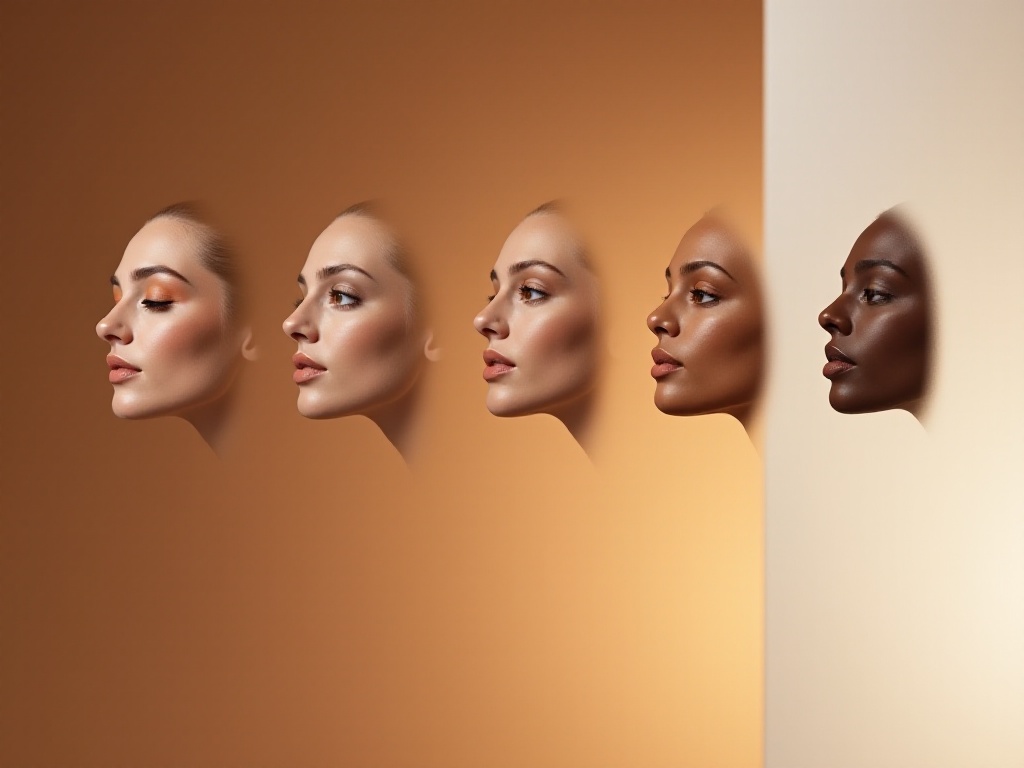
The color choice of contouring products is also important. I suggest choosing colors one to two shades darker than your skin tone - this will create more natural contouring effects. If you choose colors that are too dark, it's easy to look fake. Also pay attention to the undertone of contouring products - don't choose colors that are too red or orange, better to choose grayish-brown contouring products.
I'll also share some suggestions for different skin types. If you have oily skin, I suggest choosing powder contouring products, as cream products might make your face look oilier. If you have dry skin, you can choose cream contouring products with moisturizing ingredients, which won't make your makeup look too dry.
Conclusion
Contouring and highlighting are really interesting "arts" that can elevate our makeup several levels. Remember, practice is most important. Don't give up just because your first attempt wasn't ideal - take it slow, and you'll eventually find the method that works best for you.
I remember when I first started learning contouring, I also went through countless failures. Sometimes I'd apply too heavily and look like a clown, sometimes too lightly with no visible effect. But through continuous practice and learning, I can now handle contouring techniques well. So to learn contouring well, the most important thing is to have patience, practice more, and summarize your experiences.
The most interesting thing about makeup is continuously discovering new techniques, and because everyone's face shape and qualities are different, suitable contouring methods will also be different. I hope through my sharing, I can help everyone find the contouring method that suits them best. Remember, makeup isn't about making everyone look the same, but about helping each person show their most beautiful self!
Finally, if you encounter any problems during practice, or have any unique insights, feel free to share with me. Let's continue improving together on our beauty journey and become more beautiful!