
Opening Message
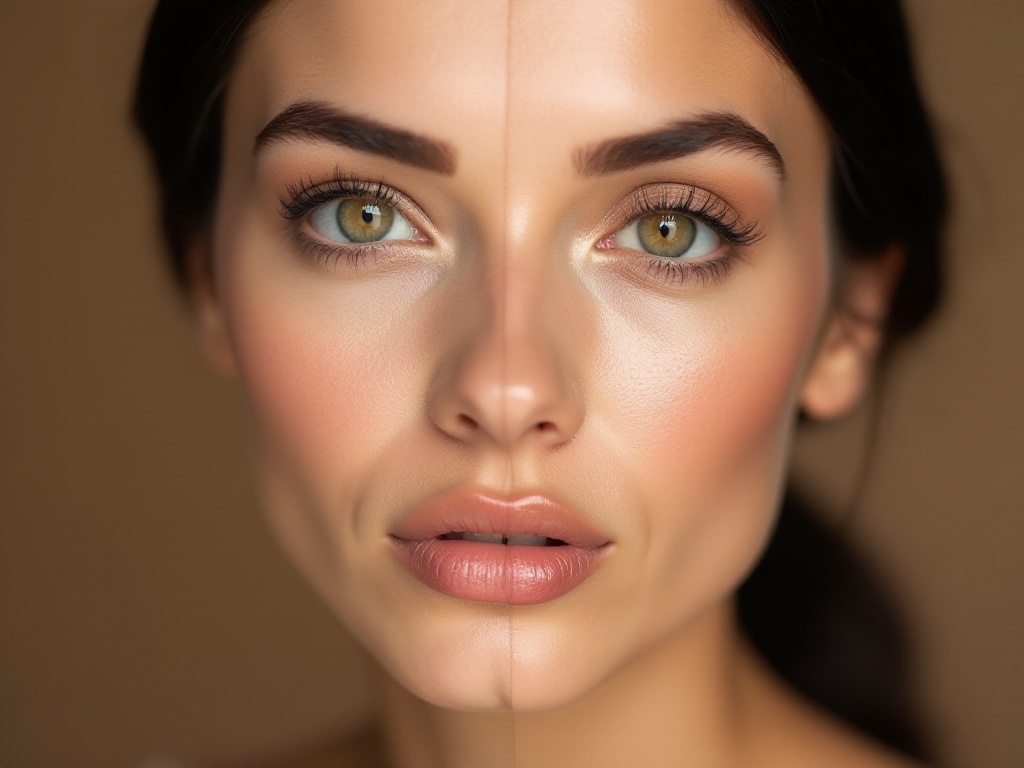
Sisters! Today I want to talk about a topic that I'm particularly passionate about - contouring and highlighting! To be honest, I've been fascinated by these two techniques since I first started getting into makeup. After years of research and practice, I truly believe contouring and highlighting are like magic wands in the makeup world! Every time I see my makeup transform from flat to three-dimensional, it gives me such an elevated feeling - it's amazing!
Speaking of this topic, I have so much valuable information to share with you all. I remember my first attempt at contouring - I was so clumsy it was almost unwatchable, but looking back now, those mistakes actually gave me a deeper understanding of contouring and highlighting. Today, let me take you all on an exploration of this magical makeup world!
Basic Understanding
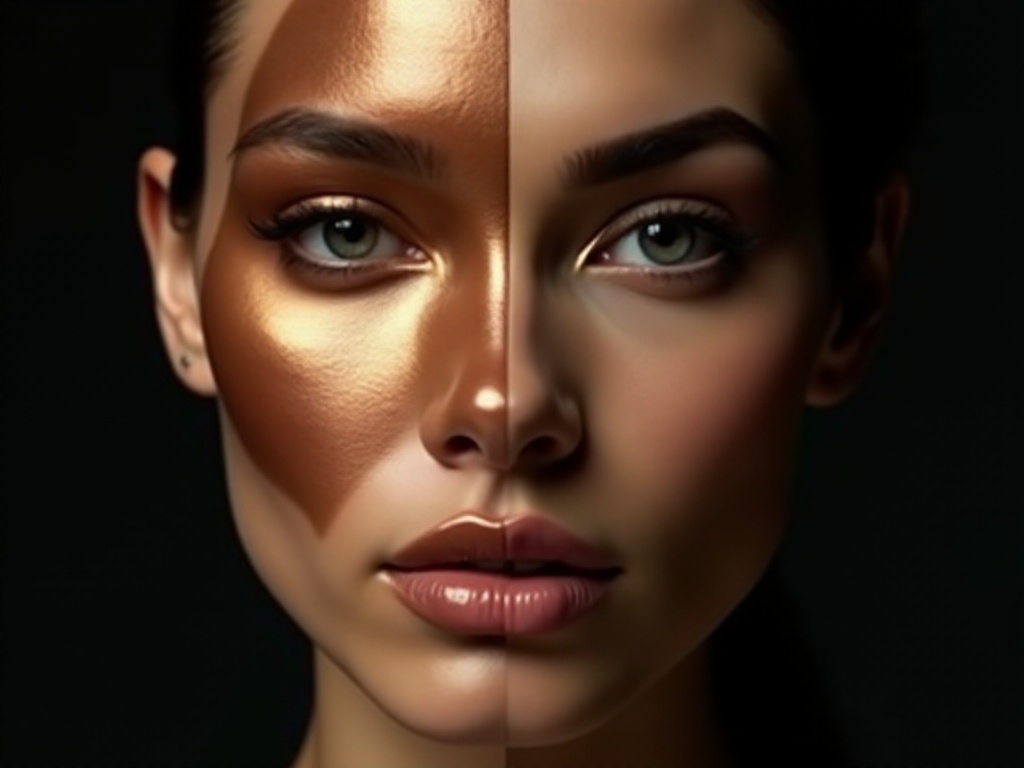
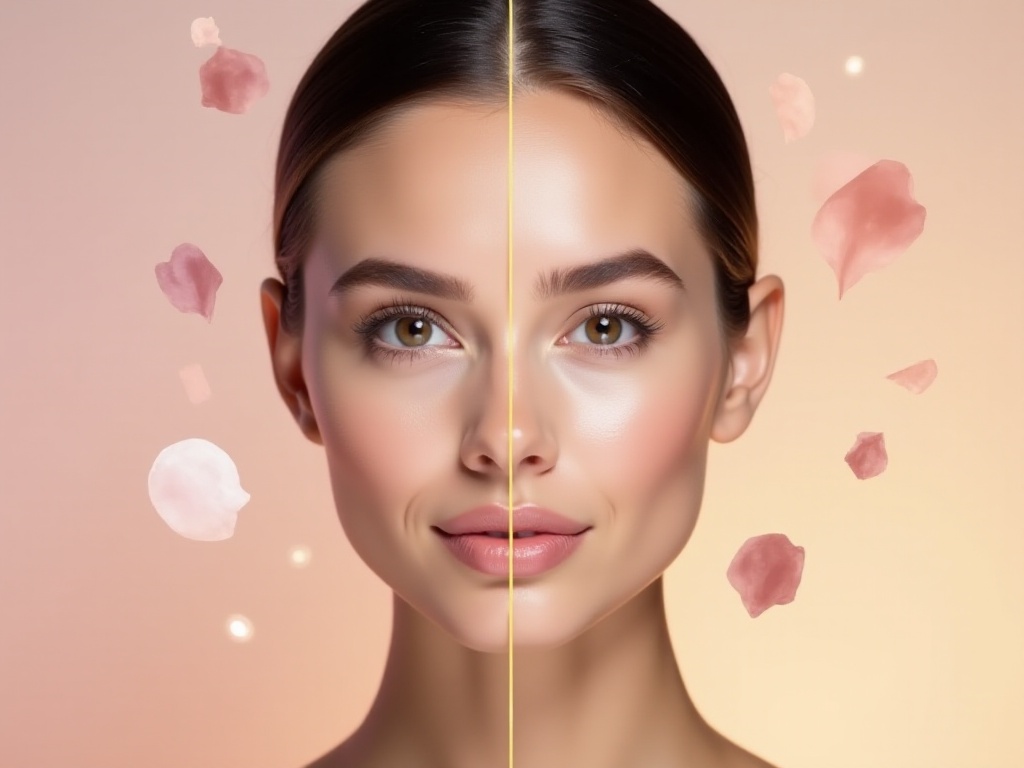
I believe that to master contouring and highlighting, you first need to understand their essence. Simply put, it's about creating light and shadow effects on your face using different shades of color to make your facial features more three-dimensional and defined. It's just like when we learned drawing as children - teachers always emphasized the importance of light and shadow contrast. The same principle applies to makeup.
Contouring and highlighting are like painting on your face - dark contouring products are like dark paint colors that create shadows, while highlighting products are like light colors that create natural luminosity. These two techniques combined are the perfect duo for creating the perfect facial structure!
I really have to thank my best friend who gave me lots of advice when I first started learning these techniques. Back then, I used to apply products all over my face, making it look like smokey eye makeup gone wrong. It's hilarious to think about now, but these experiences taught me an important lesson: the key to contouring and highlighting is to keep it natural, creating a subtle effect.
You know what? I've observed many beauty bloggers' videos and noticed they all emphasize adjusting techniques according to your face shape. This is super important! Because everyone's face shape is different, copying someone else's makeup method might not work for you.
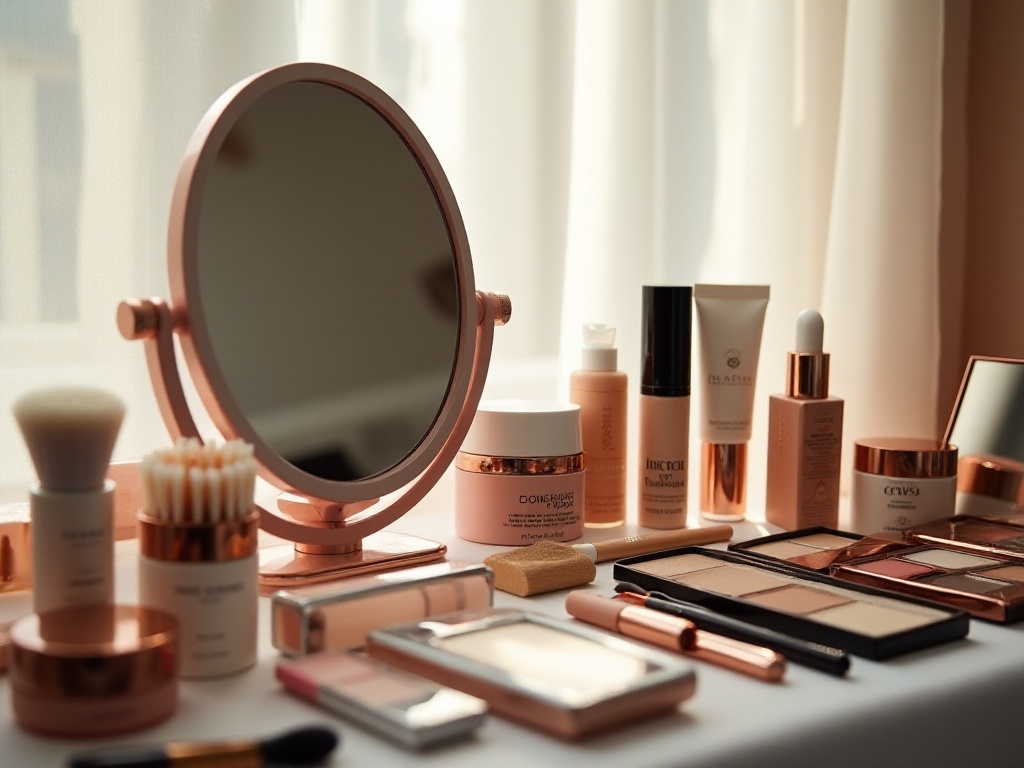
Product Selection
When it comes to choosing contouring and highlighting products, it's truly a science! I went through countless trials before finding the products that work best for me - this process could fill a book!
Let's first talk about choosing contouring products. The market mainly offers three types: powder, cream, and liquid. As someone who's evolved from novice to experienced user, I strongly recommend beginners start with powder products. Why? Because powder products are the easiest to control and it's harder to accidentally apply too much. Plus, powder products are highly adjustable - you can easily control the amount you use.
I personally love using powder contour and find it very easy to work with. However, I should remind everyone that if you have dry skin, powder products might feel a bit drying. In this case, I suggest trying cream contour. Cream contour has a more moisturizing texture and adheres well to the skin, making your makeup look more natural and smooth.
As for liquid contour, I think it's better to wait until you have some mastery of contouring before trying it. Liquid products have excellent spreadability, but if your technique isn't refined enough, it's easy to mess up your entire makeup look.
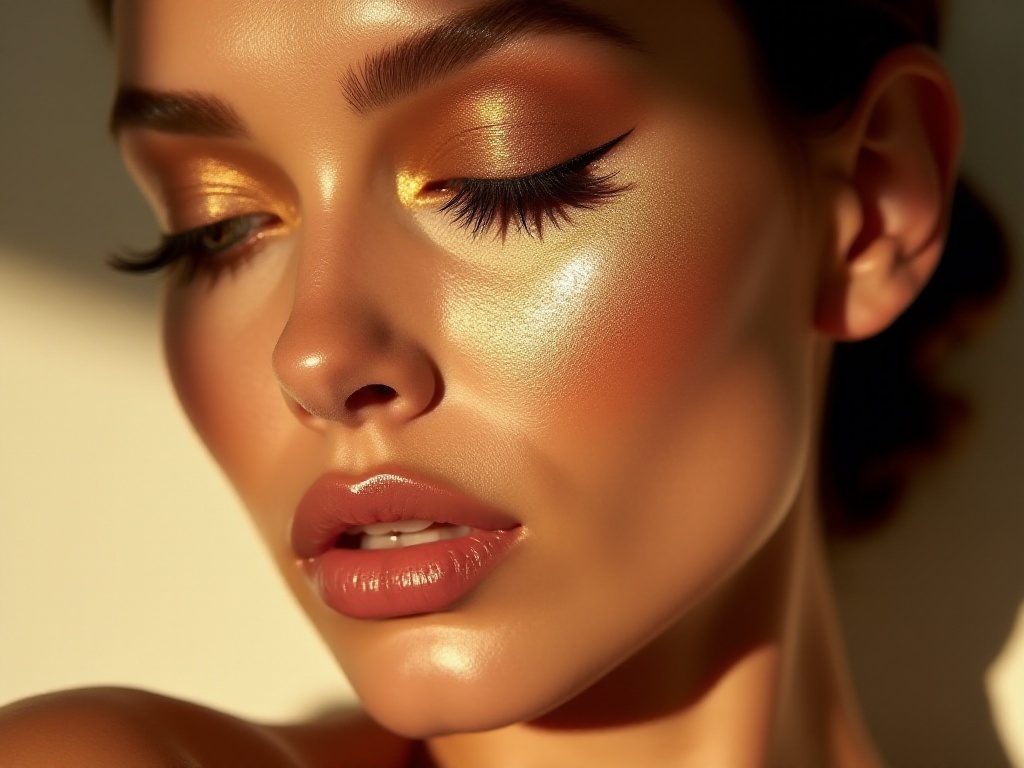
When it comes to highlighting products, the options are truly dazzling! There are so many types available - pearl finish, glitter, fine shimmer, flake shimmer... But based on my years of experience, I think beginners should start with liquid highlighters.
Liquid highlighters' biggest advantage is that they're easy to blend and can create a very natural glow. I particularly love using them to create a translucent makeup look. However, note that liquid highlighter should be used before your foundation sets completely to ensure perfect blending with your base makeup.
Cream highlighter is my go-to choice for important occasions. Its advantage is excellent longevity, and the glitter particles are very fine, not looking too dramatic. But when using cream highlighter, you need to be very careful with the amount because it's highly pigmented and can easily become too intense.
Regarding highlighter color selection, I suggest choosing based on your skin tone. Generally, choosing a shade 1-2 tones lighter than your skin tone works well. Don't choose extremely light colors just for a dramatic effect - it will only make your makeup look artificial.
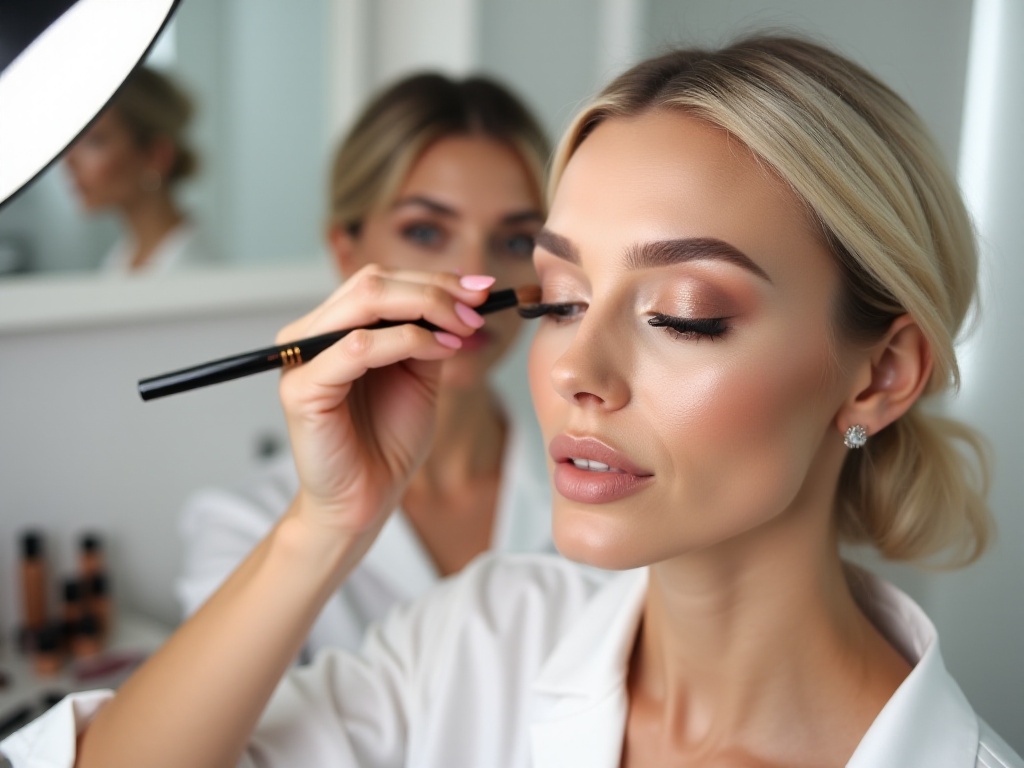
Practical Techniques
Now, let's get to the most exciting part - practical application! I want to share some tips I've discovered over the years.
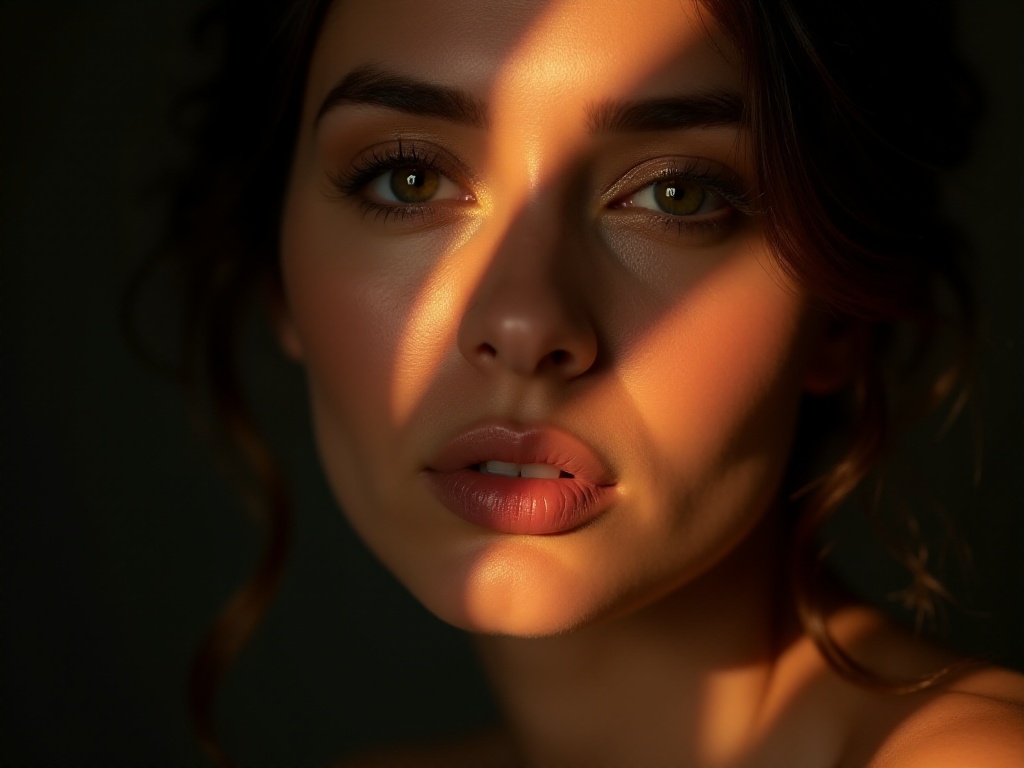
First, let's talk about contour placement. Many people know to create shadows under the cheekbones, but key contouring areas also include the temples and the jaw-neck connection. I particularly like adding slight shadows to all these areas, which makes the entire face structure appear more three-dimensional.
Contouring technique is also crucial. My advice is to build gradually - never apply too much at once. Start with a light touch and slowly build up if needed. This not only prevents over-application but also makes the whole makeup look more natural.
When contouring, I pay special attention to brush selection. I find angled contour brushes work best because they allow precise control of the contour area. However, brush choice should also depend on product texture - for cream contour, I choose denser brushes for better product distribution.
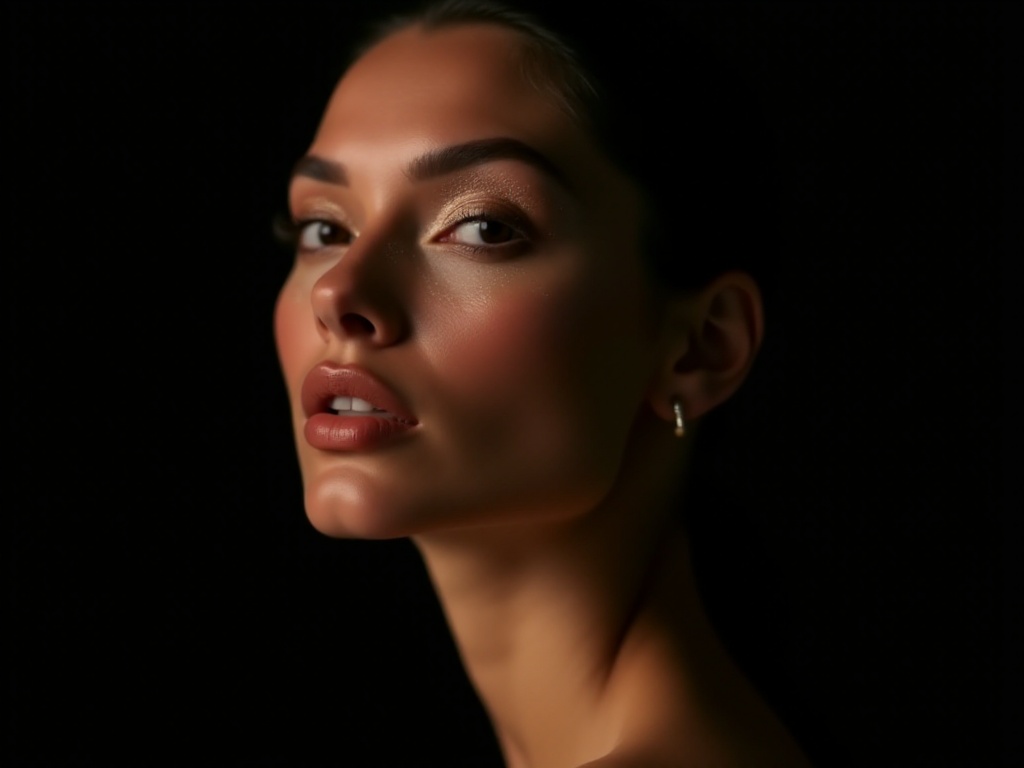
Highlight placement is also very strategic. Generally, I highlight the brow bone, nose bridge, and highest points of the cheeks. Here's an important tip: gently touch your face to find naturally protruding areas - these are the best spots for highlighting.
When applying highlighter, I particularly like using my fingers. Body heat helps the product blend better into the skin for a more natural effect. However, for powder highlighters, I still prefer using brushes for better control of the amount.
Advanced Techniques
As my understanding of contouring and highlighting deepened, I discovered these techniques can be adjusted for different occasions. For example, when going to work, I opt for more natural contouring. I just add slight shadows under the cheekbones and temples, with a light touch of highlighter on the brow bone and nose bridge, creating a fresh, natural look.
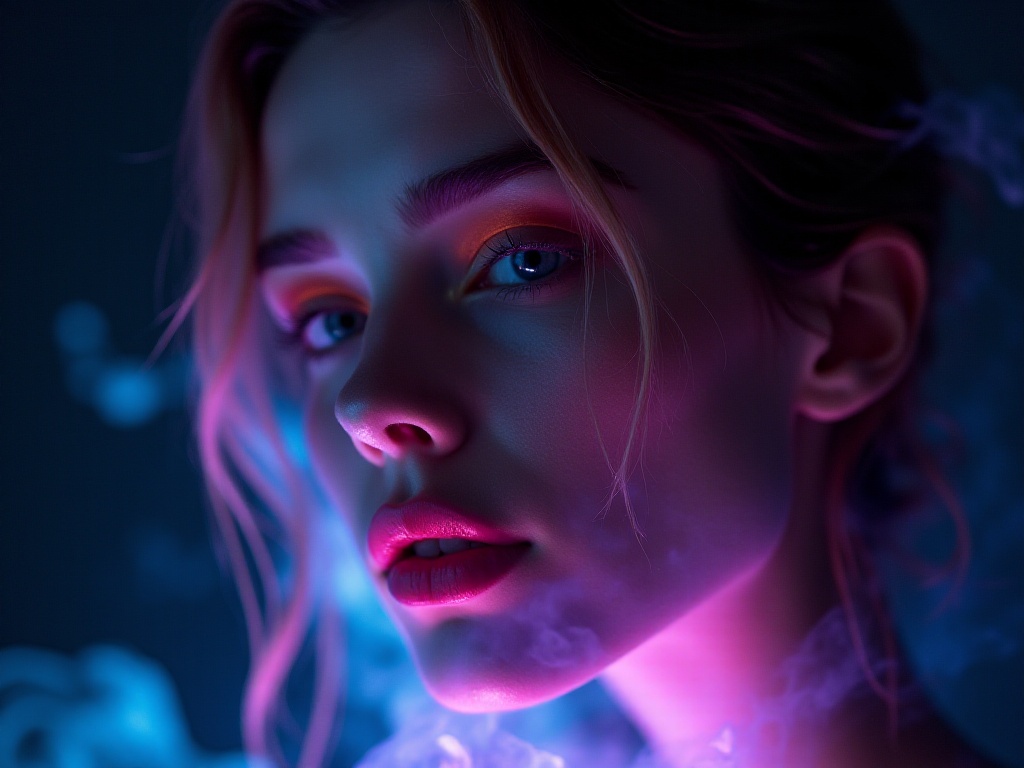
However, for weddings or important evening events, I'll intensify the contouring. I pay special attention to the transitions, ensuring the depth of each area is just right. For highlighting, I'll choose products with some pearl finish, which looks especially elegant under lighting.
Different face shapes require different contouring approaches. For instance, I have a typical round face, so I focus on jaw line contouring. I create a natural shadow along the jaw line to make the face structure more three-dimensional. I also add slightly heavier contour at the temples to make facial features more defined.
For those with long faces, I suggest adding some contour to the forehead and chin to make face proportions more balanced. Also, applying more blush on the apples of the cheeks can redirect focus and make the face appear less long.
For square faces, the key is softening the jaw angles. I create a natural gradient shadow at the jaw angles and add slight contour on the sides of the face to make the overall face shape appear softer.
Common Mistakes
When it comes to contouring and highlighting mistakes, there's so much to discuss! I've made plenty of mistakes myself, and I want to share these experiences with everyone.
The most common mistake is choosing wrong colors. Many people think contour products must be very dark to be effective, resulting in a dirty-looking face. Actually, contour products should be just 2-3 shades darker than your skin tone to create natural shadows.
The same principle applies to highlighter color selection. Many people prefer extremely shimmery highlighters, thinking they look more high-end. But overly obvious highlighting effects can look artificial and emphasize pores and imperfections.
Another common mistake is thinking heavier contouring is better. I often see some people applying such heavy contour that their faces show obvious lines and blocks. The essence of contouring is creating natural shadows, not drawing obvious boundaries on your face.
When using highlighter, be careful not to overdo it. Many people like to highlight their entire T-zone, making their face look overly shiny. Highlighter should only be used in specific areas and should blend well with surrounding makeup.
Final Thoughts
Through years of exploration and practice, I increasingly feel that contouring and highlighting are arts that require constant practice. Everyone's face shape and skin type are different, so there's no one-size-fits-all standard. The most important thing is finding what works best for you.
The ultimate goal of makeup isn't to become a different person, but to present the best version of yourself. Through proper contouring and highlighting, we can emphasize our best features and minimize imperfections. But remember, excessive modification can be counterproductive.
Finally, I want to say don't be afraid to try different products and techniques. Everyone starts as a beginner, and through continuous practice and learning, you'll definitely find the contouring and highlighting methods that work best for you. The makeup journey is endless, but as long as we maintain our passion and exploratory spirit, we'll continue to progress on this path.