
Opening Chat
Ladies! Have you ever experienced this frustration: spending half the morning doing makeup, achieving flawless base makeup, but still feeling something's missing? Looking at those sophisticated influencers on Xiaohongshu with their incredibly sculpted makeup looks, but when you try to replicate it, something's always slightly off. After repeated comparisons, you realize what's missing is that perfect contouring!
As someone who's been studying makeup since college and has been working in the beauty industry for several years, I totally understand everyone's pain points! Contouring seems like rocket science to many beginners - too heavy and you look patchy, too light and it's invisible, and some sisters don't even know where to apply contour products on their face. But don't worry, today I'll teach you how to overcome the contouring hurdle in the most down-to-earth way!
Contouring Basics
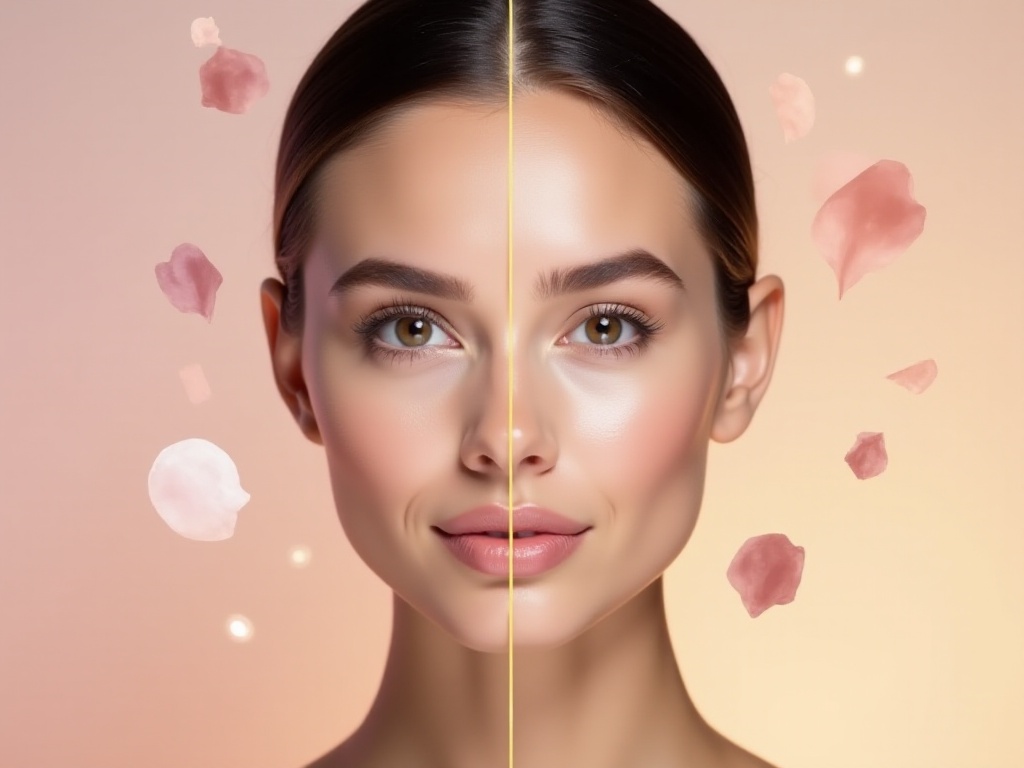
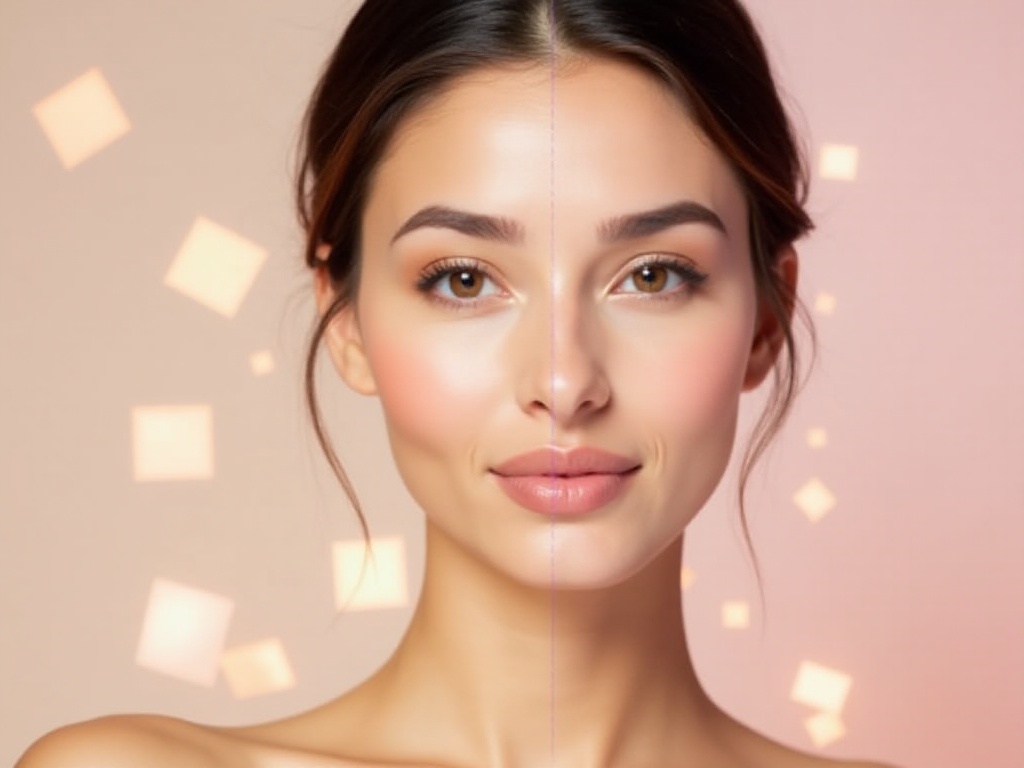
Let's start with some essentials! What exactly is contouring? Simply put, it's a makeup technique that creates facial dimension through light and shadow contrasts. Just like we learned in art class with sketching, to make something appear three-dimensional on a flat surface, you need to use light and shadow effectively. By darkening areas that should be shadowed and highlighting areas that should be bright, your face naturally becomes more sculpted.
Speaking of this, I must share my own painful experiences. When I first started learning contouring, it was a disaster! Once, before attending my friend's birthday party, I started doing makeup two hours early, but my contouring looked like a patchwork of dark and light spots. When I tried to fix it during touch-ups, thinking it was too light, it just got messier, and I eventually had to remove everything and start over. After countless such failures, I finally developed a super beginner-friendly contouring method, which I'm sharing with you today without holding anything back!
Product Selection
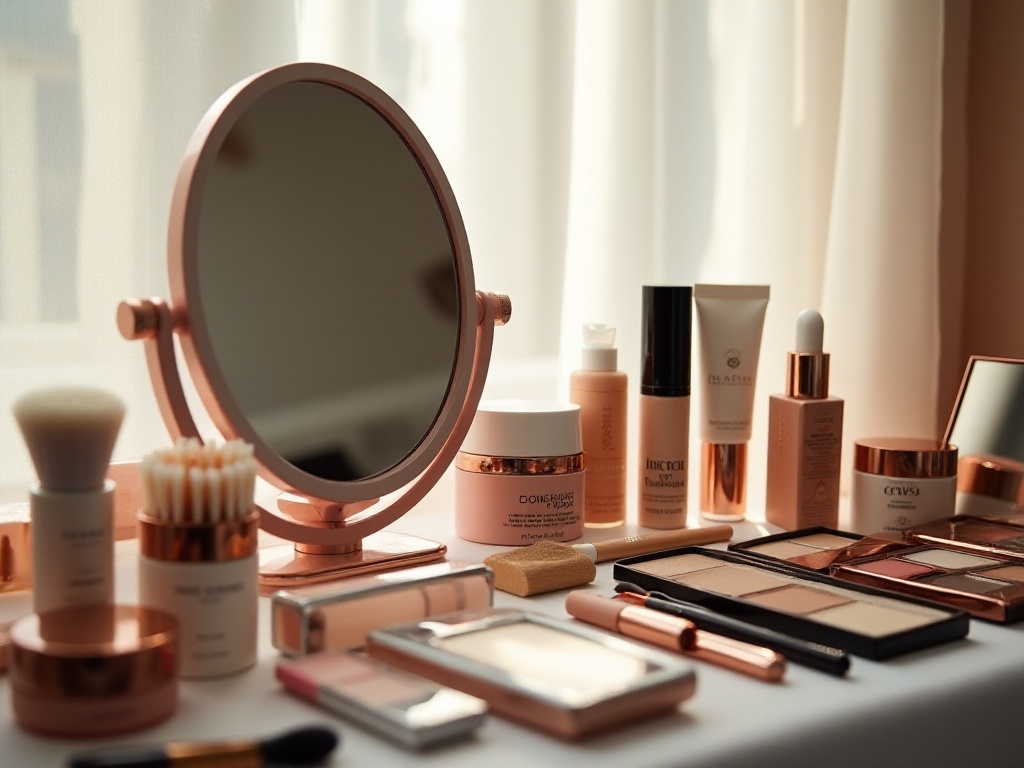
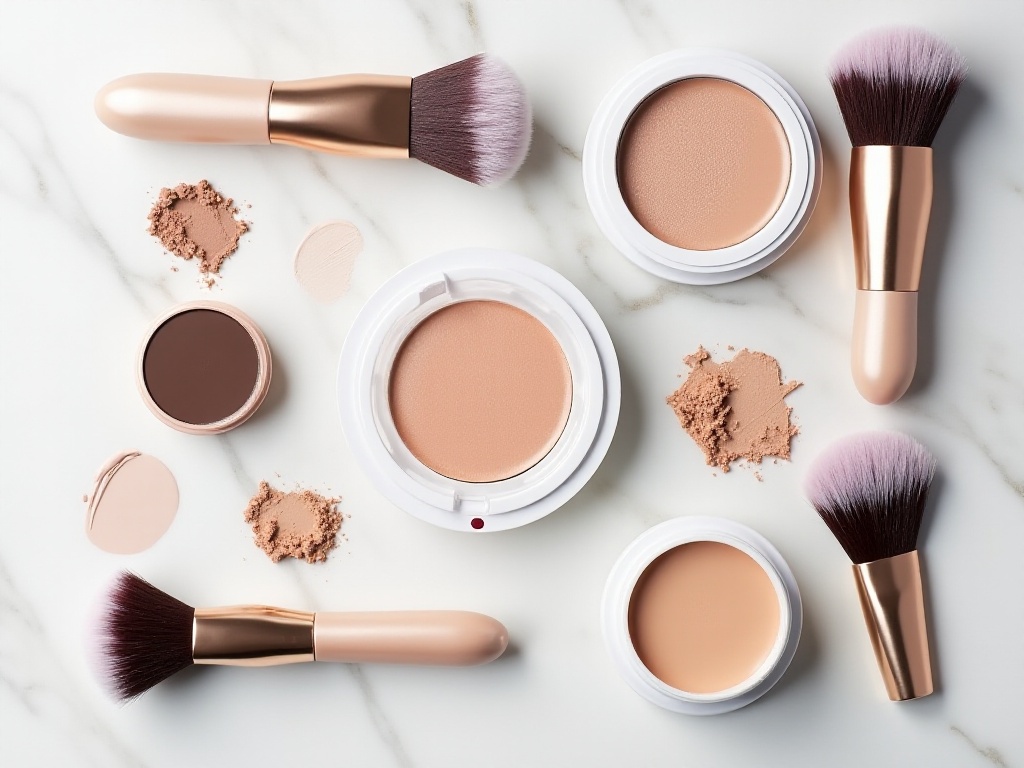
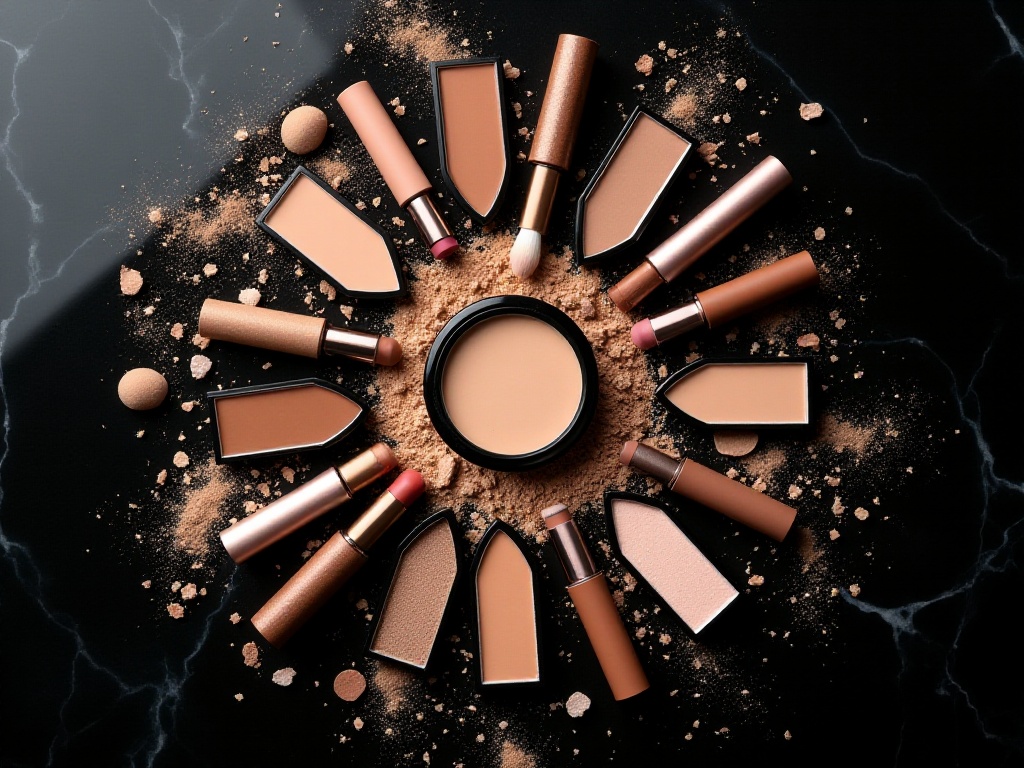
Before we start, let's choose our "weapons." There's a vast array of contouring products on the market, but they mainly fall into two categories: cream and powder formulas.
Speaking of cream products, I must recommend the Anastasia Beverly Hills contour stick! It's absolutely a blessing for beginners. The texture is super smooth with no cakiness. Most importantly, its pigmentation is very even, allowing you to build it up gradually without accidentally looking too harsh. I've stocked up on several shades to meet different occasions' needs.
Of course, not everyone can afford high-end products. For budget-conscious beauties, L.A. Girl's powder contour is definitely a powerhouse in the affordable range! Its powder is super fine, without any of that cheap foundation grittiness. Plus, it contains coconut extract and vitamin E, making it very skin-friendly. Most amazingly, its staying power is incredible - I once wore it to a wedding, and it stayed perfect from morning until night.
Besides these two, I want to recommend several lesser-known but excellent products. For instance, 3CE's contour palette from Korea has shades that are perfect for Asian skin tones and the powder is very adherent. Then there's Fenty Beauty's cream contour, which is slightly pricier but gives amazing, natural results. There's also MAC's contour powder, a classic in the beauty industry with a full range of shades suitable for all skin tones.
Key Areas
Now, let's talk about the most crucial part of contouring: exactly where to apply it on your face? I've summarized three super important areas - master these three positions, and you've already passed the basic level!
First is the cheekbone. This position is the easiest to master because you basically follow the bone structure. You can first feel your cheekbone position with your fingers, then draw a natural shadow along the lower part of the cheekbone. Note that you shouldn't apply directly on the highest point of the cheekbone, but slightly below it. I have a friend with a round face who completely transformed her appearance just using this technique - she looked like a different person!
Actually, the most important aspect of contouring is adjusting according to your face shape. For example, those with round faces can make the cheekbone contour slightly more pronounced to create a vertical elongating effect, making the face appear slimmer and longer. However, those with square faces should keep it more natural in this area to avoid emphasizing angular features.
The second key area is the temples. This is a spot that many people overlook! Temple contouring actually has a huge impact on overall facial structure. The correct method is to gently circle the product on the temple area, ensuring a natural transition. This not only makes facial contours more three-dimensional but also makes the entire makeup look more refined.
I once specifically discussed the importance of temple contouring in a makeup class. That day, I had a student with a fuller face shape. I suggested she enhance the contouring at her temples, and the results were stunning! She immediately looked more refined.
The third key area is the jawline. This position is crucial in determining whether your face looks refined. Many people think the jawline isn't important, but how well you contour this area directly affects whether your face appears round or defined.
I remember meeting a girl with a typical square face at a makeup sharing session. Her biggest concern was that her face shape was too angular. I taught her to create a natural shadow along the jawline, gradually blending toward the chin. The results were surprisingly good - her strong square face instantly transformed into a softer, oval shape!
Here's a special reminder: jawline contouring must be well-blended. Don't just draw a line and leave it - use a brush to gently blend towards the chin for a natural effect. I recommend using a soft angled brush for this step, as it makes controlling the intensity easier.
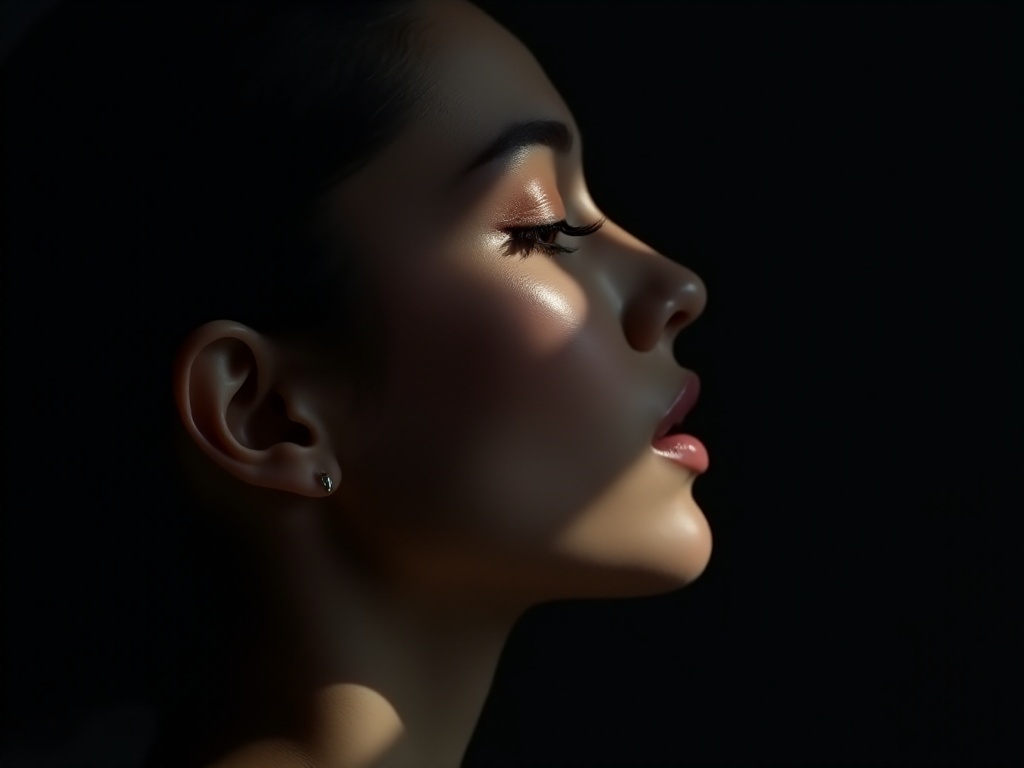
Highlighting Techniques
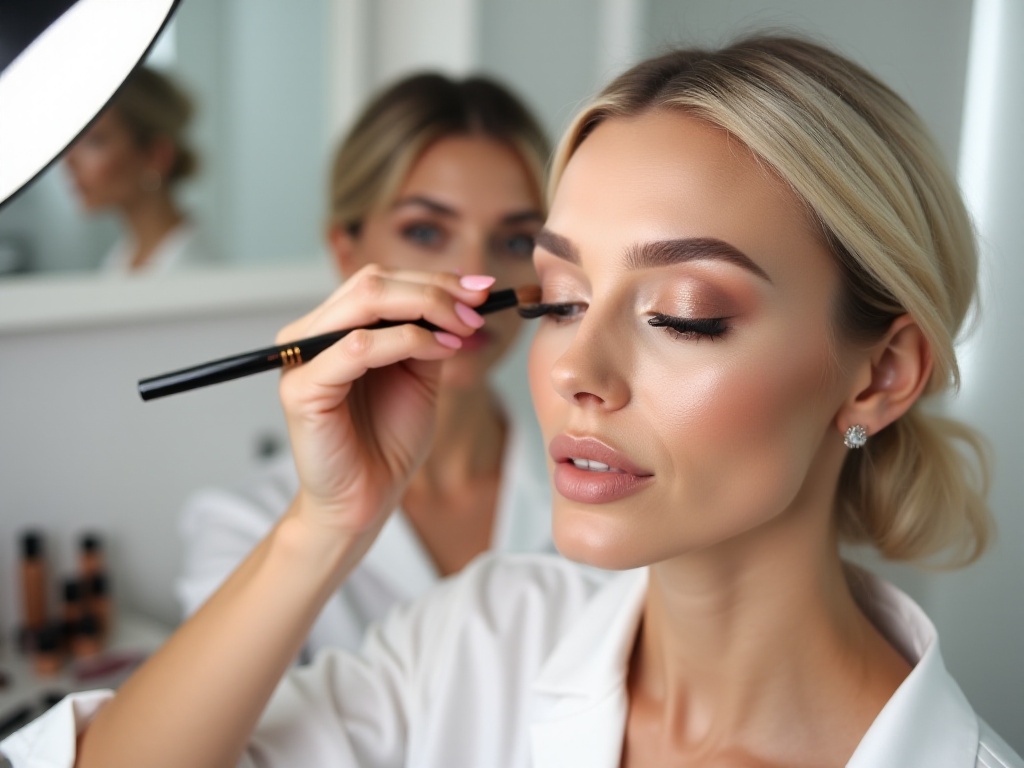
After discussing contouring, let's talk about highlighting. Highlighting is like adding a beam of light to your makeup, making you look more refined and sophisticated. However, highlighting is also a step where many people go wrong - when done well it enhances the look, but when done poorly it can look extremely greasy.
Choosing the right highlighting product is also important. The powder must be very fine, otherwise it can look like you've sprinkled glitter all over your face. I often use Becca's liquid highlighter, which has very fine pearl particles and comes in multiple shades. For beginners, I recommend starting with subtle pearl products before trying more intense shimmer formulas.
The main highlighting areas include: the highest points of the cheekbones, under the brow bone, and the bridge of the nose. These are natural highlight zones on the face, and adding highlighter here can make your makeup look more three-dimensional. I suggest beginners first gently touch these areas with their fingertips to feel the bone structure, so they won't be confused when applying makeup.
When highlighting the highest points of the cheekbones, be sure to keep the area small. Just add a small bright point and gently blend it out with your fingertip. This creates a natural glow.
Highlighting under the brow bone is a detail many people overlook. Adding a bit of highlight here can make your eyes look more awake. But be careful not to overdo it - just a light sweep is enough.
For nose bridge highlighting, I recommend using a very thin brush to draw a fine line along the bridge. This can make your nose appear more prominent, but make sure both sides are symmetrical.
Practical Experience
After years of experience, I've found that the most important aspect of contouring isn't about having superior techniques, but having enough patience. Many beginners want to achieve perfect results in one go, but rushing only leads to mistakes. When I was learning, I also went through countless failures before finally getting the hang of it.
My advice is: always start with the lightest pressure. Like cooking soup, you can always add more seasoning but can't take it away - contouring follows the same principle. Start with the lightest application as a base, then gradually build up if needed. This not only prevents over-application but also makes the whole process more controllable.
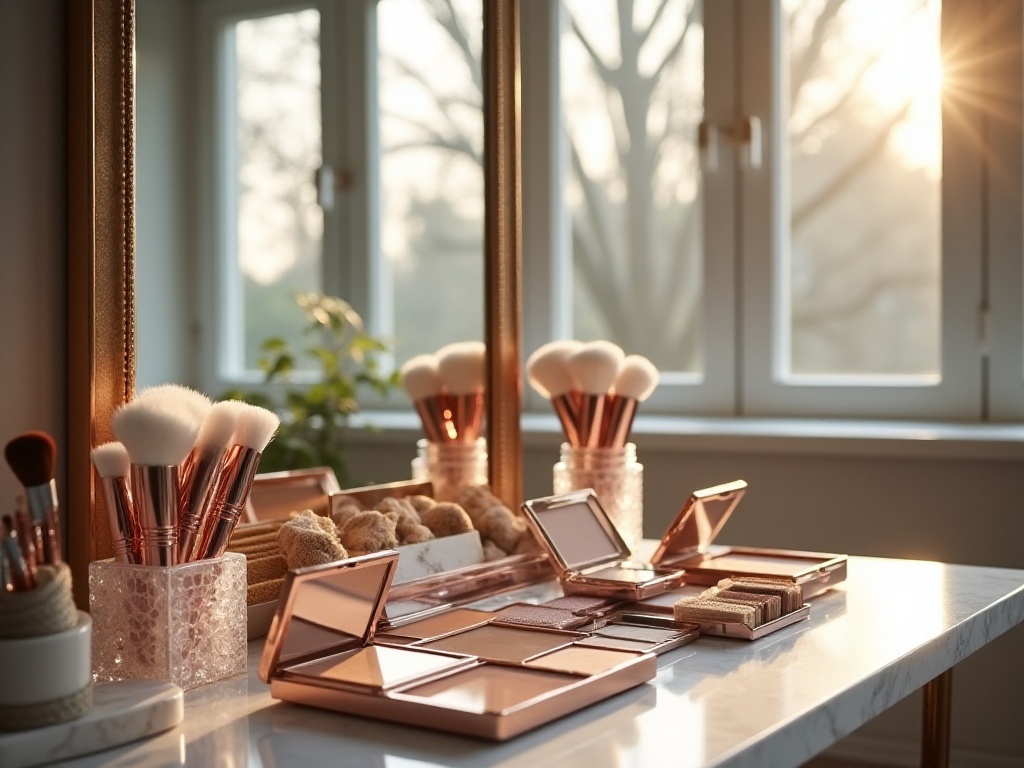
Also, choosing the right tools is important. I suggest having several different brushes: a larger one for blending, a smaller one for precise application, and a beauty sponge for buffing. This way you can handle different needs.
Lighting is also crucial. Try to do your makeup in natural light to see the contouring effects clearly. If you're doing makeup at night, ensure adequate lighting, preferably white daylight bulbs.
Final Words
Contouring is both simple and complex. Simple because its principles are easy to understand, complex because everyone's face shape is different and requires finding the most suitable method. I suggest starting with these basic techniques I've shared and gradually discovering your own contouring style.
Once you've mastered these basic contouring techniques, we can discuss more advanced topics next time, such as specific contouring techniques for different face shapes, or how to adjust contouring intensity for different occasions.
Remember, there's no standard answer in makeup - the most important thing is to make yourself happy. I hope everyone who loves beauty can find their perfect contouring method and create makeup looks they're satisfied with!