
Essential Introduction
Sisters and darlings! Today I want to share with you a beauty topic I'm super excited about lately — contouring and highlighting. I know many of you feel the same way I did at first, thinking that contouring tutorials look so difficult and feeling like you'll never master it. When I first picked up a contour stick, my hands were shaking like crazy, afraid that one wrong move would make my face look like a mess. But after some trial and error, I discovered that contouring and highlighting isn't actually that scary - the key is finding the right method. Let me help you unlock this beauty secret today!
Basic Knowledge
When it comes to why we should learn contouring and highlighting, I bet you've had this experience: you put on makeup but in photos your face looks flat with no dimension; or you see others' makeup glowing while yours seems to be missing something. This is actually because of not properly utilizing contouring and highlighting techniques.
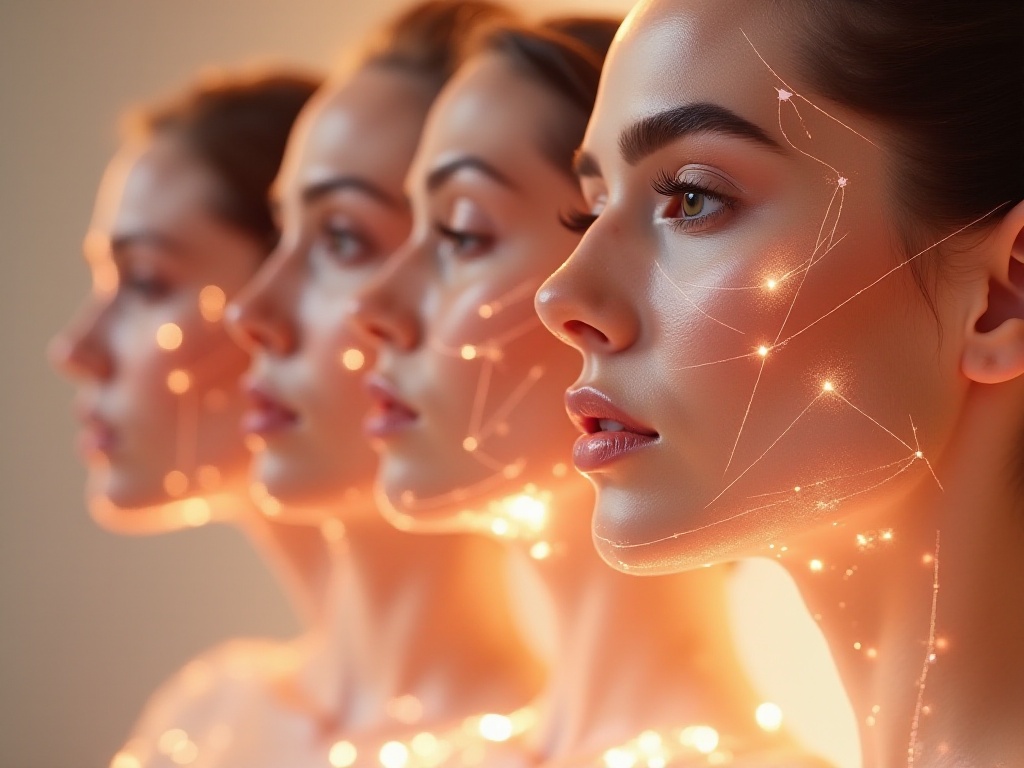
Contouring and highlighting is like drawing a sketch on your face, creating dimension through light and shadow contrasts. Just like using different line depths to show volume in drawing, we use darker products to create shadows and lighter products to emphasize areas we want to highlight. This makes your facial features more defined and your overall look more refined.
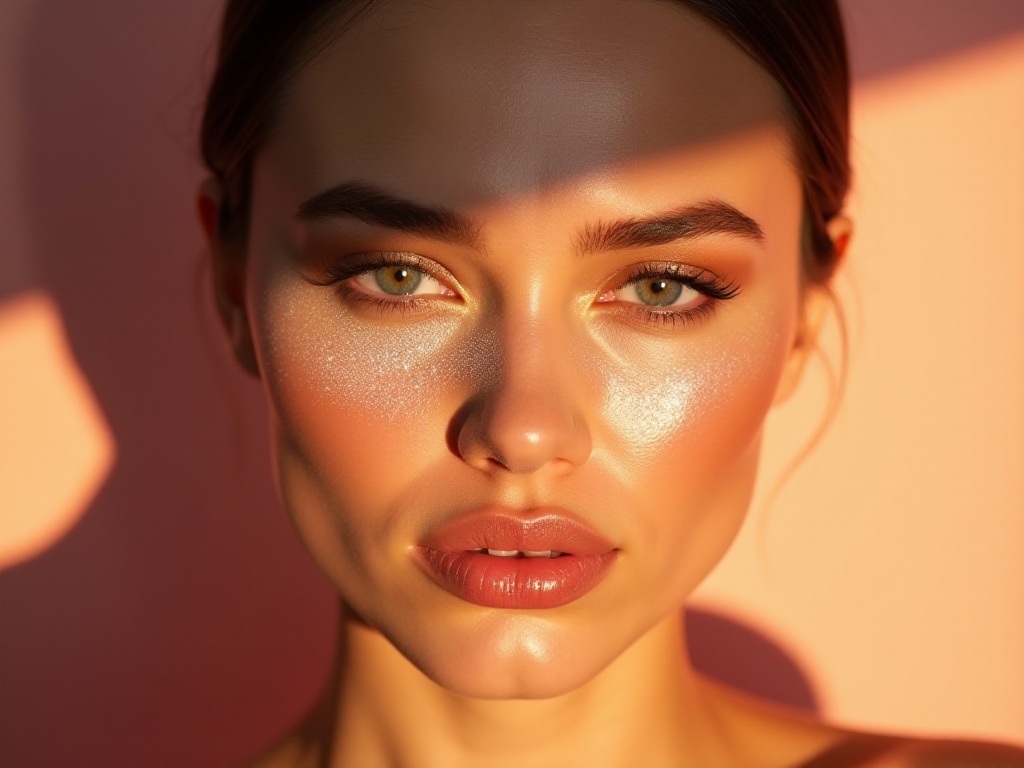
For example, we often see Western beauty influencers with very dimensional makeup because they're skilled at using light and shadow principles. They use shimmery highlighters on high points to make skin look sun-kissed, and darker contour products to create natural shadows in areas they want to minimize.
Beginner's Guide
As a former makeup newbie, I totally understand how beginners feel. That's why I recommend starting with cream products, as they're especially easy to control. I love using NARS concealer - its texture is like smooth cream that blends so easily without leaving harsh lines. Plus it's great at concealing while helping create contours - perfect for beginners.
For tool selection, I think beginners need two basic brushes. Choose a dense brush for contouring to apply product more evenly, and a softer brush for highlighting to create a more natural effect. I especially recommend Real Techniques brushes - they're great value and quality.
Many of you might wonder why you need two brushes. This is because contour and highlight products have different textures and application methods. Contour products are usually more concentrated and need a dense brush for precise blending, while highlight products need a gentler touch with a softer brush for a natural effect. Using the same brush can cause product mixing and affect the final result.
Face Shape Guide
Every face shape is unique, so contouring techniques can't be one-size-fits-all. Let me explain the key points and techniques for different face shapes.
For square-faced sisters, focus on softening facial angles. Specifically, start from the hairline, extending down from the temples to mid-cheek in a natural curve. This helps soften facial contours. Also remember to create a subtle shadow along the jawline to reduce angular appearance.
For round-faced cuties, focus on creating vertical shadows on the sides of the face. Draw a natural shadow line from the ears to mid-cheek to make the face appear longer. But be careful not to make this shadow too heavy - blend well for a natural, dimensional look.
For long-faced beauties, focus on creating horizontal shadows on the forehead and chin to make facial proportions more balanced. Create a light shadow near the hairline and slightly deepen the chin area to add dimension.
For oval-faced sisters, you have the easiest face shape to contour. Just slightly emphasize your natural contours. Starting from the temples, create a "3" shaped shadow following your natural facial contours to make features more defined.
Product Selection
When it comes to choosing products, there are so many contouring options available now it can be overwhelming. But I suggest selecting products based on these aspects.
First is texture selection. For beginners, cream products are definitely the first choice. These products are especially easy to control, and even if you apply too much, they can be easily blended out with fingers or a beauty sponge. I particularly love Fenty Beauty's cream contour stick - it has a very smooth texture and many shades suitable for Asian skin tones.
For more experienced makeup enthusiasts, you can try powder contour products. These products usually last longer and you can adjust the intensity as needed. I personally love Too Faced's chocolate contour palette - not only are the colors natural, but it also has a lovely chocolate scent that makes application enjoyable.
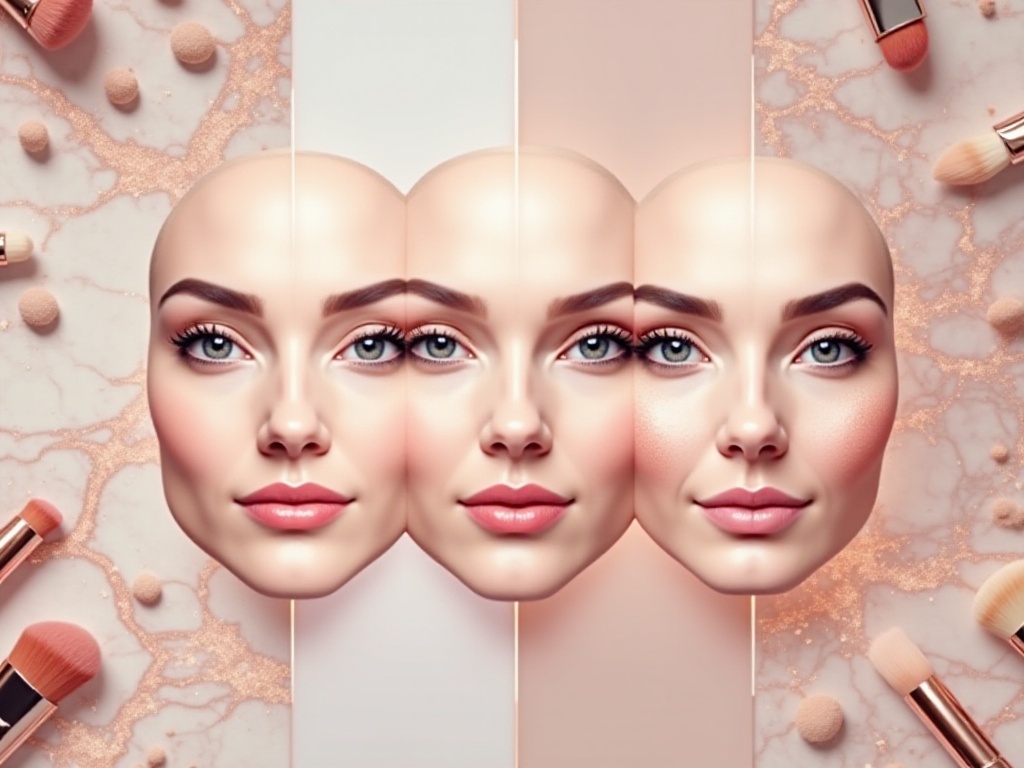
Next is shade selection. This is especially important because choosing the right shade makes contouring look natural. Generally, choose a contour shade 1-2 shades darker than your skin tone. If too dark, it will create obvious lines; if too light, it won't create enough contour effect.
Highlighter selection is also crucial. If you have yellowish undertones, choose highlighters with gold pearl; if you have pink undertones, choose ones with silver pearl. I especially recommend Becca's highlighters - they have very fine pearl and multiple shade options.
Advanced Techniques
Now let's look at some advanced contouring techniques. These techniques might need more practice to master, but once you do, they'll take your makeup to the next level.
Cheekbone contouring is one of the most important parts of creating facial structure. Many people apply contour product directly on their cheeks, but this doesn't achieve the best effect. The correct method is to start from the ear and draw a 45-degree upward shadow toward the middle of the cheek. This line shouldn't be too long - generally stop at the apple of the cheek. Then gently blend upward with a brush for more natural, dimensional facial contours.
Nose contouring is also technical. My tip is: use a thin, long brush with a small amount of contour product to draw two parallel lines along the sides of the nose bridge. Don't make these lines too thick or too far from the bridge. Then gently blend these lines with your finger to make them look more natural. If you want to enhance the effect, lightly add highlighter to the tip of the nose to make it appear straighter.
For sisters wanting to create a V-shaped face, chin contouring is important. Lightly apply shadow on both sides of the chin and blend downward to make the chin appear more pointed. But remember, this shadow must look very natural without obvious lines.
Enhancing Makeup Effect
Setting your makeup is crucial for long-lasting contour effects. I especially recommend Charlotte Tilbury's powder - its texture is very fine and makes the whole makeup look more polished and natural. When using setting powder, use a large brush to lightly sweep over the entire face, especially contoured and highlighted areas, for longer-lasting makeup.
If you want to create that refined glow, OFRA's highlighters are unbeatable. Their pearl finish is very fine without looking cheap and glittery. When using highlighter, remember to control the amount - less is more. I usually lightly apply it to the highest points of the cheekbones, under the brow bone, nose tip, and above the cupid's bow for a more refined look.
Another tip is using setting spray. After completing all makeup, lightly spray MAC's setting spray to help all products blend together better and look more natural. But be careful with the spraying distance - too close will make makeup run, too far won't set properly. Generally maintain about 20 centimeters distance.

Important Notes
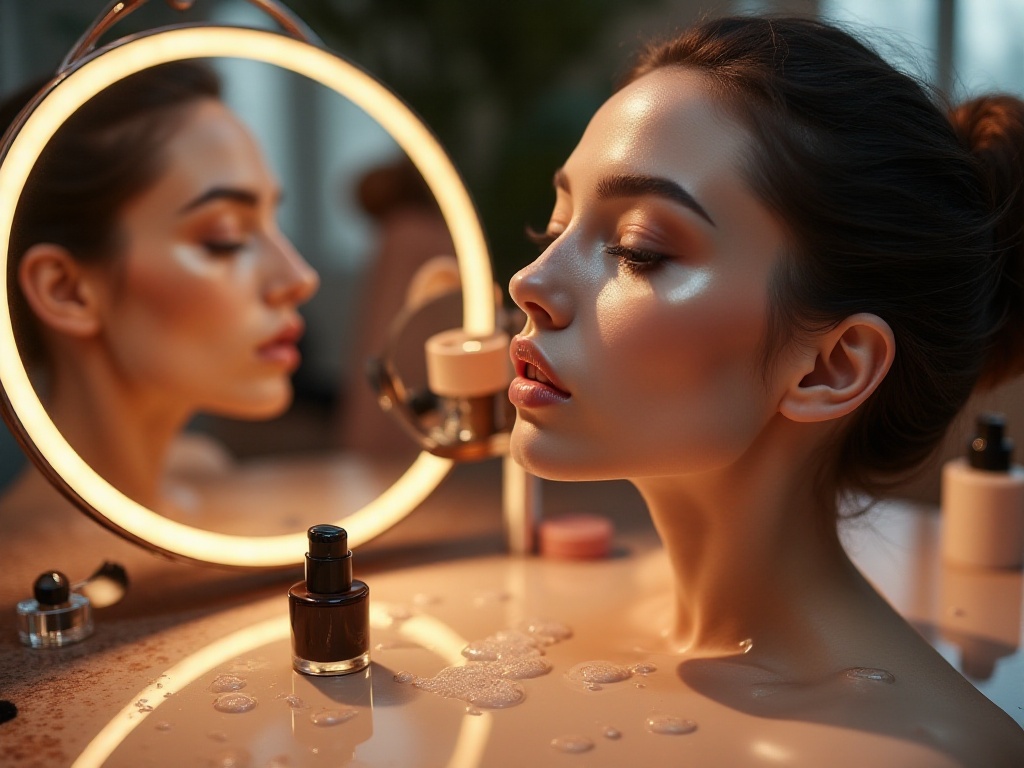
There are several important points to note when using these products. First is lighting - always apply makeup in natural light. Many people like to apply makeup under yellow lighting, but this can cause color distortion. Applying makeup in natural light helps you see the true effect of products and avoid overly heavy makeup or color mismatches.
Next is product selection. More people are now concerned about whether products are environmentally friendly and cruelty-free. Fortunately, many vegan and cruelty-free options are now available. Brands like Too Faced and Urban Decay offer many such products.
Product shelf life is another important point. Contour and highlight products generally last 12-18 months - don't use products past their expiration date as they may cause skin issues. Also regularly clean your brushes - keeping tools clean is very important.
Finally, the most important thing about makeup is enjoying it. Don't pressure yourself too much - everyone's face shape and features are different, finding what works for you is most important. Practice gradually and you'll find your perfect contouring method. Remember, makeup isn't about changing yourself, but about becoming more confident. Feel free to ask questions in the comments section - let's learn and improve together. I hope these tips help you better master contouring and highlighting techniques to create your perfect makeup look!