
Basic Concepts
Contouring and highlighting might seem unfamiliar to beginners, but they are fascinating and practical makeup techniques. Just like how we used different shades to create depth in childhood drawings, contouring and highlighting work on the same principle. When I first started learning makeup, I noticed many beauty bloggers emphasizing these techniques. After continuous exploration and practice, I finally understood their secrets.
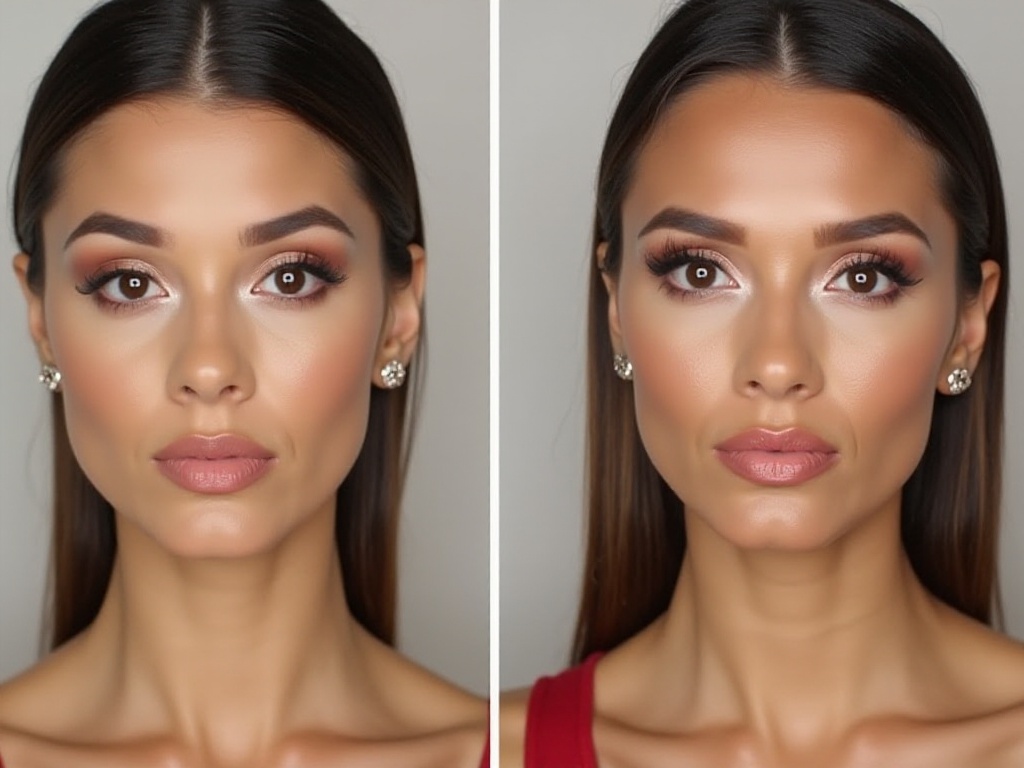
Contouring is like performing shadow magic on your face by using products slightly darker than your skin tone to create shadow effects in specific areas. These shadows make facial features more defined, like the dark areas in sketching. For example, we often see beauty bloggers drawing dark lines on the sides of their cheeks in makeup videos - this is the most basic contouring technique.
Highlighting is contouring's sister skill, using products lighter than your skin tone to add radiance to areas you want to emphasize. Just like using white to highlight bright areas in drawing, highlighting can make facial features more refined and dimensional. These two techniques complement each other to create perfect facial contours.
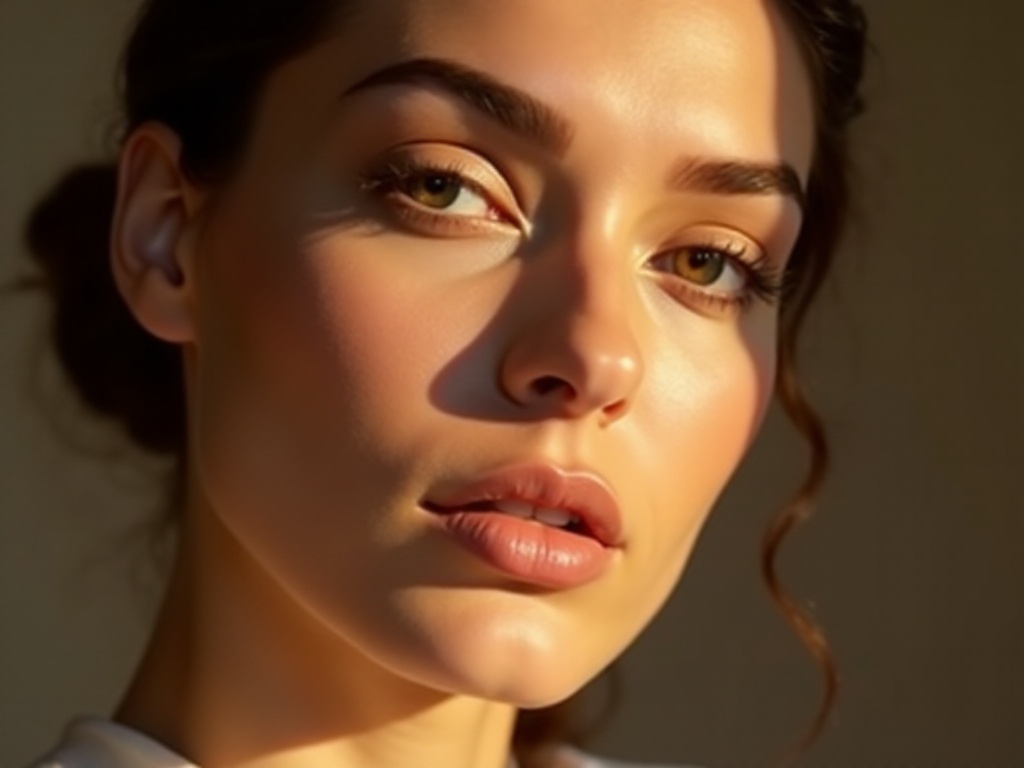
During my learning process, I found that many people overcomplicate these techniques. Actually, contouring and highlighting are just games of light and shadow. Once you grasp the basic principles, they become easy to master. Think about it - when we stand in sunlight, the areas hit by sunlight appear brighter, while shadowed areas naturally form darker areas - this is the best reference.
Practical Tips
When it comes to practical application, I really want to share some hard-learned lessons. When I first started contouring, I couldn't control the intensity - either applying too heavily, making it obvious I was wearing makeup, or too lightly with no visible effect. After countless practice sessions and failures, I finally summarized some useful tips.
First, we need to learn to recognize our face shape. Everyone's face shape is unique, but they can generally be categorized into several basic types. Square faces feature prominent jaw angles, so we need to focus on contouring the forehead corners and jawline, creating natural shadows to soften the angles.
Those with round faces might be particularly concerned, feeling their face shape looks too cute and not mature enough. The key to contouring round faces lies in the sides of the cheeks. We should create natural shadows along the facial contours inward, which can visually make the face appear longer and slimmer. Remember to pay special attention to blending - avoid creating obvious lines.
For those with long faces, the main goal is to visually shorten face length. I suggest deepening the color slightly at the hairline area of the forehead and chin to make facial proportions more balanced. However, be careful not to contour too large an area, or it will make your complexion look dull.
The technique is also very important when contouring. I recommend using a professional contour brush with medium bristles - neither too soft nor too hard. Brushes that are too soft can distribute product unevenly, while those that are too hard might disturb the foundation. The brush movement should follow the principle of moving from inside to outside, making the contouring look more natural.
Product Selection
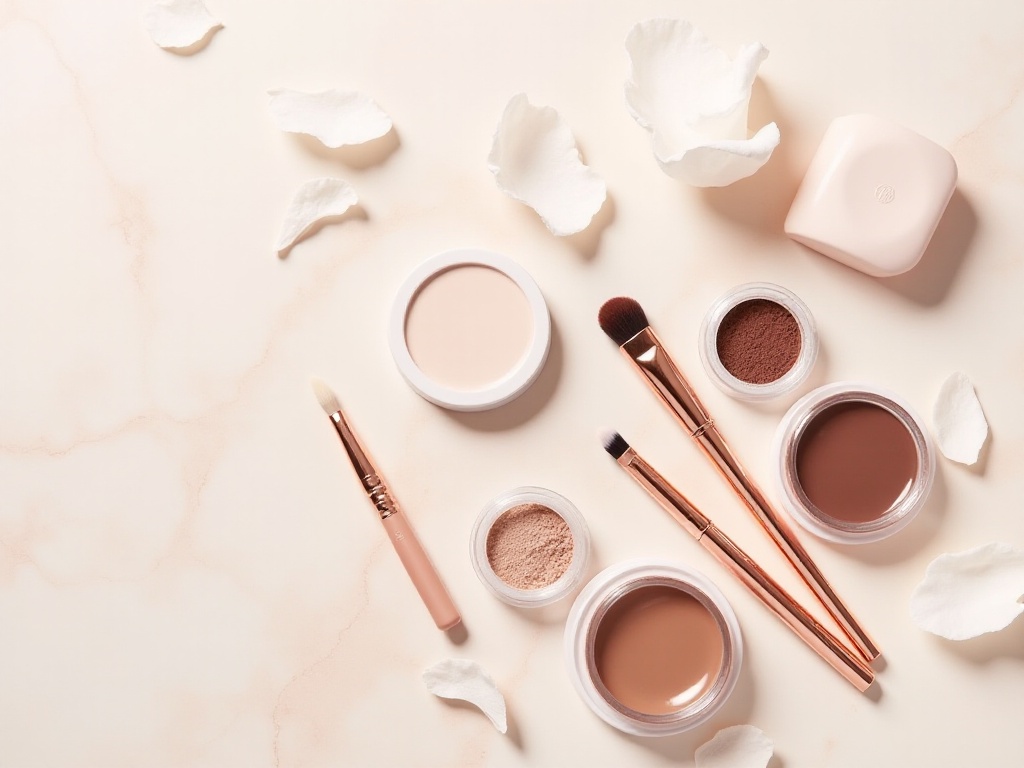
When it comes to product selection, this is truly a topic worth exploring. There are so many types of contouring products on the market now - powder, cream, liquid, and various hybrid textures - it's really dazzling. As someone who has tried countless products, I want to especially emphasize the importance of choosing suitable products.
Personally, I most recommend Perricone MD's contouring kit. This brand's products have an especially fine texture, and the gel-cream consistency makes it particularly easy to blend. Most importantly, it won't create unsightly patchy marks on your face, making it easy even for beginners to handle. Its built-in rose tone is especially complexion-enhancing, looking natural even on bare skin.
For those who prefer powder products, I highly recommend No7's contour powder compact. While this brand isn't particularly high-end, its products are very practical. Their contour powder shades are scientifically designed and especially suitable for Asian skin tones. It won't make you look ashy or too orange-red like some brands' contouring products.
Besides these, I want to especially remind everyone to pay attention to product shelf life. Since contouring products are frequently used, hygiene is crucial. I recommend choosing products with sealed packaging and using clean tools to extend product life.
When choosing contour shade, select one that's one to two shades darker than your skin tone. Too dark will look fake, while too light won't achieve the contouring effect. If unsure about color selection, try testing at makeup counters first, swatching on the inner arm where skin tone is similar to see the effect.
Advanced Techniques
After mastering basic contouring techniques, we can start trying some more advanced methods. Honestly, I only mastered these techniques after long periods of practice. Contouring isn't just about drawing lines on your face - it's an art that requires continuous improvement.
Let's first talk about nose contouring, which is probably what interests many people most. Different nose shapes require different contouring methods. If the nose bridge is wide, we can draw two fine lines from the brows along the bridge, visually making it appear more slender. If the nose tip is large, we can deepen the sides of the nostrils slightly to make the tip appear smaller.
Eye area contouring is also important. Many people overlook eye socket contouring, but appropriate eye socket shadows can make eyes appear deeper and more defined. When creating eye socket shadows, remember to use a light hand and natural colors - preferably grayish-brown products to avoid looking too heavy.
Besides basic contouring positions, we can make personalized adjustments based on our facial features. For example, if you feel your apple cheeks are too prominent, you can create subtle shadows beneath them to soften facial contours. If you feel your chin isn't defined enough, you can deepen the sides slightly to make it appear more dimensional.
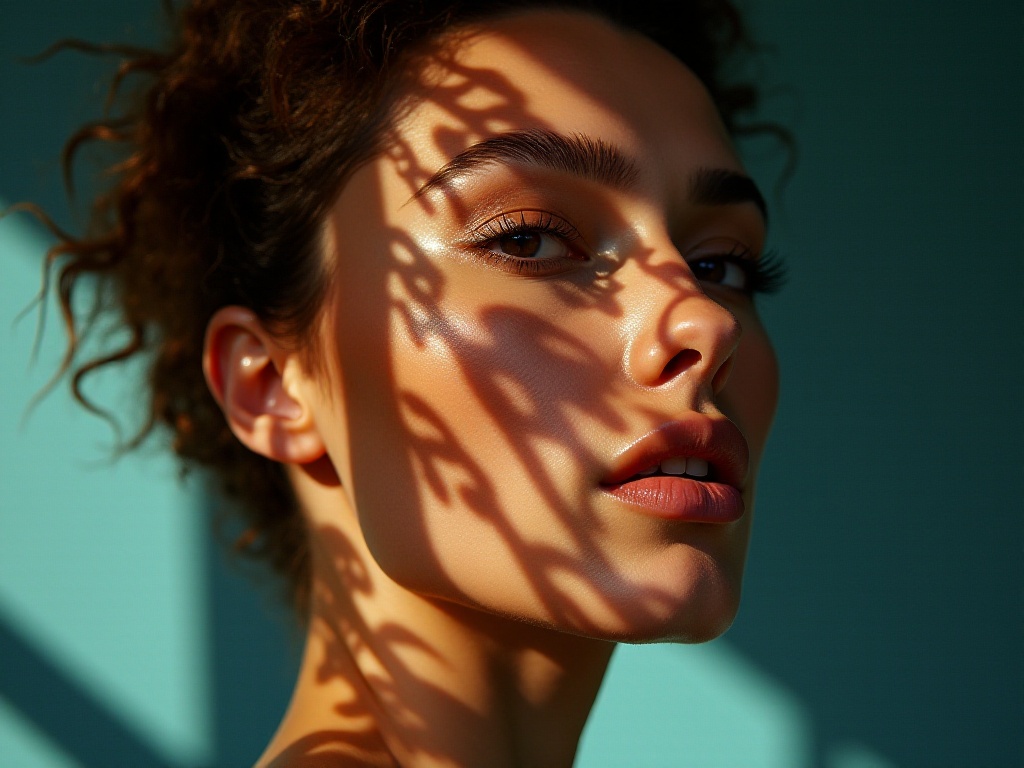
When doing these advanced contouring techniques, lighting is crucial. It's best to do makeup in natural light to see the contouring effects more accurately. If applying makeup under artificial light, check the effect from multiple angles to ensure it looks natural in different lighting conditions.
Important Notes
Speaking of important notes, this is truly a topic worth discussing in depth. As someone who frequently applies makeup, I deeply understand the importance of correct contouring methods for overall makeup. Contouring is like painting on your face - it's easy to overdo it.
First, let's talk about controlling contouring intensity. When I first started learning contouring, I always applied products too heavily, thinking this would show better results. But when checked in natural light, it looked terrible. Later I understood that the most important aspect of contouring is looking natural, like shadows cast by natural sunlight.
Product selection is also crucial. For beginners, I strongly recommend starting with lighter-colored products. After becoming more familiar with contouring techniques, gradually try darker products. People with different skin tones need to choose contouring products of different depths - this point is really important.
Regarding tools, choosing suitable brushes is essential. The choice of contouring brush directly affects the result. Brushes that are too soft lead to uneven product distribution, while those too hard might disturb foundation. I recommend choosing medium-firmness angled brushes, which make it easy to control intensity while creating natural effects.
The condition of your base makeup also affects contouring results. If the base is too dry or oily, it will affect how well contouring products adhere. So ensure perfect base makeup before contouring. If you notice your base isn't good, better adjust it before proceeding with contouring.
Personalization
Everyone's face shape and features are unique, so contouring plans need to be customized according to individual characteristics. I especially recommend carefully observing your face shape before starting contouring. Take a front-facing photo and carefully analyze the areas you want to modify.
If you feel your face is round, focus on creating shadows under the cheekbones. This can make facial contours appear more dimensional while achieving a slimming effect. However, note that shadow placement should be adjusted according to your face shape - don't blindly copy others' contouring methods.
For those who feel their forehead is too wide, create subtle shadows near the hairline. This can visually reduce forehead area, making overall face shape appear more balanced. But remember, blending is crucial here - otherwise, the contouring will be obvious.
Everyone's facial features are different, so contouring focus should adjust accordingly. For example, if you feel your nose isn't prominent enough, draw fine shadow lines on both sides of the bridge. If you feel your chin isn't defined enough, deepen the sides slightly.
When doing personalized contouring, overall harmony is crucial. Don't focus on modifying just one area while neglecting overall effect. Best to step back and check the overall effect, ensuring contouring looks natural and harmonious everywhere.
Summary and Outlook
After such detailed explanation, I believe everyone has gained a deeper understanding of contouring and highlighting. They're like makeup's light and shadow magic - once you master the correct methods, you can easily create ideal facial contours.
The most important thing about makeup is making yourself happy - don't pressure yourself too much. Everyone's learning process is different; some might grasp principles quickly, while others need more practice. Regardless, with consistent practice, everyone can find their most suitable contouring method.
Remember, the ultimate purpose of contouring and highlighting is to make yourself look more refined and natural, not completely change your appearance. While pursuing perfect makeup, learn to appreciate your unique features.
If you encounter any problems while learning contouring, feel free to discuss them in the comments. Next time we can explore specific contouring techniques for different face shapes in more depth, helping everyone find their most suitable contouring plan.