
Opening Words
Sisters, remember my painful first attempt at contouring and highlighting three years ago? When I was just starting with makeup, I was completely lost in front of the mirror, not knowing what to do. After watching many beauty influencers' videos, I thought I could create perfect makeup by following their instructions. The result was predictable - I ended up looking like a painted cat.
It was super embarrassing going to work with my "masterpiece," receiving countless puzzled looks along the way. My colleagues were kind enough not to say anything to my face, but I could feel them talking about it behind my back. I almost gave up that day, thinking maybe makeup wasn't for me.
But! I didn't give up easily. After three years of continuous exploration and practice, I now only need 15 minutes every morning to create a perfectly sculpted face. From fumbling to mastery, from awkward imitation to developing my own style, I want to share all my experiences with you today.
Basic Concepts
Many girls get overwhelmed when they hear about contouring and highlighting, thinking it's an extremely advanced technique. Actually, it's not - contouring and highlighting are simply about creating facial definition through light and shadow contrasts. Just like finding the right angle and lighting when taking photos, makeup creates the same effect on your face.
Many people get scared off by professional terms right away: cream texture, powder texture, matte, pearl finish... Don't panic, let me explain in the simplest terms.
Cream texture feels like your regular moisturizer, smooth and easy to blend; powder texture is like the regular powder compact we're familiar with, requiring a brush to apply. Matte means completely non-reflective, like a wall surface; pearl finish has fine shimmer, like sprinkling very fine glitter on your face.
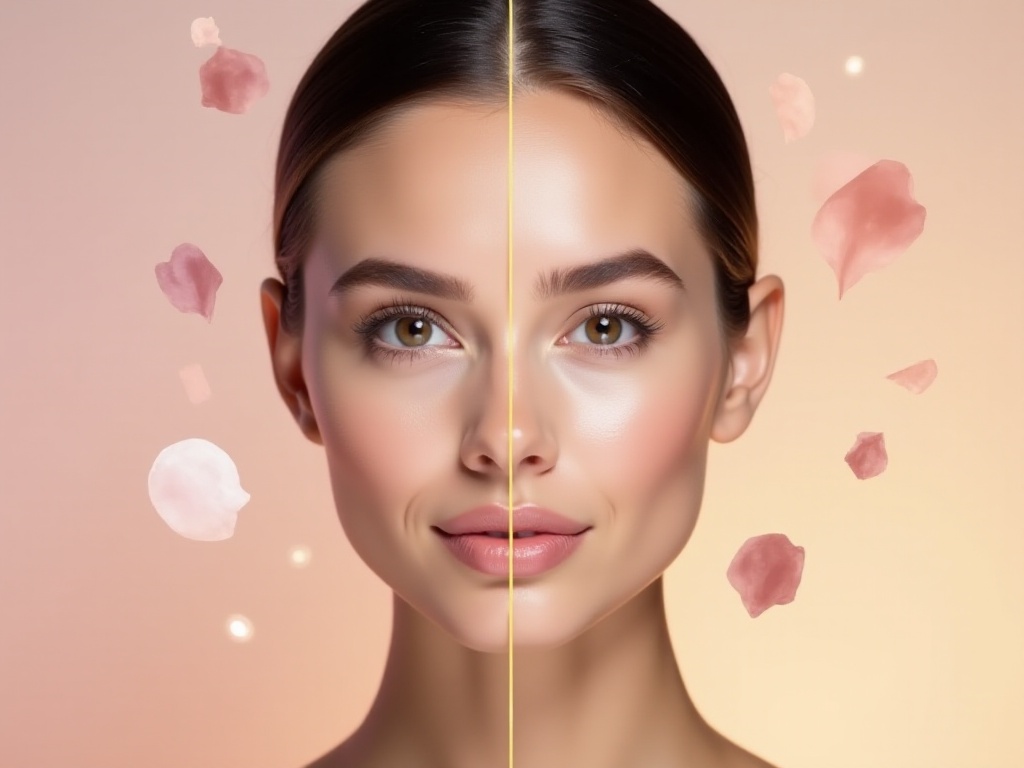
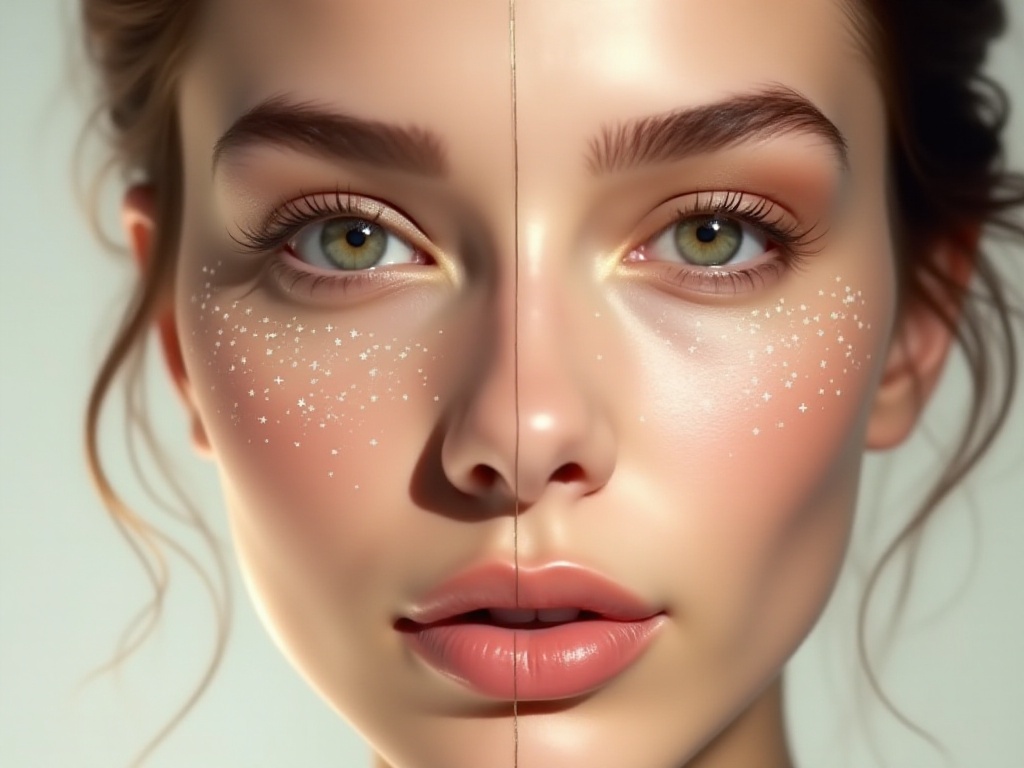
Think about the light and shadow effects when taking photos. When sunlight hits your face, protruding areas appear brighter (where we apply highlighter), while recessed areas appear darker (where we apply contour). When we do makeup, we're imitating these natural light effects, artificially recreating this dimension.
For example, we often notice people like to angle their faces when taking photos, letting sunlight hit at a 45-degree angle. Why? Because this naturally emphasizes facial contours, making features more defined. Contouring and highlighting essentially fix this effect on your face.
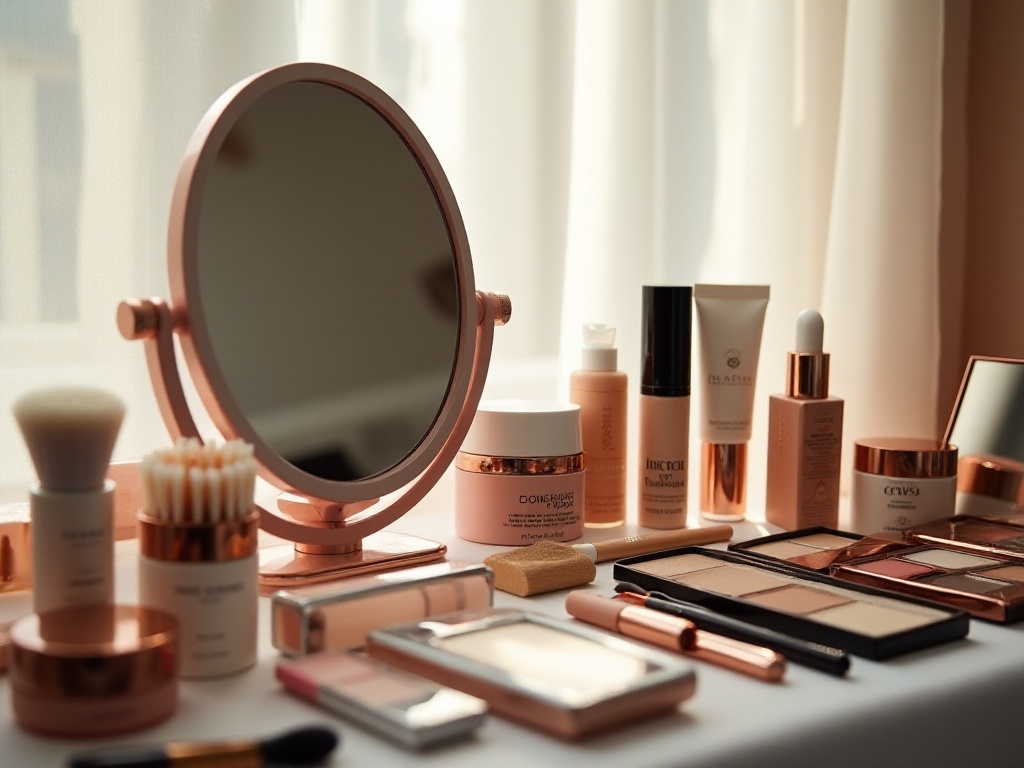
Essential Starter Kit
Regarding starter equipment, I've stepped into too many pitfalls. At first, I bought whatever beauty influencers recommended, ending up with a pile of unused products. Looking back, beginners really don't need that many products. I suggest starting with these basic items:
First, a cream contour stick. I highly recommend Benefit's Hoola Quickie Contour Stick - its color is very natural and won't look too heavy if you make a mistake. When I first bought it, I worried it might be too dark or obvious, but once I tried it, I found its color was a very gentle earth tone, perfect for daily use.
The second essential item is a highlighter palette. OFRA's Rodeo Drive is incredibly beginner-friendly. Its powder is finely milled with no obvious particles, and it applies well whether you use fingers or brushes. I was amazed by its effect the first time I used it - it creates a natural glow, like sunlight hitting your face.
Lastly, don't forget a good contour brush - this is a key tool for efficiency. Initially, I thought any cheap brush would do, but cheap brushes not only shed but also have bristles that are too stiff, spreading powder everywhere. After switching to a professional contour brush, I realized how much brush quality affects makeup application.
When choosing brushes, opt for medium-firm bristles - not too soft or too hard. Brushes that are too soft make product application uneven, while ones that are too hard leave obvious streaks. My current brush has just the right firmness, easily blending product while softening edges nicely.
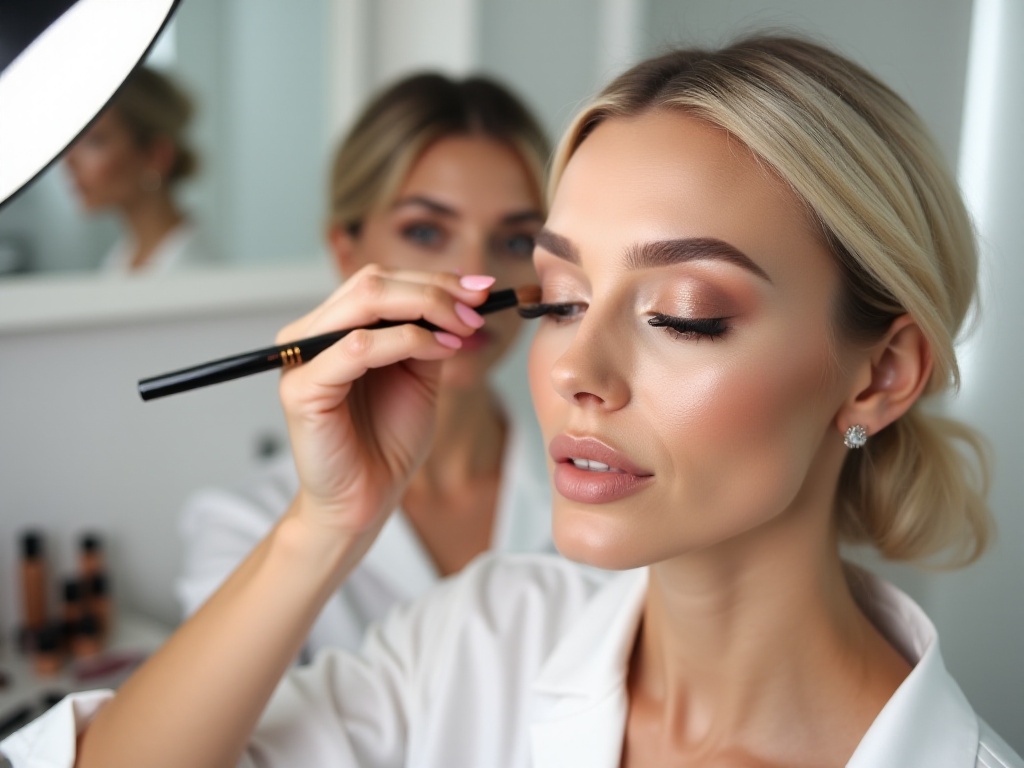
Practical Techniques
Let's talk about specific steps. You know what's the most common mistake beginners make? Drawing the contour line too low. I did this at first too, thinking contour should go in the most hollow part of the cheeks. Later I discovered this actually makes the face look more bloated.
The correct position should start from above the ear, drawing a 45-degree downward-slanting line along the cheek hollow. This angle is crucial as it best complements our natural facial contours. Now when I contour, I always feel for my cheekbone position first before drawing the line.
Regarding pressure control, I suggest starting light and building up. First outline the general shape with very light pressure, then gradually layer the product. This not only prevents applying too much at once but also makes the whole process more controllable. I now typically apply contour in three layers: first very light to outline the shape; second slightly heavier to make the color more visible; third focusing on deepening specific areas that need more emphasis.
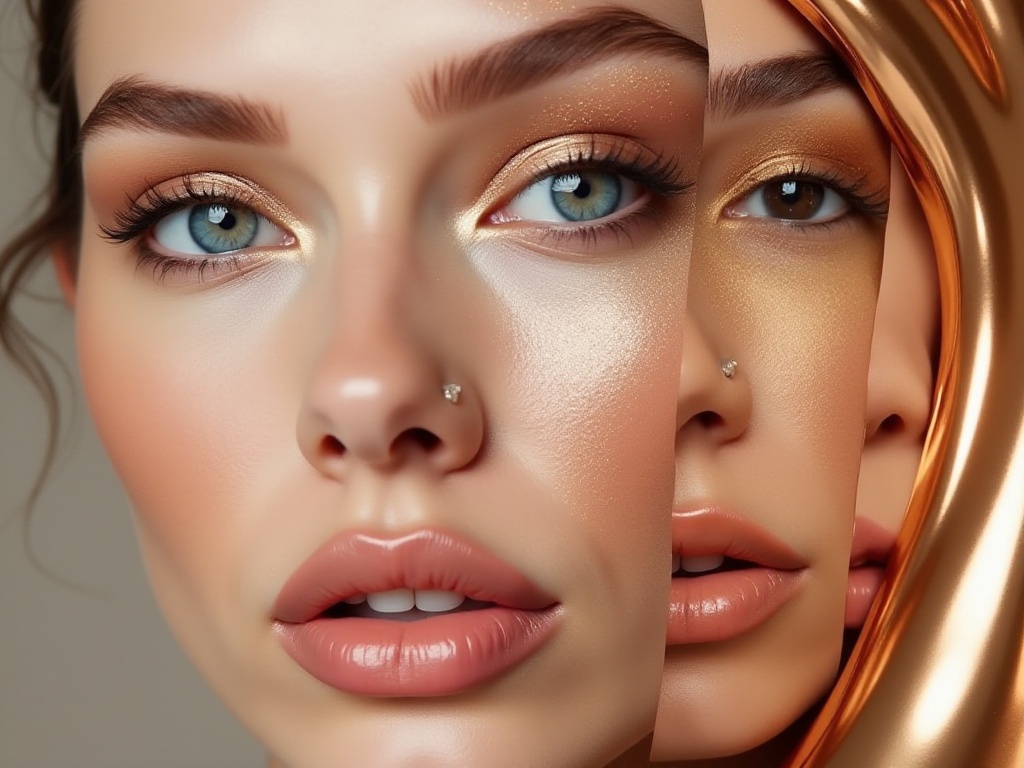
Highlighting also has its techniques - brighter isn't always better. When I first started makeup, I thought more sparkle meant better results, ending up looking like a disco ball. Now I've found the perfect golden ratio: test the product on the back of your hand with your fingertip - if you can see obvious shine but it's not too flashy, that's the right amount.
Placement of highlight is also crucial. Many people know to highlight the apples of cheeks and nose bridge, but there are some extra tricks to make the whole look more refined. For instance, I'll add a little highlight under the brow bone to make eyes appear more awake. Also, a tiny bit of highlight above the cupid's bow can make lips appear fuller.
Another important technique is blending. Whether it's contour or highlight, edge treatment is crucial. My current method is to use a clean brush to gently blend the edges after application, avoiding obvious lines. Sometimes I'll also use a foundation brush with a bit of foundation to sweep over the edges of contour and highlight, making the whole look more natural.
Advanced Techniques
After mastering the basics, let's talk about some advanced techniques. Have you noticed that different occasions require different contour and highlight intensities? I learned this through many social occasions.
For example, for daily work, I choose a more subtle earth-tone contour paired with a pearl-finish highlight. This combination works particularly well under office fluorescent lighting, not too dramatic but keeping facial features defined. I often use this look for work, and colleagues say it looks natural yet polished.
But for weddings or important dates, I'll choose a deeper contour shade paired with diamond-level sparkly highlight. These occasions usually have dimmer lighting, requiring stronger contrast to show dimension. Plus, more dramatic makeup is appropriate for such important events.
I've also discovered a trick about adjusting highlight placement and amount based on different lighting conditions. In natural light, highlight can be more dispersed; but in artificial lighting, it's better to concentrate on key areas to avoid looking too shiny.
Another advanced technique is layering products. Sometimes I'll use cream contour as a base, then layer powder contour to deepen certain areas. This creates more natural dimension and better longevity. Same with highlight - I often apply liquid highlighter first, let it dry, then layer powder highlight for more dimensional glow.
Learning from Mistakes
Speaking of mistakes, I have a whole basket of experiences to share. The most painful lesson? Getting carried away by influencer marketing and hoarding products that didn't suit me.
Once, I saw a popular beauty influencer strongly recommending a contour product, claiming how amazing it was. I ordered it without thinking, only to find upon receipt that the shade completely mismatched my skin tone, looking like mud on my face.
Another time, I was attracted by a highlighter's sparkly effect, buying what was supposedly a "fairy must-have." Only after using it did I realize the glitter particles were huge, looking like I'd sprinkled sequins on my face - completely unsuitable for daily use.
My advice now is: always choose products based on your skin type and tone. Don't blindly follow influencer recommendations, because everyone's face shape and skin color are different - what works for others may not work for you.
Now I always test colors at counters first or thoroughly research online reviews. Especially for contour products, it's important to check whether they lean red-brown or gray-brown, choosing the one closest to your face's natural shadow color.
Money-Saving Tips
Don't think only expensive products are good. This might be my biggest realization after years of wearing makeup. I've used high-end brands like MAC and Charlotte Tilbury, and tried budget brands like L.A. COLORS. Honestly, many affordable products offer excellent value for money.
For instance, L.A. COLORS' contour and highlight palette costs only $39 but performs as well as high-end brands. I was worried about potential issues when I first used it, but found its powder quality matched my previous expensive products perfectly.
Many domestic brands are also constantly improving, now offering many quality products. My current daily makeup routine mixes many affordable finds, performing just as well as all high-end products.
Another money-saving trick is utilizing makeup products' versatility. Some blushes can work as contour, and some eyeshadows can work as highlight. This not only saves money but also reduces the number of products in your makeup bag.
Final Words
After this detailed sharing, do you have a new understanding of contouring and highlighting? Actually, makeup shouldn't be something to stress about too much. Remember, the most important thing isn't pursuing perfection, but finding what works for you.
Everyone's face shape is unique - there's no need to completely copy others' makeup methods. You can gradually discover techniques that suit you best through practice. Like me now, while I'm not a makeup expert, I can easily create looks I'm satisfied with.
If you encounter any problems in practice, feel free to discuss with me. I believe through continuous practice and experience accumulation, you can master this skill too.
Oh, I almost forgot the most important point: practice is the only way to improve. My current skill level came from countless failures. So, pick up your makeup brush and start your contouring and highlighting journey.
Trust me, when you truly master this skill, you'll find it's not just a makeup technique, but an ability that makes you more confident. Going out every morning with polished makeup, that confidence radiating from within really makes your whole presence different.