
Understanding Contouring
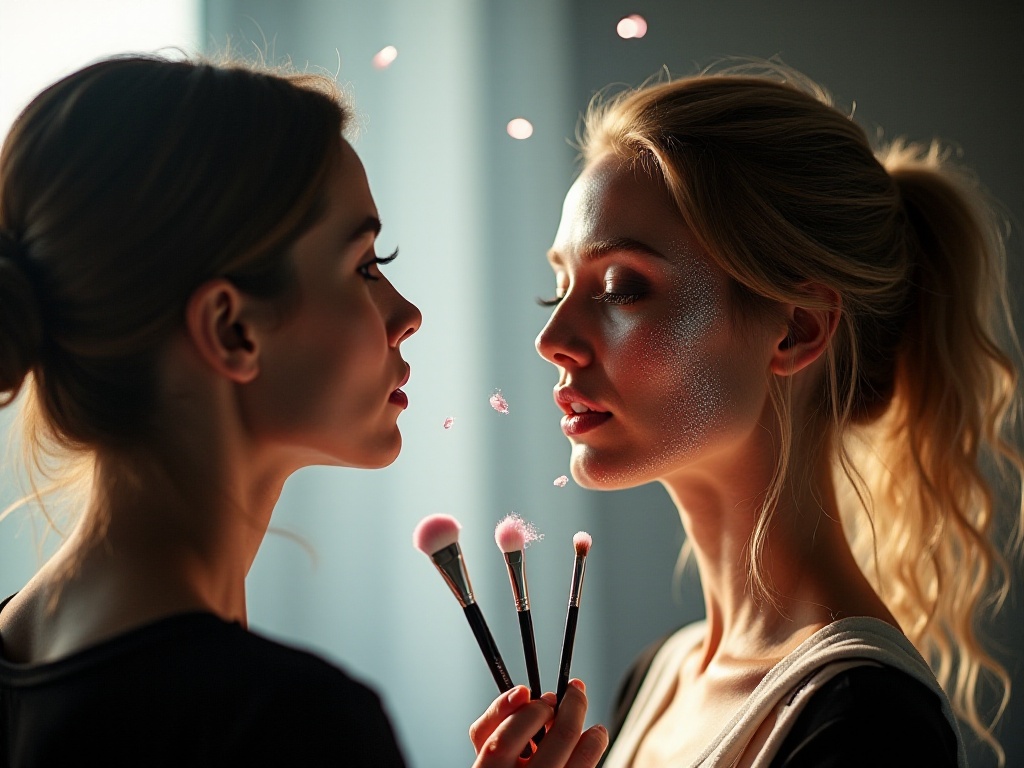
As a beauty blogger who studies makeup every day, I've received countless questions about contouring from my lovely followers. Many feel that contouring is particularly difficult to master and worry about applying it too heavily and looking artificial. But there's no need to worry too much - today, let me guide you step by step through the mysteries of contouring.
What exactly is contouring? It's actually super simple - it's using products of different shades than your skin tone to sculpt facial features. Highlighting, on the other hand, is using illuminating products to add dimension and radiance to the face. Using these two techniques together can create an incredibly refined, three-dimensional makeup look. I remember when I first started, I couldn't even tell the difference between contour powder and loose powder - thinking about it now makes me laugh.
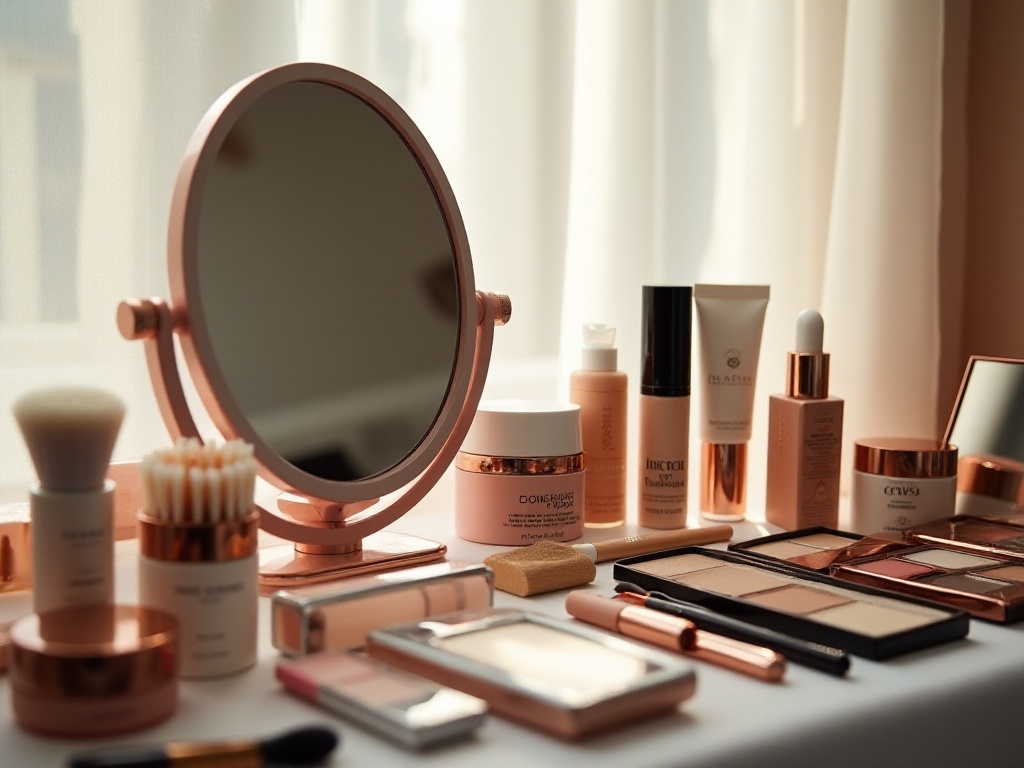
The texture and shade of contouring products are particularly important. Common contouring products come in three textures: powder, cream, and liquid. Beginners should start with cream or liquid formulas, as these textures are easier to blend and less likely to create patches. For shade selection, choose products 1-2 shades darker than your foundation - this achieves the contouring effect without looking too obvious.
The Magic of Contouring
Do you often feel that your face looks flat in photos, with no dimension? Or that your facial features lack definition? All of these can be improved through contouring! Contouring not only helps define facial features but also improves facial dullness, making the entire makeup look more refined and natural.
I'll never forget my first painful experience with contouring. That day, I excitedly bought an expensive contour palette, but after applying it, I looked like I'd smeared mud all over my face. After countless failures and attempts, I finally understood that the most important aspect of contouring is choosing the right technique for your face shape.
Take me for example - I have a typical square face with a very angular chin, so I particularly need to contour my forehead sides and jawline to make my face shape appear softer. Everyone has different facial features, so the key areas for contouring will vary. For instance, those with round faces need to focus on contouring their cheeks and chin to create more dimension.
Face Shape Strategy
Everyone has a different face shape, so naturally, the key areas for contouring differ. I think the most crucial thing is to identify your face shape characteristics and then contour accordingly.
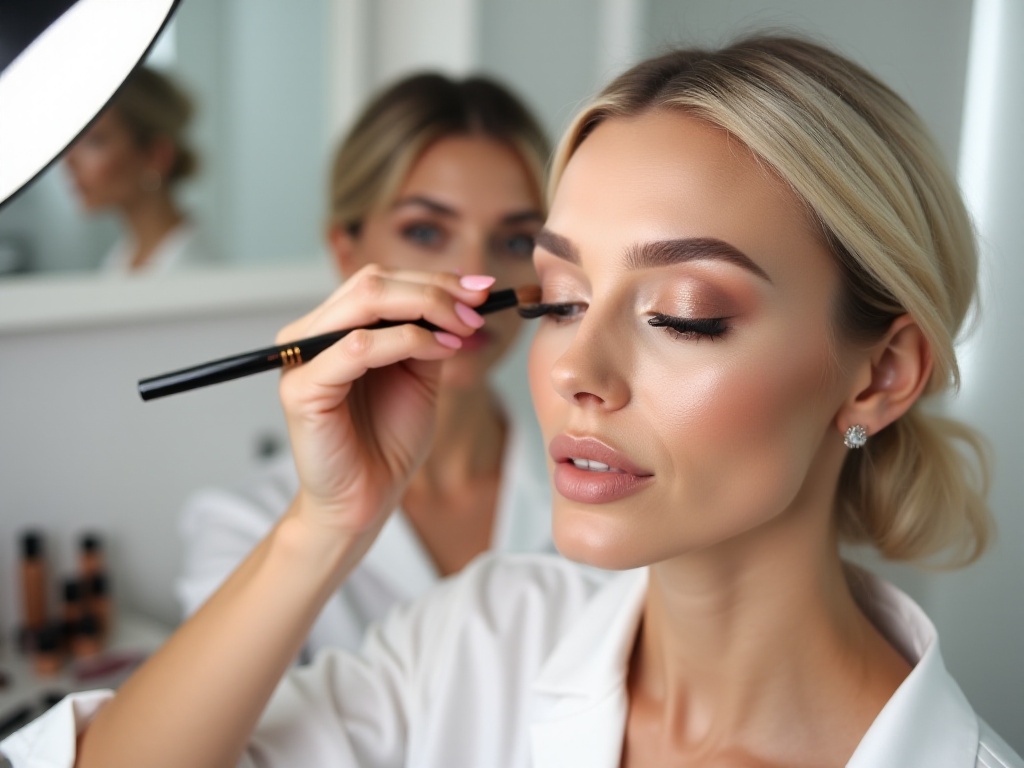
Taking square faces as an example, there are several key areas to focus on. First is the forehead area, which requires technique. I lightly apply dark contour on the sides of the forehead and temples, then along the hairline, making the forehead appear more three-dimensional and natural. Many beginners find forehead contouring particularly challenging, but the secret is to use a light hand and thin layers of product. I suggest starting with a small amount of product and gradually building up if needed, to avoid applying too heavily.
Then there's the facial contour. The area from the ears to the middle of the cheeks below the cheekbones is key for contouring. I personally love using a contour stick, starting from behind the ear and gently blending forward to the middle of the cheeks, creating more dimension in the face shape. Remember to use appropriate pressure when blending the product to avoid obvious patches. Also, apply some contour along the jawline to make the face shape appear more refined.
For those with round faces, contouring should focus on the cheeks and chin. Create a 45-degree upward shadow on the sides of the cheeks to define facial contours more clearly. The chin area needs a small triangular shadow to make it appear more pointed.
For those with long faces, focus on contouring the forehead and chin. Appropriately deepening the contour on the forehead and chin can make facial proportions appear more balanced. Additionally, creating horizontal shadows on the cheekbones can visually shorten face length.

Product Selection
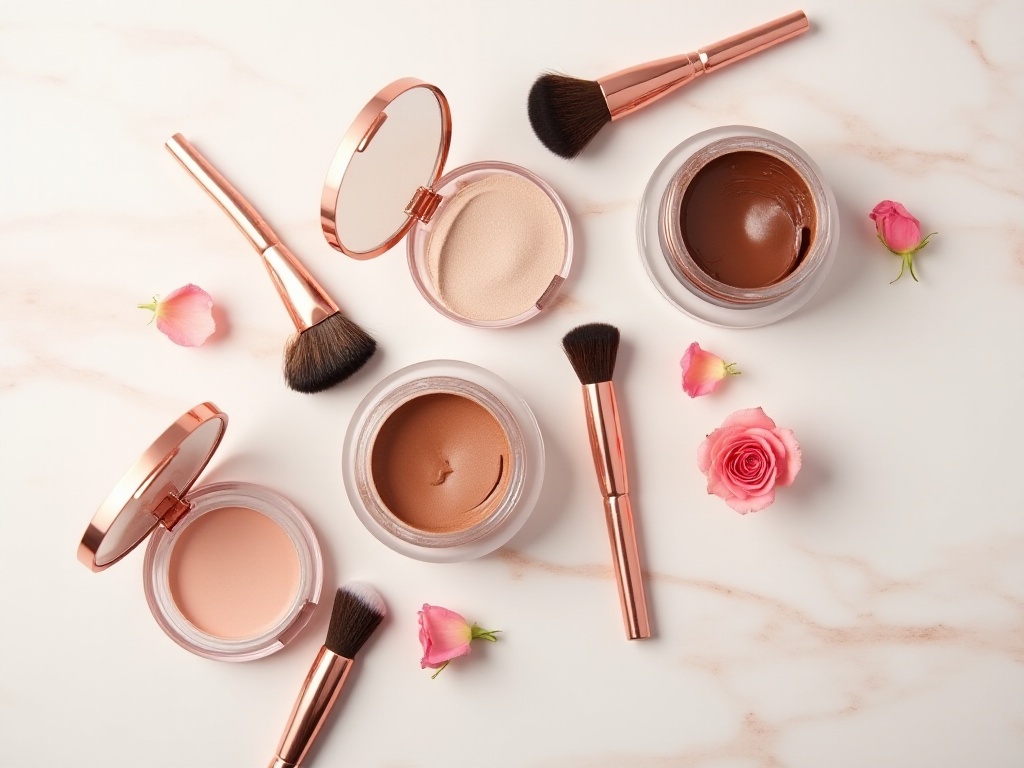
When it comes to product selection, it's quite complex. I recommend beginners start with cream products. Why? Because cream products are particularly easy to control, and even if you accidentally apply too much, you can easily blend it out with your fingers. I especially recommend gel-cream textures, as they blend well with foundation to create a natural effect.
I remember when I first started learning contouring, I bought a very expensive powder contour, but couldn't handle it at all - every time I applied it, I looked like I'd been punched. Later, when I switched to cream contour products, I discovered that contouring could actually be this simple. Another advantage of cream products is that they don't create fallout, making them particularly suitable for those with dry skin.
If you're already quite skilled, you can try powder products. The advantage of powder products is their better longevity and ability to set makeup. I usually use cream products as a base, then set with powder products, allowing the makeup to last all day without fading. However, powder products do require certain techniques to use - I suggest trying them on the back of your hand first to familiarize yourself with the pigmentation and texture.
As for shade selection in contouring products, I suggest choosing products 1-2 shades darker than your foundation. Shades that are too dark can look artificial, while those too light won't achieve the contouring effect. I personally prefer grayish-brown contour products, as this color most closely resembles natural shadows.
Advanced Techniques
As you become more proficient with contouring, you can try some advanced techniques. For instance, you can try lightly contouring both sides of your nose bridge to make it appear more three-dimensional. However, note that nose contouring must be especially natural, with soft lines - don't make it too obvious. I've seen too many people contour their noses too heavily, making their whole look appear very artificial.
Another tip is double chin contouring. If you feel your chin lacks dimension, you can lightly apply contour at the junction between your chin and neck to make the chin contour more defined. However, be careful to blend well in this area, or it can easily look obvious.
I remember attending a brand event once where I met a particularly skilled makeup artist. She shared with me that the most important aspect of contouring is knowing when to stop. Rather than applying it too heavily and looking fake, a lighter application shows more elegance. This advice really benefited me - since then, I've been particularly mindful of contouring intensity, always reminding myself to keep it natural.
Another particularly important technique is the use of light and shadow. Contouring isn't just about applying dark colors - you need to understand how to use highlights. While contouring, appropriately applying highlighter to prominent areas like under the brow bone, nose bridge, and apple of the cheeks can make the entire makeup look more three-dimensional and natural.

Common Mistakes
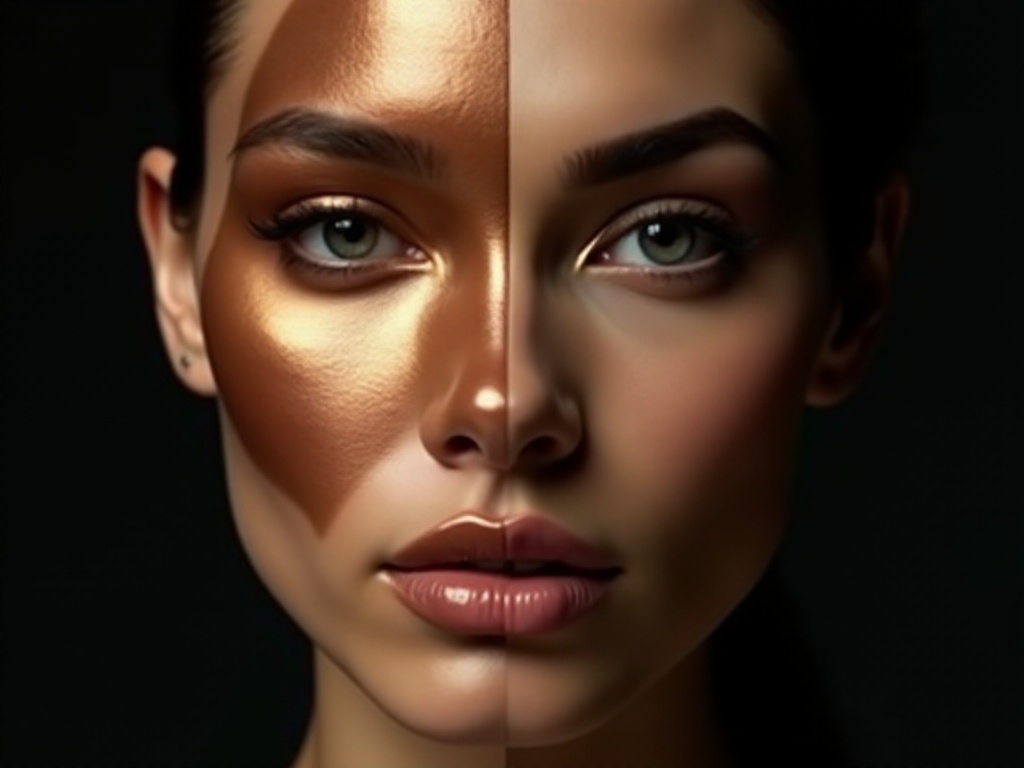
At this point, I think it's necessary to point out several common mistakes. First, darker is definitely not better with contouring. I often see some people applying contour very heavily in pursuit of effects, resulting in a very artificial look. The most important aspect of contouring is actually being natural - better too light than too heavy.
Second, color selection for contour products is also a big issue. Many people tend to choose very dark colors when selecting contour products, thinking this will make the effect more obvious. But this is actually a misconception - contour product color should be chosen based on your skin tone, generally 1-2 shades darker than your foundation is sufficient.
Another common mistake is contour placement. Many people think contouring is just drawing two lines on the sides of their cheeks and they're done. This contouring method easily looks artificial and can make the face look dirty. The correct contouring method should be based on your face shape characteristics, targeting areas that need modification.
Additionally, many people forget about blending when contouring. Contour products must be well blended after application, or they can easily leave obvious patches. I suggest using a clean powder brush to lightly sweep over the edges of the contour, making the entire makeup look more natural.
Practical Tips
Here, I want to share some tips I've gathered from my daily makeup routine. First is about choosing contouring tools. Many might think all contour brushes are similar, but different contour brushes can create completely different effects. I personally recommend angled contour brushes, as they can better conform to facial contours and create natural shadow effects.
Second is the order of contouring. Many people don't know when to contour in their base makeup routine. The best order is: foundation → concealer → contour → blush → setting powder. This order allows each step to achieve its best effect.
Another particularly important point is lighting. Make sure you have adequate lighting when applying makeup, preferably natural light. Because contour effects can vary greatly under different lighting conditions. I suggest checking your makeup under different lighting conditions after application to ensure it looks natural in all situations.
Regarding the storage of contour products, I'd also like to say a few words. Many might not know that contour products have expiration dates. Especially cream contour products - they're best used within 6 months after opening. Also, remember to keep your tools clean and regularly wash your contour brushes to avoid bacterial growth.
Final Thoughts
Through this long sharing session, I believe you now have a deeper understanding of contouring. Remember, contouring and highlighting are like the light and shadow relationships in a painting - the key isn't how sophisticated your technique is, but whether you can highlight your advantages and make your overall makeup look more refined and natural.
Contouring can be both difficult and simple. The key is to practice more and find the method that works best for you through practice. Everyone has different face shapes and skin tones, so don't blindly copy others' makeup methods - learn to adjust according to your own features.
Finally, I want to say that the most important thing about makeup is to be happy. Don't put too much pressure on yourself - take it slow, and through continuous practice, you'll surely master the essence of contouring and create your perfect makeup look.
Which part of contouring do you find most difficult to master? Welcome to share and discuss in the comments section - perhaps we can spark more beauty inspiration together.