
Introduction
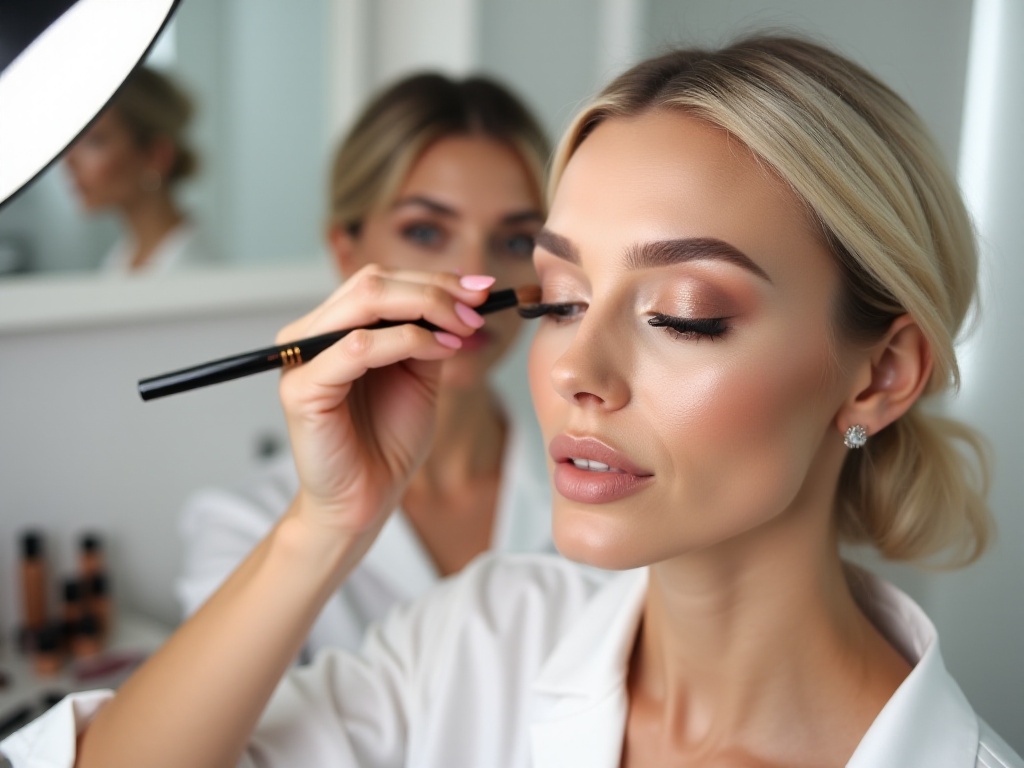
Dear beauties, today I want to share with you one of my most skilled makeup techniques - contouring and highlighting. You know what? During my years of learning makeup, I've noticed many people have an inexplicable fear of contouring and highlighting. "Will it look too dramatic?" "What if I accidentally make myself look like a clown?" Actually, once you master the correct methods, contouring and highlighting are absolutely essential skills for elevating your makeup game.
As someone who has evolved from a makeup novice to an experienced enthusiast, I deeply understand the importance of contouring and highlighting. I remember when I first started learning makeup, looking at my plain face in the mirror, I always felt something was missing. Later, through constant trial and learning, I finally realized: dimension is the key to enhancing makeup quality!
Basic Knowledge
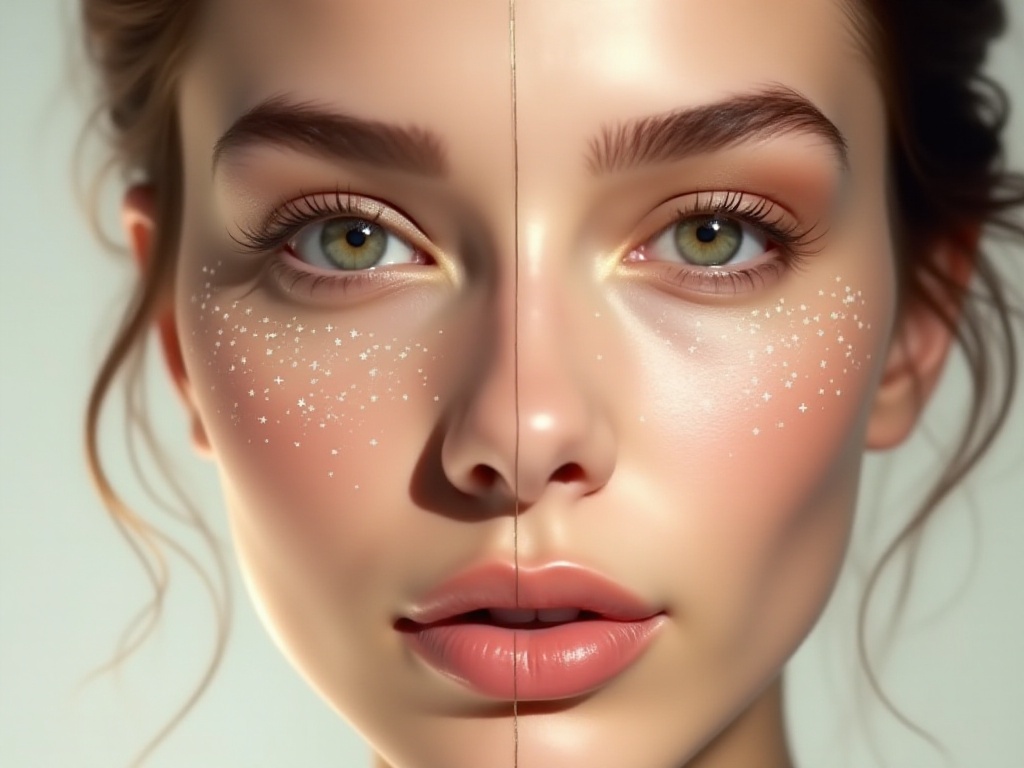
Simply put, contouring and highlighting create dimension through the contrast of dark and light colors. Think about it - why do we like to take photos in places with good lighting? Because natural light creates light and shadow contrasts on the face, making features more defined. Contouring and highlighting use makeup products to simulate these natural light effects.
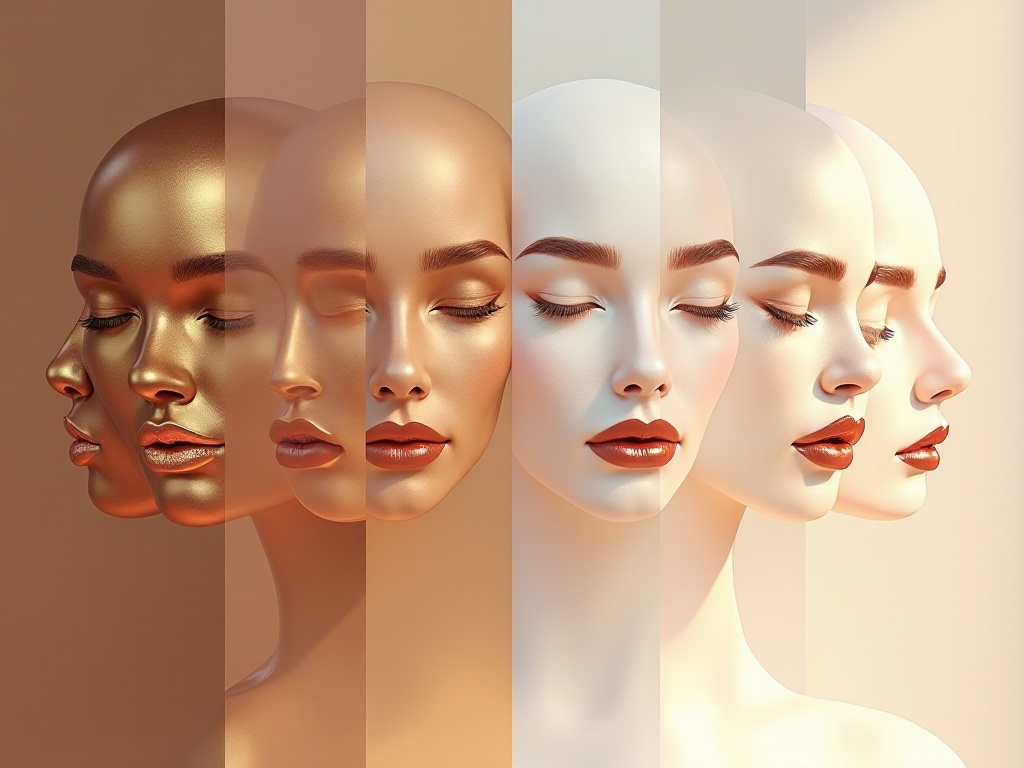
We all have different facial features - some people naturally have defined jawlines, some have full cheeks, some have high nose bridges. But regardless of face shape, contouring and highlighting can enhance strengths and minimize weaknesses. Like myself, I was born with undefined facial features, but through proper use of contouring and highlighting, I can create a perfect V-shaped face.
Contour products are usually 2-3 shades darker than our skin tone, used to create shadows in areas we want to "hollow"; highlighting products are 1-2 shades lighter, used on areas we want to "pop". It's like the light and shadow technique in painting, except our canvas is our face.
To learn contouring and highlighting, first understand your facial features. Look carefully in the mirror to identify areas that need enhancement or minimizing. For example, my face is somewhat round, so I focus on contouring my temples and jawline to create a smaller facial outline.

Product Selection
After trying hundreds of products, I've found that product selection is truly important. Let me share my insights:
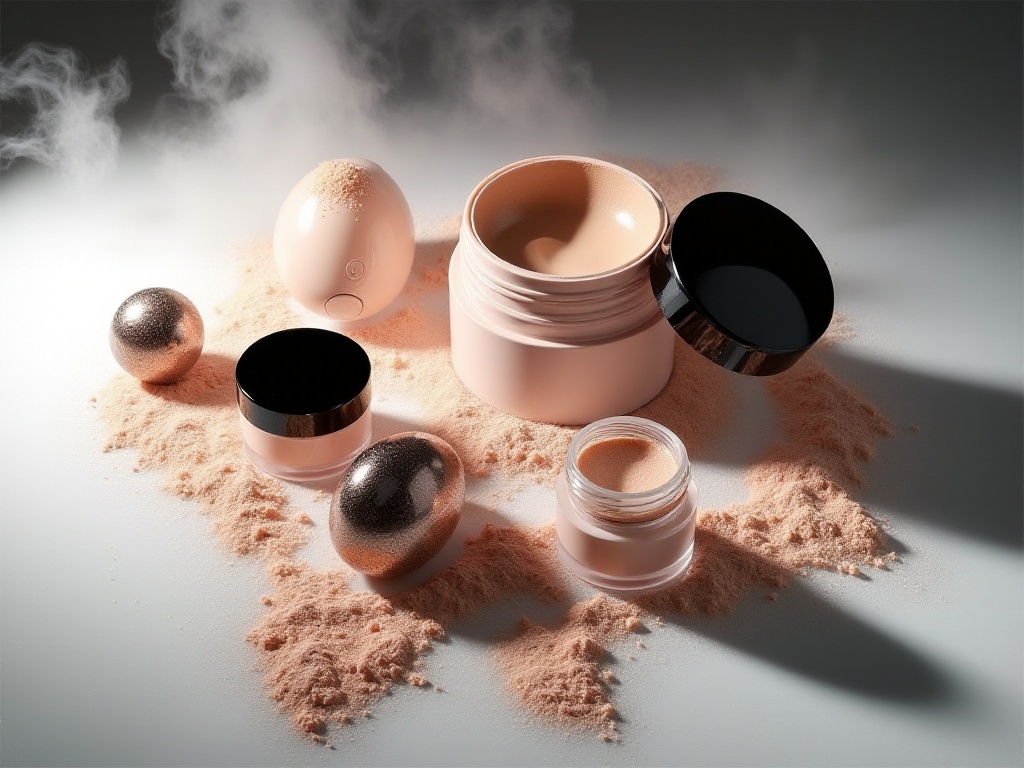
For beginners, I especially recommend starting with powder products. Why? Because powder products are easier to control and less likely to look heavy. When I first started learning, I began with Charlotte Tilbury's powder. Its texture is fine, without any graininess, and looks very natural on the skin.
When choosing contour products, shade selection is crucial. Choosing too dark will look fake, while too light won't achieve the contouring effect. My advice is to start with products one shade darker than your skin tone, then try darker shades after mastering the technique.
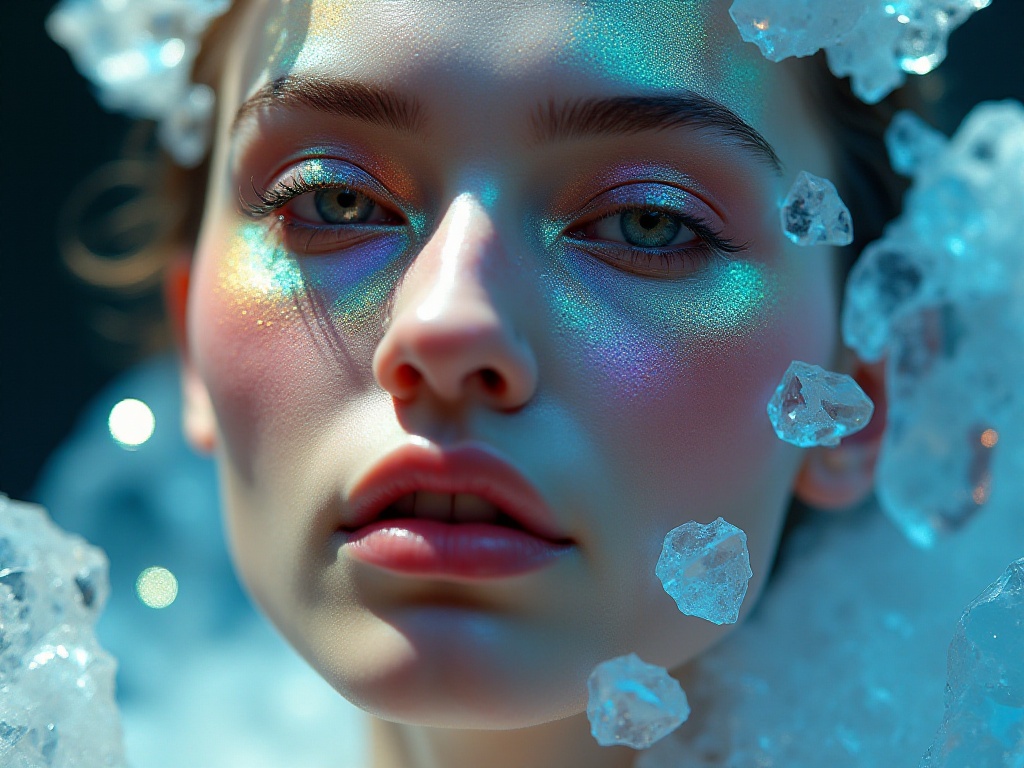
For highlighting products, texture and shimmer fineness are important. I personally recommend products with pearl finish but not too sparkly, as these are more suitable for daily use and won't look too dramatic.
If you have oily skin, powder products are recommended; for dry skin, consider cream or stick products as they blend better and won't emphasize dry patches. I have combination skin, so I adjust product types seasonally - powders in summer, creams in winter.
Different textures suit different scenarios. For instance, powder products are better for quick touch-ups; cream products are better for precise contouring and creating natural transitions. Cream products usually work better for dry skin as they often contain moisturizing ingredients and won't make makeup look dry.
Regarding contour shade selection, decide based on your skin tone. If you're fair-skinned, choose grayish contour products; if you have yellow undertones, choose reddish-brown contour products. These shade matches will look more natural.
Practical Techniques
Come, let me teach you some practical tips I've summarized:
First is choosing contouring areas. Feel your facial contours to identify naturally hollow areas. Usually, below the cheekbones, temples, and jawline are suitable for creating shadows. But this isn't fixed - everyone's face shape is different, so contouring positions should vary accordingly.
Technique is very important when contouring. I recommend using an angled brush or professional contour brush, as these shapes are particularly suitable for creating natural shadow effects. Don't press too hard with the brush - use light strokes to blend the product.
The key to contouring is gradual blending - transitions must look natural. I usually start with very light pressure to create contours, then gradually deepen as needed. This prevents applying too much at once, creating heavy makeup that's hard to fix.
Key highlighting areas include: under the brow bone, nose bridge, and highest points of the cheeks. From my personal experience, highlighting products must be used moderately - less is more. Remember one principle: daytime makeup aims to enhance features, not turn you into a human reflector.
When choosing highlighting areas, consider your facial features. For example, if you already have a high nose bridge, use less highlighter there. If you have a short chin, adding a touch of highlighter on the chin tip can visually elongate it.
Choosing appropriate tools is also important. For highlighting products, I prefer smaller brushes or sponges for more precise control. Especially in small areas like the nose bridge, precise tools help create more natural effects.
Advanced Techniques
After mastering basic techniques, let's discuss some advanced tips. Did you know contouring can be adjusted based on occasion? For example:
Daily work: Recommend using light contour products for natural dimension. At work, we aim for refined but not dramatic makeup. Choose gentle contour products, focusing on creating a fresh and professional image.
Date makeup: Can be slightly heavier to emphasize features. On dates, we naturally want to present our best selves. You can increase contouring intensity somewhat to make features more defined. But remember to keep it natural - don't go too dramatic.
Photo makeup: Since cameras "eat" makeup, can increase intensity by 30%. This is because cameras flatten facial features, so heavier contouring compensates for this. But note to maintain overall makeup balance when increasing contour intensity.
I also have insights about highlighting techniques for different occasions. For formal events, choose highlighters with lower pearl finish for more sophistication; for parties or photos, choose more sparkly highlighters to make makeup more eye-catching.
Advanced contouring techniques include adjusting contour position and intensity based on different lighting conditions. In natural light, we can reduce contouring intensity since natural light creates shadows. Under indoor fluorescent lights, we may need to increase contouring to compensate for the flattening effect.
A technique makeup artists often use is "double contouring" - first using cream products as base, then setting with powder products. This makes contouring last longer while creating more natural dimension. However, this technique requires lots of practice to master, so I recommend mastering single products first.

Common Mistakes
At this point, I must point out several common mistakes:
The first misconception is thinking contouring is just about making the face look thinner. Actually, contouring's core purpose is creating dimension, not just making the face smaller. I've seen too many examples of applying contour product directly on the center of cheeks, which actually makes the face look fuller. The correct approach is creating natural shadows in appropriate positions based on your face shape.
Many people like drawing obvious lines when contouring, thinking this makes the face look smaller. But actually, this contouring method looks fake. The most important aspect of contouring is looking natural - people shouldn't notice your makeup, only that your features look good.
The second misconception is thinking more sparkly highlighters are better. Actually, overly sparkly highlighting products can look cheap. Aim for an inner glow effect. I recommend choosing highlighters with fine pearl finish, which achieve brightening effects without looking too dramatic.
Another common mistake is ignoring contour product undertones. Some people pursue darkness blindly, choosing contour products that completely mismatch their skin tone. This won't create dimension and will make makeup look strange. When choosing contour products, always consider your skin tone.
For beginners, the most common mistake is rushing to achieve perfect results immediately. Actually, contouring and highlighting require gradually accumulated experience. I recommend starting practice with basic positions and slowly discovering methods that suit you.
Summary Insights
Through years of exploration, I've concluded that perfect contouring and highlighting should look: natural in daylight, refined at night, and high-end in photos.
Contouring and highlighting techniques sound simple but require lots of practice to truly master. I suggest practicing different techniques and products at home to find what works best for you. Don't fear failure - every makeup expert started as a beginner.
Remember, makeup's ultimate goal is increasing self-confidence. Don't worry too much about others' standards - finding what works for you is key. After trying these techniques, please let me know your results in the comments.
In practice, I've found patience is most important. Don't expect perfect results immediately - give yourself time to explore and improve. Everyone's face shape and skin type differ, so suitable techniques will vary.
Finally, I want to say that contouring and highlighting aren't necessities but enhancement techniques. If you feel beautiful bare-faced, you can completely choose not to use these techniques. Makeup's ultimate purpose is making yourself happy, not pleasing others.
So here's the question: What contouring mistakes do you most commonly make? Welcome to share your experiences in the comments. Next time we'll continue discussing other interesting makeup topics.