
Introduction
Sisters! As a beauty blogger who's been obsessively studying makeup since I was 18, I've been in the beauty game for over a decade now! Today, I'm going to share with you the two most transformative makeup techniques - contouring and highlighting. No exaggeration, these two products are like affordable plastic surgery in a compact. Once makeup beginners master these two techniques, they can instantly transform from ordinary to goddess-like!
Basic Knowledge
When it comes to contouring and highlighting, many beginners find them particularly challenging, but they really aren't! Think of your face as a blank canvas - contour is like the dark pencil used to create shadows, while highlighter is like the silver pencil used to add brightness. Just like when we drew as children and wanted to create dimension through light and shadow contrast. Similarly, to create dimension in your face, we rely on contour and highlight to create layers of light and shadow.
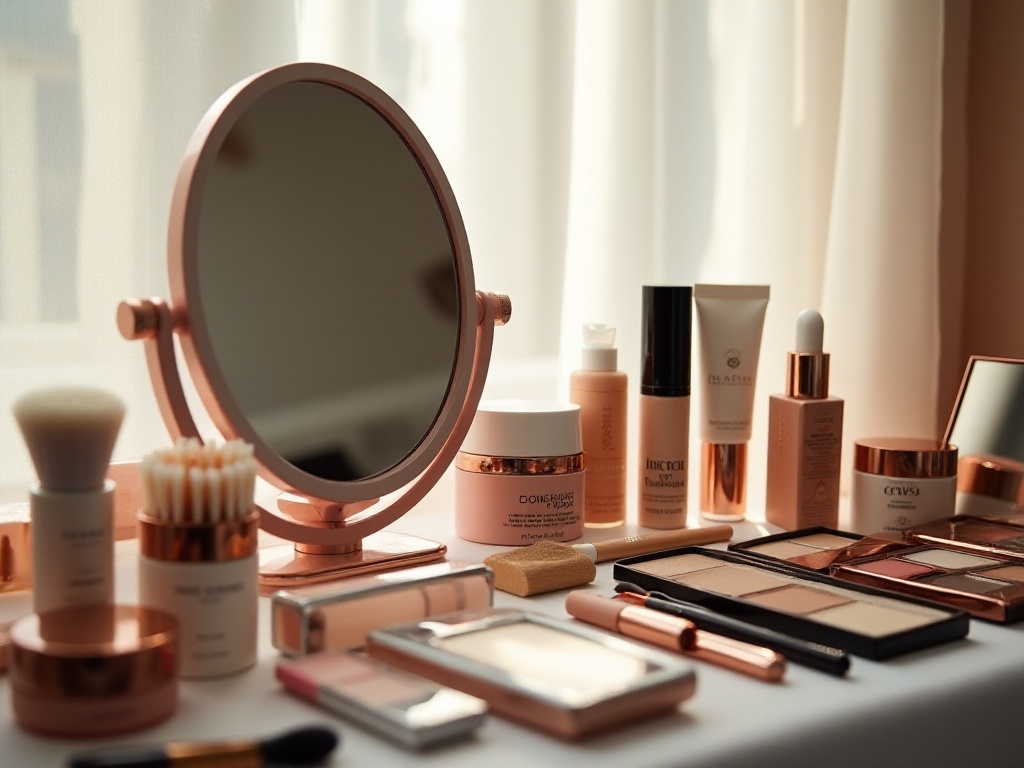
The market is now flooded with contouring and highlighting products, but they essentially fall into two categories: powder and cream. Powder products are like the loose powder we commonly use and can be applied directly over foundation; cream products have a consistency similar to concealer and can be used before or after liquid foundation. As someone who's been doing makeup for many years, I strongly recommend beginners start with powder products. Why? Because powder products are much easier to control - you won't accidentally turn your face into a patchwork of colors.
Color selection for contour also matters depending on your skin tone. If you have fair skin, I recommend choosing a grayish-brown contour for a more natural look; if you have medium skin, you can opt for deep brown or reddish-brown contour, which blends more seamlessly with your skin tone. As for highlighter, fair-skinned individuals can choose pearl white or champagne colors, while those with deeper skin tones can try rose gold or bronze shades.
Tool Selection
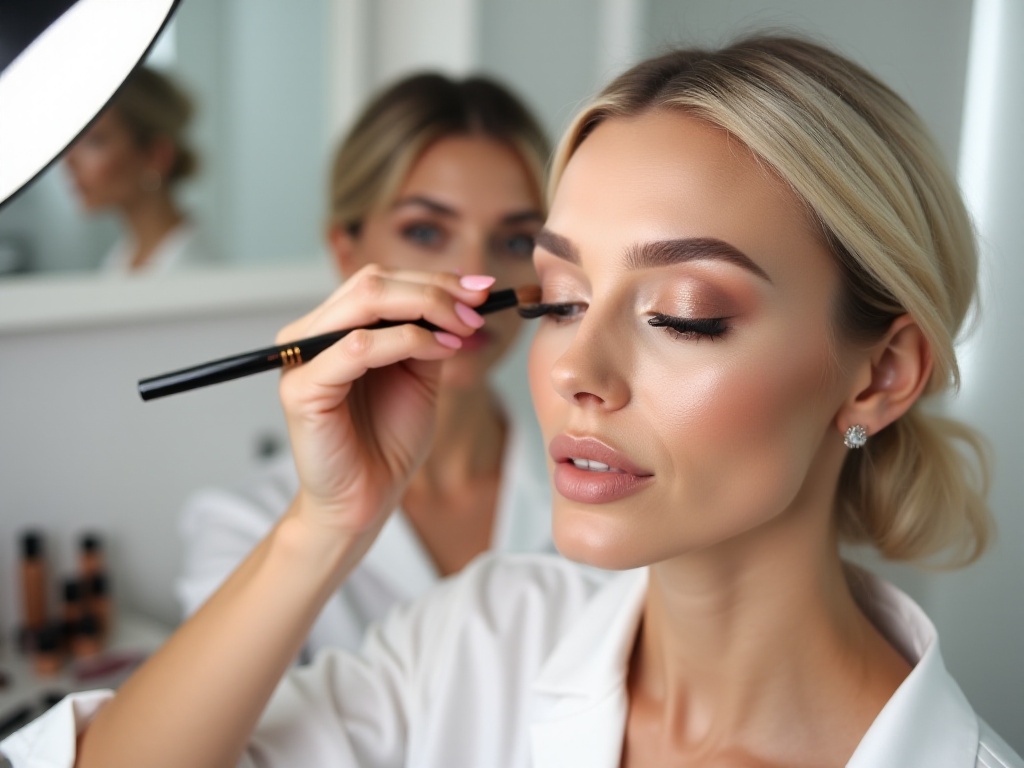
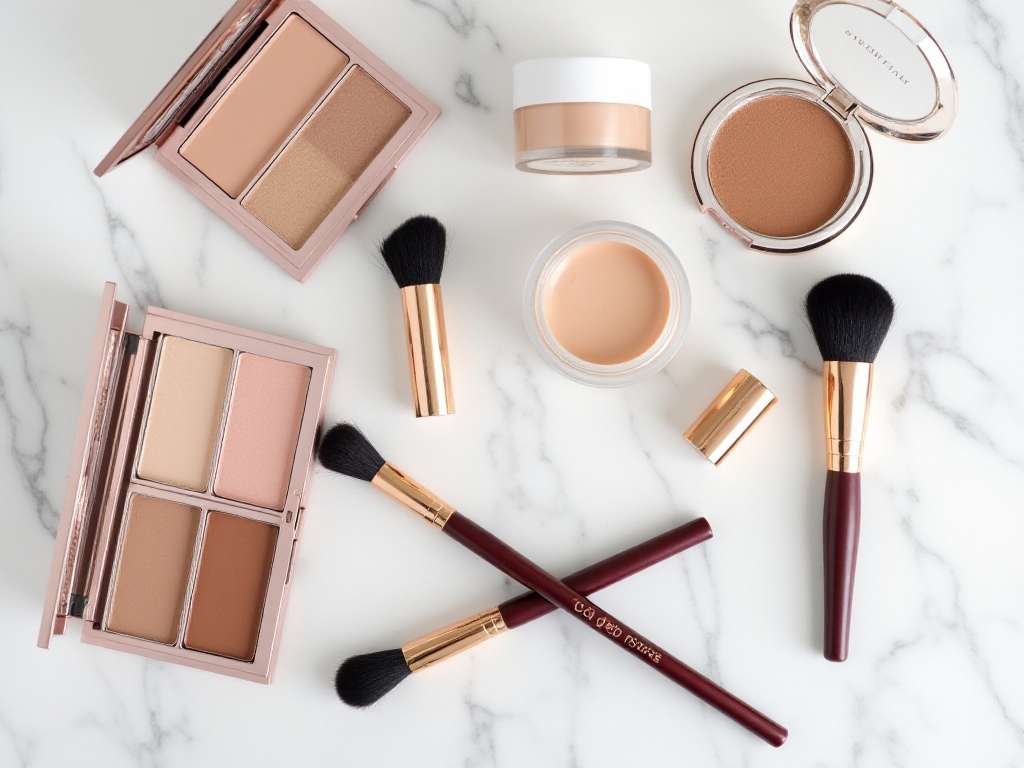
Tools are absolutely crucial for achieving good contour and highlight effects! I've seen too many people buy expensive products but get mediocre results because of improper tools. For contouring, it's best to choose an angled brush, which is perfect for drawing lines along facial contours and helps blend the product evenly. Cheap contour brushes might shed or not be soft enough, so I recommend choosing mid-range brushes that are both affordable and effective.
For highlighting, I highly recommend fan brushes because their shape is perfect for lightly sweeping highlighter onto prominent facial features. The bristles of the fan brush should be soft enough to evenly distribute the highlighter without creating patchy areas. If your budget allows, consider getting two different sizes of fan brushes - a large one for facial highlighting and a small one for nose bridge and brow bone highlighting.
Besides professional makeup brushes, beauty sponges are also essential tools. They're especially useful when using cream contour and highlight products, helping us blend products evenly without leaving harsh lines. When choosing beauty sponges, pay attention to the texture - ones that are too soft will absorb too much product, while ones that are too hard might remove foundation. Choose ones with medium elasticity.
Practical Techniques
Finally, we've reached the most exciting part - practical application! Let's first discuss the specific steps for contouring. Remember one principle: contouring is about creating natural shadows, not drawing obvious lines and boxes.
Starting from below the cheekbones, take your contour brush with an appropriate amount of product (remember to always test the color on the back of your hand first), and draw a diagonal line from your ear toward the corner of your mouth. This line shouldn't be too thick or too thin - adjust according to your face shape. After drawing, use a clean brush to blend upward gently, making the line appear natural.
Contouring the temples is particularly important as it adds dimension to your facial structure. Blend in circular motions near the hairline, remembering to build up gradually rather than applying too much product at once. If it looks too heavy, you can lightly brush over it with your foundation brush to make it more natural.
Be especially careful with chin contour - too heavy will look artificial. Draw a light line above the jawline, then blend downward to make the chin appear more delicate. If you have a round face, you can add a bit more contour on the sides of the chin to make your face appear more elongated.
Nose contouring is the most technically challenging part. Many beginners make their nose contour either too wide or too narrow. Remember this principle: the width of your nose contour should be about the same as the distance between your inner eye corners. Use a very thin brush, drawing two parallel lines from the brow heads downward, then gently blend to make the lines appear natural.
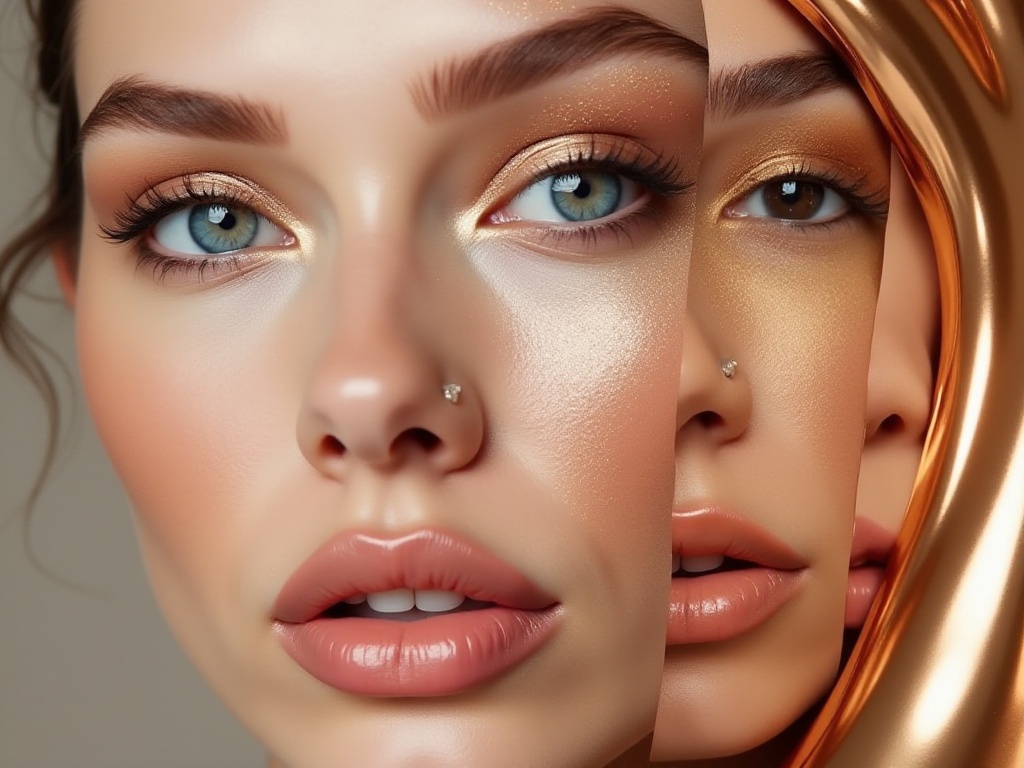
As for highlight placement, focus on the prominent areas of your face. The highest point of your cheekbones is the most important highlighting area - use a fan brush to lightly sweep highlighter on the most prominent part of your cheekbones, being careful not to place it too close to your eyes as this can make them appear tired.
Highlighting under the brow bone can make your eyes appear more awake, but be sure to control the amount to avoid looking greasy. Nose bridge highlighting should be very thin - best applied with a small fan brush or eyeshadow brush. Highlighting above the cupid's bow and the center of the chin should be very light - just a touch is enough.
Advanced Techniques
After mastering the basic techniques, we can adjust contour and highlight placement according to different face shapes. Every face is unique, so contour and highlight placement should be customized accordingly.
For round faces, apply deeper contour on the sides of the cheeks to make the face appear more elongated. Position the contour slightly higher to create more dimension. Concentrate highlighter on the highest points of the cheekbones to make facial contours more defined.
For square faces, focus on softening the jaw angles. Add more contour at the jaw angles and blend outward to soften the angular features. Apply highlighter at the temples to make the face shape appear softer.
For long faces, focus on horizontal contouring. Add more contour to the forehead and chin areas to make the face appear less long. Concentrate highlighter in the center of the face to make the face shape appear more balanced.
Additionally, adjust the intensity of contour and highlight for different occasions. Daily makeup should be more subtle and natural, with contour and highlight barely noticeable. Evening makeup can be slightly heavier, but don't go overboard - remember that "refinement" is our ultimate goal.
Common Mistakes
Speaking of mistakes, I've seen so many situations that make me laugh and cry at the same time. The most common is applying contour too heavily, making the face look like it has two dark stripes. Remember, contouring is about creating natural shadows, not making it obvious that you're wearing makeup.
Another issue is placing contour too low. Many beginners apply contour in the middle of their cheeks, which not only fails to create dimension but actually makes the face appear wider. The correct placement should be below the cheekbones to create dimension.
Not blending enough is another common mistake. Both contour and highlight need to be thoroughly blended to avoid obvious lines. Use a clean brush to repeatedly sweep lightly until no clear boundaries are visible.
Overdoing highlight is another common problem. Remember, for daily makeup, highlight should only be visible when it catches the light. If your face is visibly glowing while walking down the street, that's definitely too much.
Product Recommendations
As someone who's been doing makeup for over a decade, I've tried almost every well-known brand's contour and highlight products. Here are some genuine experiences to share.
For entry-level products, Japanese and Korean affordable brands offer good options. Their contour shades are generally natural and not too intense, perfect for beginners. Plus, they're budget-friendly, so newcomers can experiment freely.
In the mid-range category, Western brands offer good value contour palettes. Their powder is finer and more pigmented, but requires a bit more control in application. There are even more choices for highlighters, from pearl to sparkle, from fine shimmer to bold glitter.
High-end products, though expensive, do have superior textures. Their powders are particularly fine, easier to blend, and more long-lasting. However, I suggest waiting until you've completely mastered contouring and highlighting techniques before investing in high-end products.
Final Thoughts
Contouring and highlighting are truly the most magical aspects of makeup - they can subtly transform our facial contours and make us look more refined. But remember, the most important thing about makeup isn't following trends, but finding what works best for you.
Everyone has different face shapes and skin tones, so don't blindly copy someone else's makeup techniques. Experiment and practice to find the contouring and highlighting methods that work best for you. Makeup is a skill that requires constant practice - with persistence, everyone can become their own makeup artist.
Do you have any contouring and highlighting tips to share? Feel free to tell me in the comments section - let's improve together!