
Opening Chat
Hello everyone! Today I'm sharing a super practical beauty topic - contouring and highlighting. As someone who's evolved from a complete beginner to an experienced beauty expert, I deeply understand how many newcomers struggle with contouring. Some feel it's too difficult to handle and end up looking patchy; others worry it won't look natural enough. Don't worry - today I'll guide you through mastering the essence of contouring, so everyone can easily create refined, dimensional makeup.
I remember when I first started learning contouring, it was a complete disaster - my makeup looked like I'd been punched, messy and muddy. But after years of exploration and practice, I finally found the most suitable contouring method for Asian faces. Looking back, if someone had taught me these techniques earlier, I could have avoided so many mistakes. So today, I want to share all my experience with you to help more beginners avoid these pitfalls.
Basic Knowledge
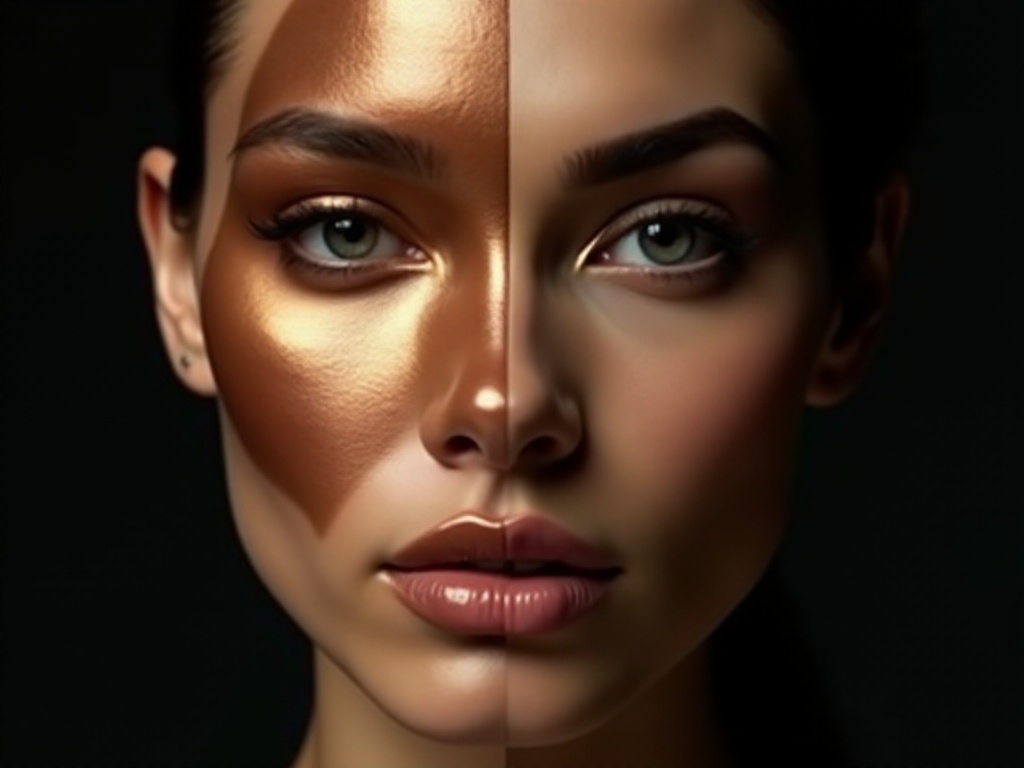
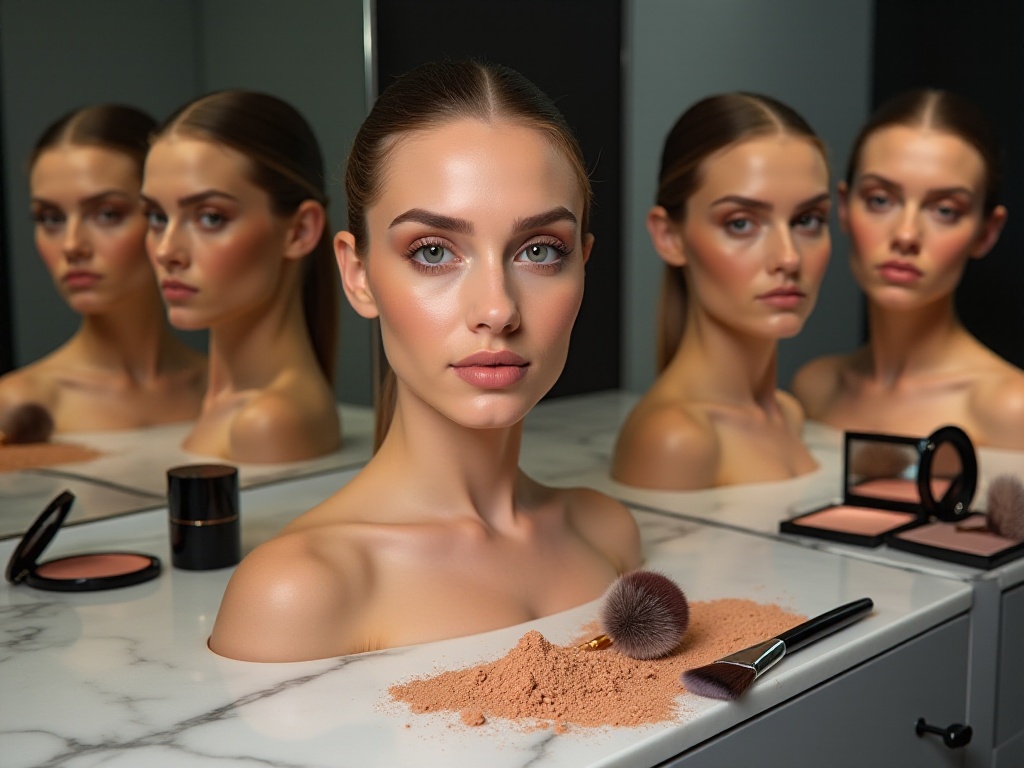
When it comes to contouring, many beginners ask: what exactly is it? Contouring is creating dimensional shadow effects on the face using makeup products of different depths. Just like when we take photos and feel our faces look flat like paper dolls without dimension - that's because we lack proper light and shadow. Contouring is the magic tool that helps us solve this problem.
The principle of contouring is actually very simple - using light and dark contrasts to create dimension. Think about how we learned to draw in art class, using lines of different depths to create three-dimensional objects. Contouring follows the same principle. Only now our canvas is our face, and our drawing tools are various contouring products.
I often see many beauty bloggers say contouring is particularly difficult, but it can actually be quite simple once you master the correct method. The key is understanding the principles of light and shadow - knowing which areas need to be darker and which need to be lighter. Just like when we stand in sunlight, natural light and shadow variations occur - we're just mimicking these natural light effects.
Product Selection
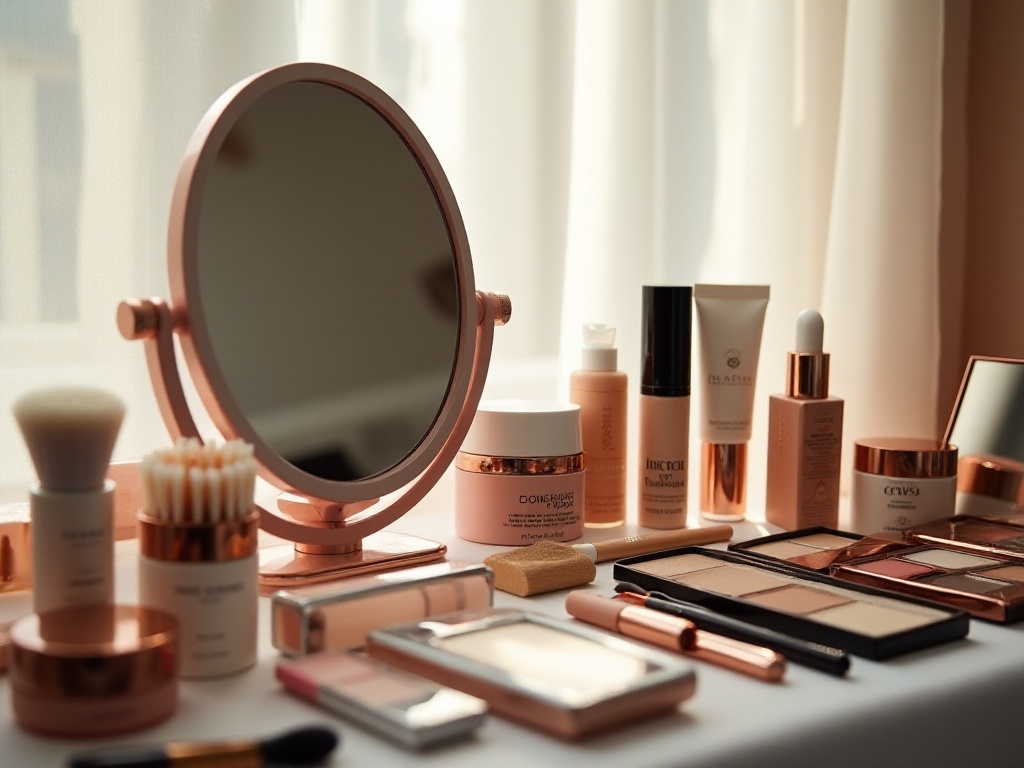
I know there are so many contouring products on the market now - powder contour, cream contour, liquid contour, etc. - even experienced users like me can get confused sometimes. But here's good news for beginners: you don't need to overthink it, just go with powder contour!
Why do I specifically recommend powder contour? First, powder contour is the easiest to control. You can build it up gradually without applying too much at once. Second, if you accidentally apply too much, it's easy to blend out with a powder puff or brush. Plus, powder contours are generally more affordable, making them suitable for beginners to try.
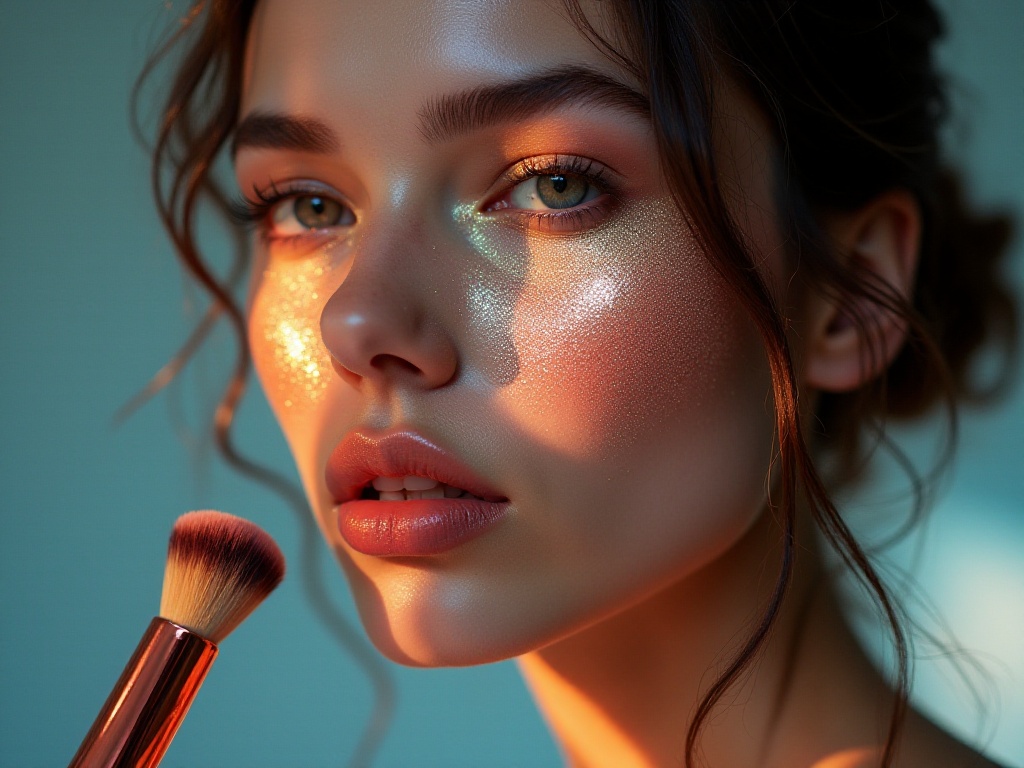
When choosing contour shades, I suggest selecting products one to two shades darker than your skin tone. Too dark will look fake, while too light won't achieve the contouring effect. Also, always choose matte textures! I know many girls are attracted to shimmery contour products, thinking they look ethereal and pretty, but remember one core principle: contour is meant to create shadow effects, and shadows don't shine!
About choosing contour products, I want to especially emphasize one point: always consider the warm or cool undertone. For Asian skin with yellow undertones, choosing grayish-brown contour products will look more natural. If you choose shades that are too red or orange, it can easily look like bruising.
Usage Tips
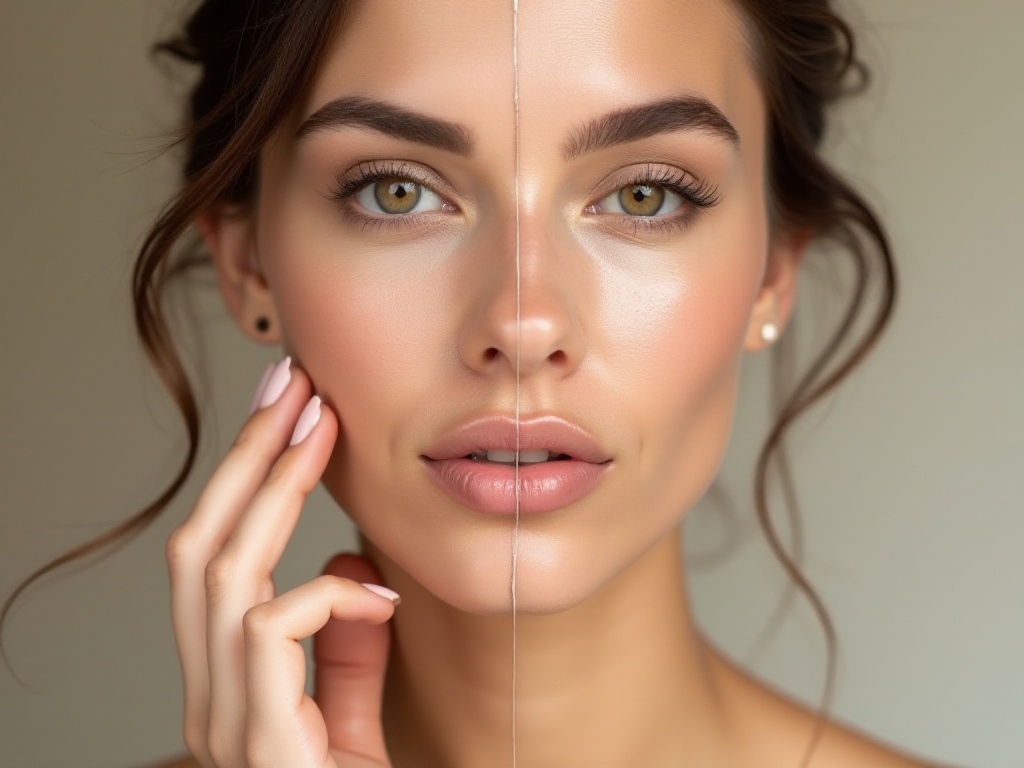
Now we're finally at the most important practical section! First, I'll teach everyone a super useful positioning technique. Many people can't figure out where to apply contour, but there's a very simple method: imagine wearing large sunglasses - the frame outline shows where we need to contour, which is the temples, below the cheekbones, and the jawline.
Before contouring, make sure your base makeup is completely set. I suggest lightly pressing a tissue over your entire face before using contour products to absorb any excess foundation or BB cream. This helps the contour product adhere better to the skin without looking muddy.
Regarding contour intensity, I've developed a particularly useful tip: first test the color on the back of your hand, and if the color looks just right, reduce the intensity slightly. This is because facial skin is more delicate than the back of your hand and shows color more intensely. Remember one principle: it's better to go too light than too heavy with contour - you can always build it up, but it's hard to fix if you apply too much.
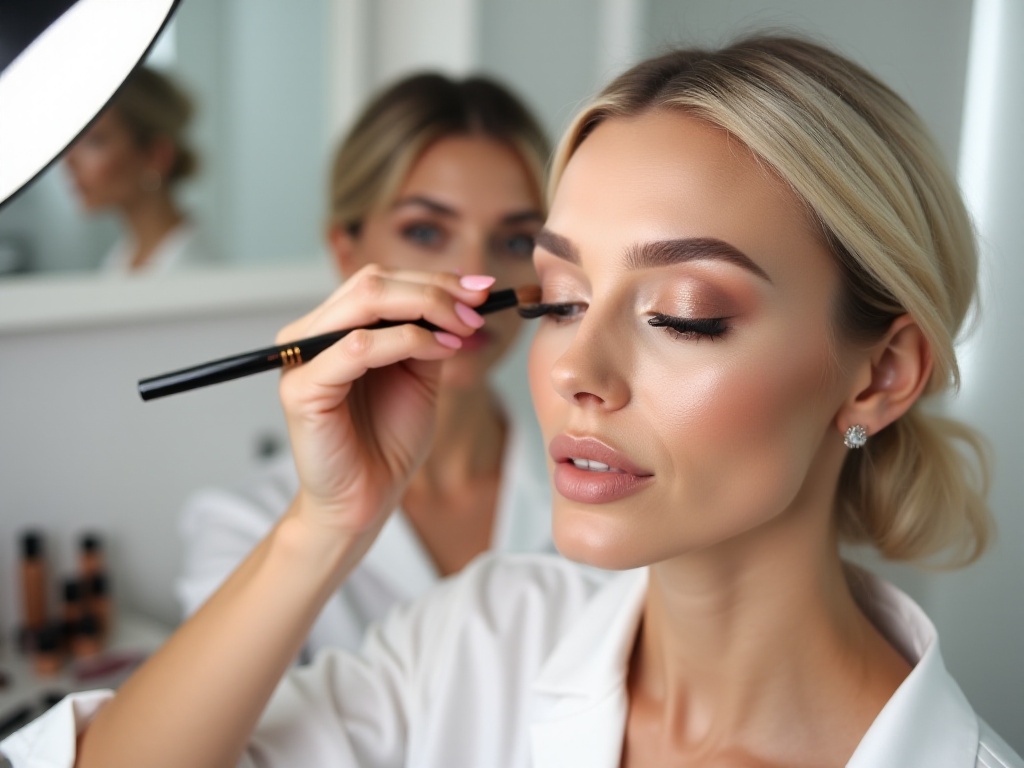
The application technique is also very important. I suggest using a larger angled brush or contour brush for better product blending control. Make sure to choose soft bristles - brushes that are too stiff can disturb your base makeup. When applying contour, use a combination of light patting and sweeping motions to help the product blend more naturally into your base makeup.

Advanced Techniques
For beauty enthusiasts who have mastered basic contouring, I want to share some advanced techniques. First is the forehead contouring method. Many people overlook forehead contouring, but appropriate forehead contouring can make the entire facial structure more harmonious. The specific method is to create a gradual shadow at the hairline, but be sure to blend well without leaving obvious lines.
A technique I've particularly loved recently is the "reverse lighting contour method." This method might sound complicated, but the results are truly stunning. The specific approach is: after applying regular contour, use a foundation slightly lighter than your skin tone to create a highlighted area above the contoured regions. This creates a very natural light-shadow transition, making the entire structure look more three-dimensional and natural.
There's also a tip about nose contouring. Many people draw nose contour too straight and harsh, but you can try the "smile curve method." When drawing nose contour, make the lines slightly curved - this will look more natural and soft. But be careful not to make the curve too pronounced, or your nose will look strange.
For those who want their face to appear more delicate, I have a special technique. When contouring the jawline, don't extend the contour all the way to the chin - leave a small area at the front of the chin uncontoured. This makes the chin appear more prominent and the overall face shape more delicate and refined.
Common Mistakes
At this point, I must warn everyone about several easy pitfalls. The first is choosing colors that are too dark. I often see some girls choosing extremely dark contour shades in pursuit of dramatic effects, resulting in looks that appear like dirt smudged on their faces. Actually, truly sophisticated contouring should be subtle, like natural shadows.
The second common mistake is ignoring the importance of base makeup. Many people rush to contour before their foundation has fully absorbed, resulting in a very muddy effect. The correct approach is to wait until your base makeup is completely set before contouring - if you feel your base is too wet, set it with loose powder first.
Another mistake is contouring too large an area. Some people contour their entire cheeks, which makes the face look dirty. Contouring must be precisely positioned, only applied where needed. Remember, the purpose of contouring is to create dimension, not to darken your entire face.
Many people also make the mistake of overlapping contour and blush placement. This makes makeup look chaotic and can make the face appear muddy. The correct approach is to first determine your contour placement, then apply blush at an appropriate position above the contour - the two should be clearly distinguished.
Final Thoughts
After years of practice and exploration, I increasingly feel that contouring is a very personalized makeup step. Everyone has different face shapes and facial features, so naturally, suitable contouring methods differ. Rather than rigidly following others' methods, it's better to observe your own facial features and find the most suitable contouring positions and techniques for yourself.
The most important aspect of contouring is following natural light and shadow principles. We can often observe facial shadow positions under natural light to better understand where to apply contour. Also, take photos regularly in daily life and observe your face shape from different angles to better understand which areas need emphasis.
For beginners, I recommend starting practice with basic contouring positions and gradually exploring suitable intensity and range. Don't rush to achieve perfect results in one attempt - contouring skills require constant practice and adjustment. Try different techniques and products at home to find what works best for you.
Finally, I want to say that the most important thing about makeup isn't pursuing so-called perfection, but making yourself happy. Everyone is unique - there are no fixed standards or patterns. Finding methods that suit you and make you look more refined and natural is the true meaning of contouring.
I hope today's sharing helps more makeup beginners master contouring techniques. Remember, everyone can create natural, dimensional contour once they master the correct methods. Let's continue improving together on our makeup journey and create our own perfect looks!