
Opening Words
Sisters! Today let's talk about a super practical topic - contouring and highlighting! I know many sweethearts are most afraid of the contouring step when doing makeup, always feeling it's hard to master. Don't worry, as a veteran in the beauty community for many years, I'm going to introduce you to a new world of contouring!
Contouring is really a super important skill - after all, who doesn't want a delicate V-shaped face? But I've found many sisters have been scared off by those complicated tutorials online. Actually, contouring isn't that scary - the key is mastering the right method. I myself started as a clumsy beginner, and through continuous exploration, finally found the most suitable contouring method for myself.
Five Quick Steps
This 5-minute quick contouring method I'm sharing today is absolutely my favorite! This is my treasure method summarized from countless trials and errors, which I've been practicing for over three years. Whether doing makeup for myself or my girlfriends, the results are always amazing!
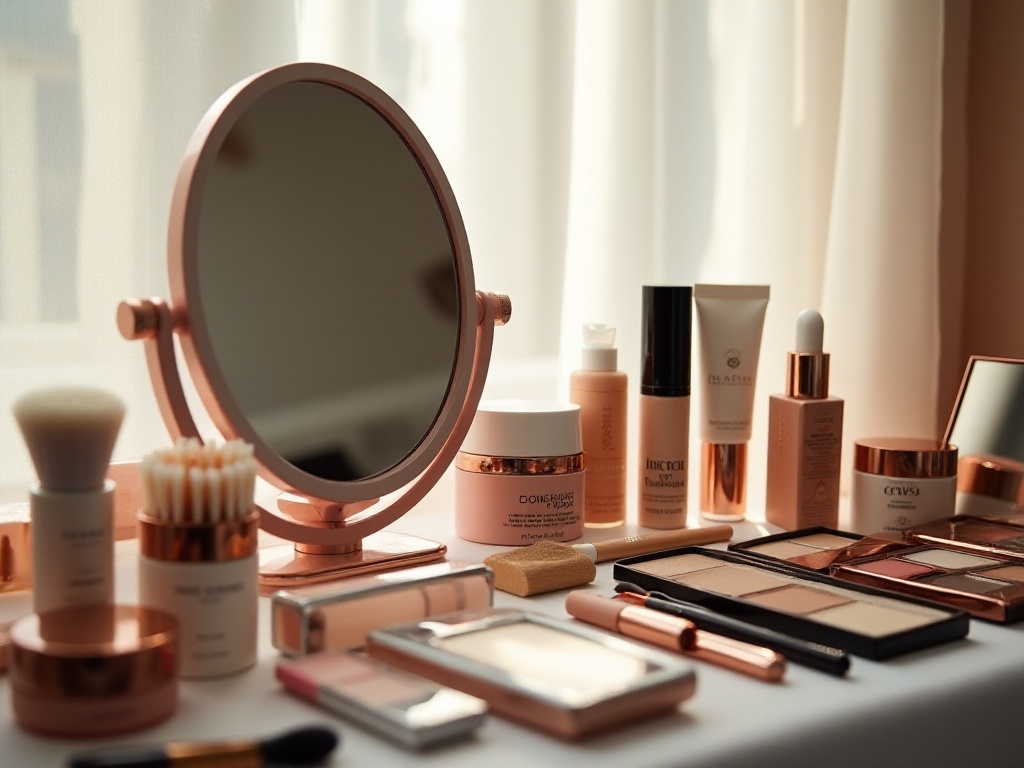
First step: even base makeup. This step is really important! You know what? I used to make this mistake often - uneven foundation made it impossible to blend contour products. When choosing foundation, you must be careful. Don't think expensive ones are necessarily better - the key is finding what suits your skin type. I suggest everyone try makeup before buying to see if it pills, gets too dry, or too oily.
When applying foundation, I love using beauty blenders because they can spread foundation evenly. Remember to blend from inside out to avoid enlarged pores. Use gentle pressure when blending - don't press too hard or you'll mess up the base. I usually put three small dots on my forehead, cheeks, and chin, then gently press and blend with the beauty blender.
Step two is determining contouring positions. This step is key to successful contouring! Everyone's face shape is different, so the focus areas for contouring naturally differ. Take me for example - I have a typical round face, so I pay special attention to contouring my temples and jawline. One of my girlfriends has a long face, so she focuses more on horizontal contouring to make her face look more three-dimensional.
When determining contouring positions, I suggest everyone carefully observe their facial features in the mirror. You can gently touch with your fingers to feel your facial contours. Once you've found the areas that need contouring, you can make light marks with an eyebrow pencil so you won't get confused when applying.
Step three is product selection and application. This step really tests one's skills! I remember when I first started learning contouring, I was confused by all the different products. Now I especially recommend powder contour products for beginners because they're really easy to control! Even if you accidentally apply too much, it's easy to fix.
When choosing contour products, color is very important. Generally, choosing a color one or two shades darker than your skin tone is most suitable. Too dark will look fake, too light won't achieve the contouring effect. I personally love slightly grayish dark brown - this color looks most like natural shadows.
When applying, always test the color on your hand first. I often see some sisters directly applying product on their face, which can really go wrong! I suggest everyone lightly pick up appropriate amount of product with a brush, test it on the back of your hand to see if the color looks natural and blends evenly.
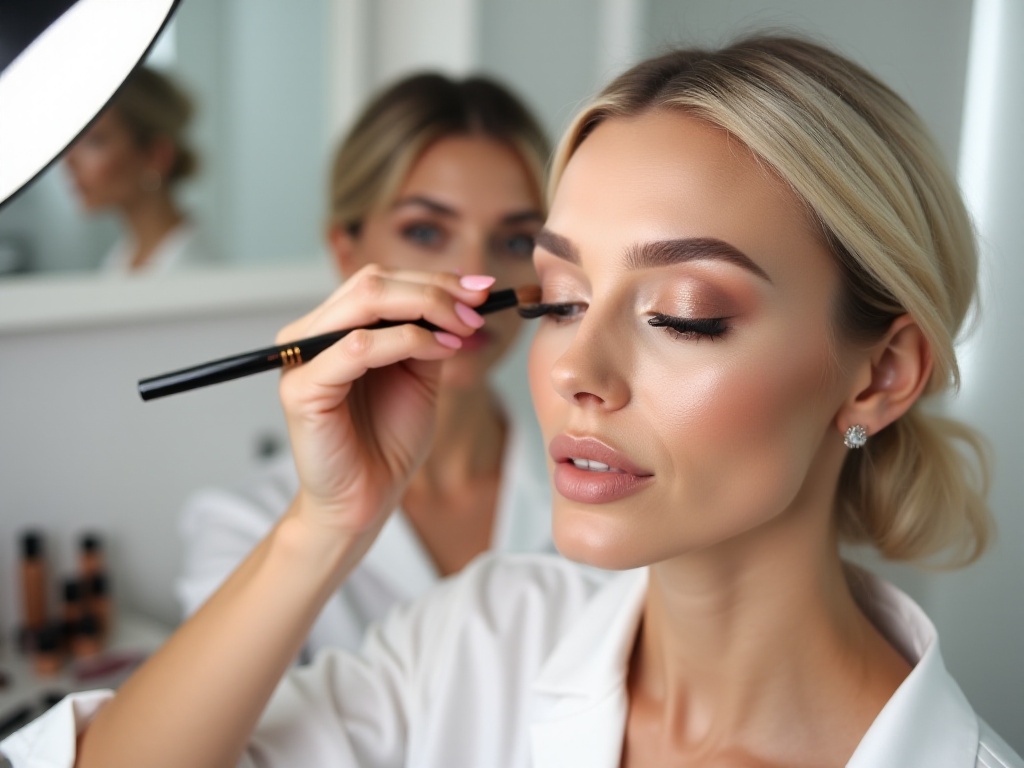
Step four is blending. This step is definitely the most technically demanding part of contouring! The most important thing about contouring is looking natural - there absolutely can't be obvious lines. I often compare contouring to watercolor painting - the color should blend naturally like water.
When blending, I suggest using a larger powder brush or dedicated contour brush. Choose brushes with soft bristles for natural blending. My blending method is: first use the contour brush to pick up appropriate amount of product and draw the general shape on the face, then use a clean powder brush to gently blend the edges until there are no obvious lines.
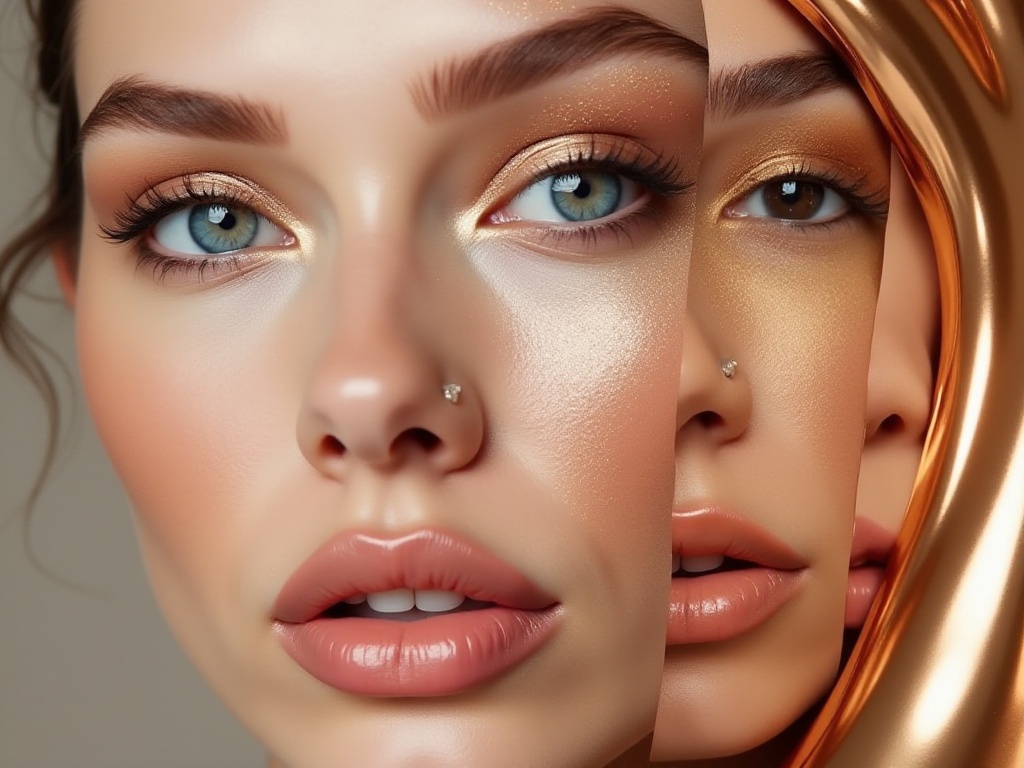
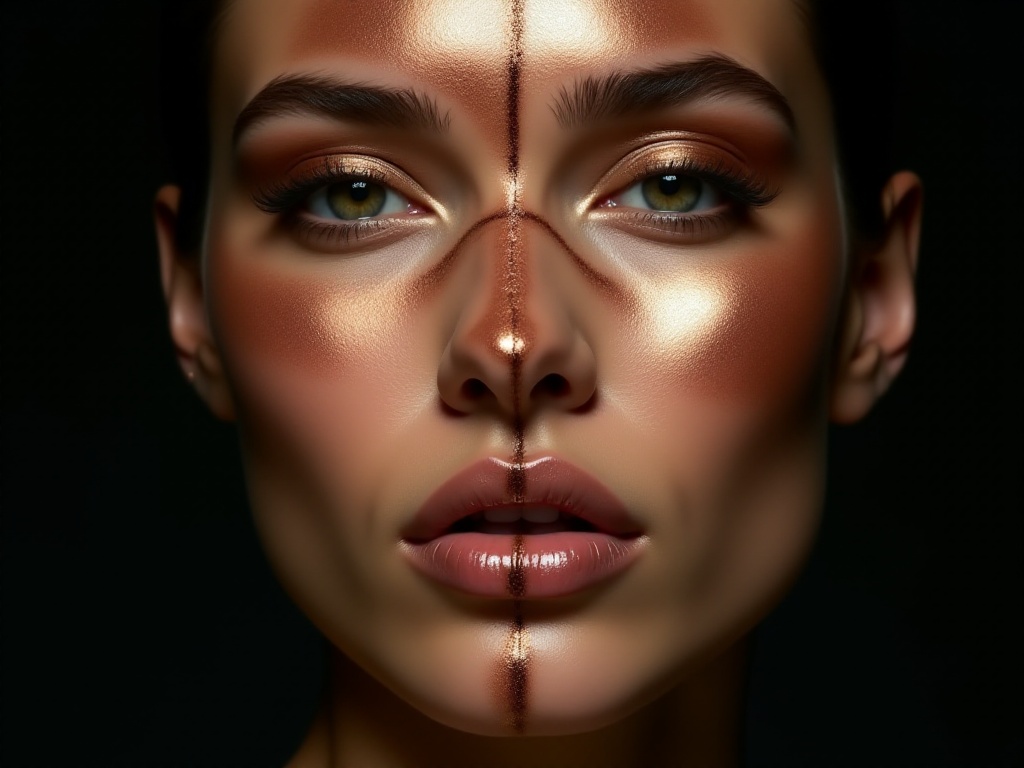
Step five is highlighting touch-ups. This is absolutely the most exciting step in the whole contouring process! Highlighting is like adding the finishing touch - it can instantly upgrade your whole makeup look. I usually add a bit of highlighter on positions like the bridge of the nose, under-eye triangle area, and apple of the cheeks, which instantly makes the whole face look more refined.
When choosing highlighter products, I suggest choosing ones with moderate pearl finish. Too sparkly will look exaggerated, not sparkly enough won't achieve the highlighting effect. I personally love cream highlighters because they can perfectly blend with the base makeup and look especially natural.

Face Shape Guide
Speaking of contouring, different face shapes really require different methods! I've found many sisters are troubled by their face shapes, so today let's talk in detail about contouring techniques for different face shapes.
Square-faced sisters need to pay special attention! The main characteristic of square faces is prominent jaw angles, so the focus of contouring is softening these angles. When contouring, you can deepen the sides of the forehead and jaw angles. I have a square-faced friend who contours this way, and she instantly looks much softer.
For square faces, make sure the contouring intensity is even - don't make one side heavier than the other. I suggest completing one side first, then carefully observing the effect in the mirror before contouring the other side. This ensures symmetrical results on both sides.
For round faces, the focus is creating vertical lines to make the face look more three-dimensional and elongated. When contouring, you can start from the ears and draw a diagonal line towards the middle of the cheeks. This line shouldn't be too straight - it should have a slight curve to look more natural.
I have a round face myself, so I especially understand round face concerns. Besides the basic contouring positions, I pay special attention to chin contouring. You can deepen the chin area slightly to make the face shape look more three-dimensional. But remember, chin contouring must be gentle - don't go too heavy or it will look fake.
For long faces, the focus is adding horizontal dimension. You can create shadows horizontally on the cheekbones to make the face look less long. At the same time, you can slightly deepen the chin area to make the face shape more balanced.
Heart-faced sisters are actually the luckiest because heart-shaped faces are naturally beautiful! When contouring, mainly focus on balance - you can slightly deepen the temple area to make the whole face shape more harmonious.
Key Areas
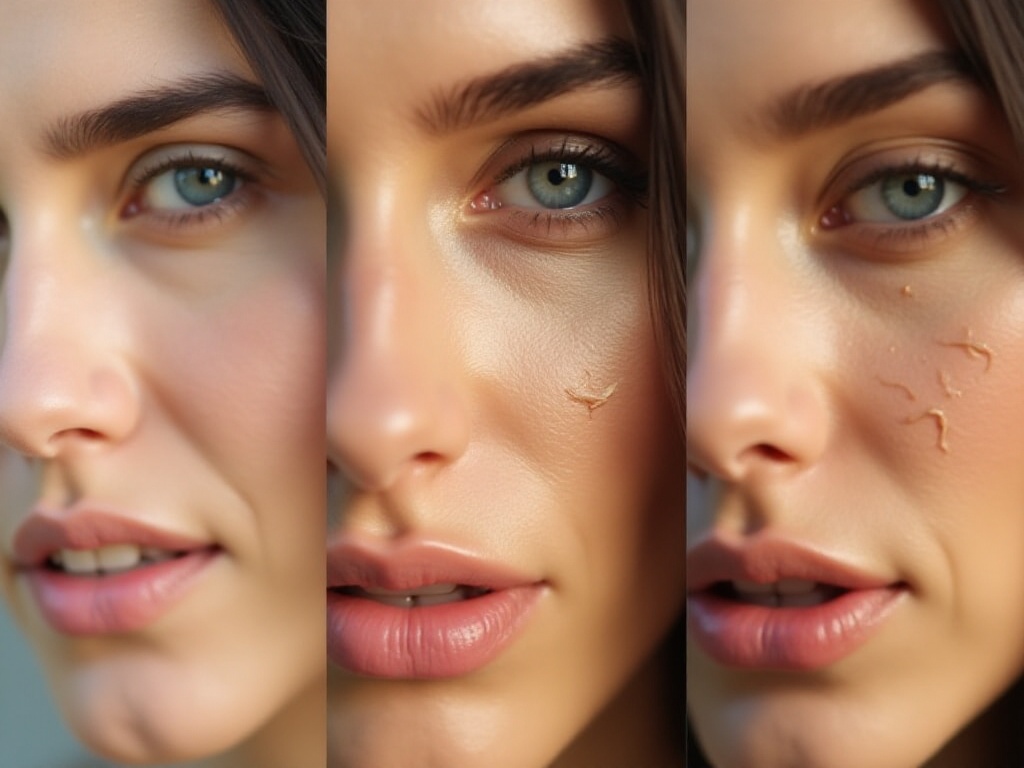
Speaking of key contouring areas, the forehead, cheekbones, and jawline are absolutely crucial! These three positions determine the three-dimensional effect of the whole face. I remember when I first started learning contouring, I practiced repeatedly on these three positions. Now I pay special attention to whether the transitions in these three areas look natural every time I do makeup.
Forehead contouring needs even intensity - don't make one side heavier than the other. I usually first use a contour brush to pick up appropriate amount of product and lightly draw shadows on both sides of the forehead, then blend with a clean powder brush. Forehead contouring must transition smoothly with the hairline - there shouldn't be obvious lines.
Cheekbone contouring best shows dimension. When contouring, first find the highest point of your cheekbones, then draw a diagonal line downward. This line shouldn't be too long or too short - adjust according to your face shape. Pay special attention when blending - the color must transition naturally.
Jawline contouring can instantly change face shape! Correct jawline contouring can make your face look instantly smaller. My method is: first feel the position of your jawbone with your fingers, then draw a line following the bone direction, then gently blend with a powder brush.
Nose contouring is also a concern for many sisters. Honestly, nose contouring is a bit challenging, but it's not that scary once you master the correct method. My most used method is: use a thin brush to draw two parallel lines along both sides of the nose bridge, then gently blend with a clean powder brush.
There are several key points to remember when contouring the nose: first, the lines on both sides must be symmetrical; second, don't draw the lines too thick; third, blend very carefully because the nose area is small and any mistakes will be obvious. I suggest taking photos to check the effect - this helps with adjustments.
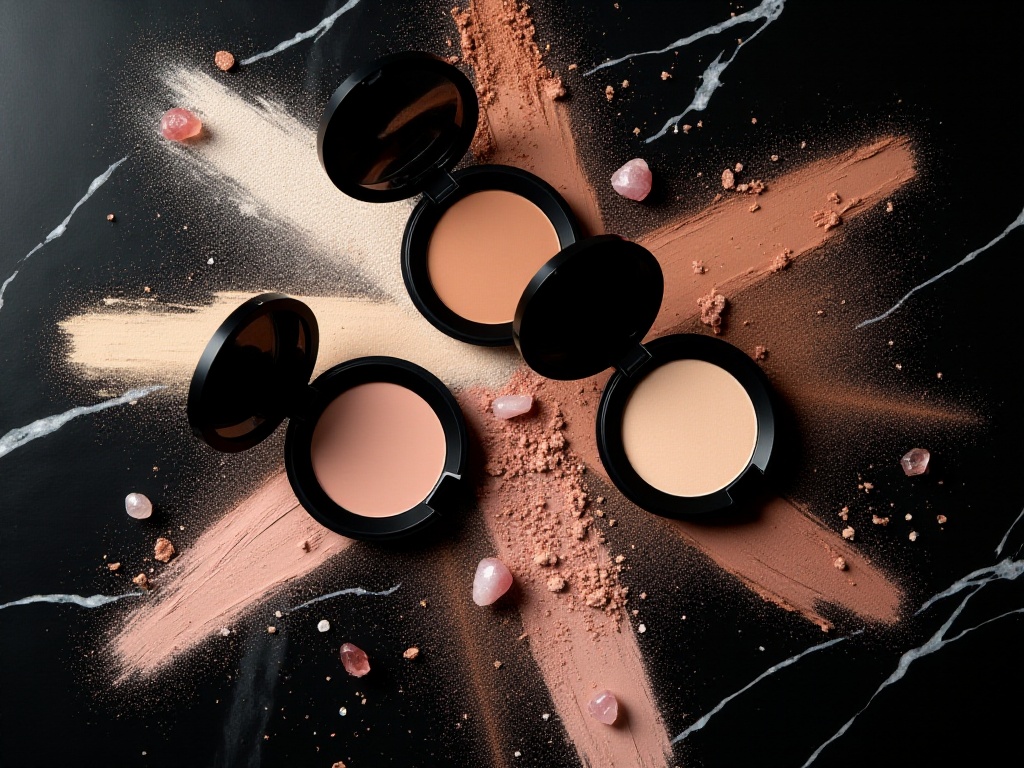
Product Recommendations
Speaking of contour products, there are really so many options in the market now - it's dazzling! But based on my years of experience, I think choosing contour products mainly depends on several aspects: texture, color, lasting power, and price.
Among cream products, I most recommend Westman Atelier's contour stick. Though this product isn't cheap, the texture is really amazing! It blends very well and doesn't disturb base makeup. Contouring with this product can achieve seamless results. It's especially suitable for sisters who want to create natural makeup looks.
If you're on a budget, MILK MAKEUP's matte contour stick is also a great choice. This product has great value for money, blends well, and the color looks natural. The only downside might be slightly less lasting power, but it's not troublesome to touch up.
For powder products, I love Charlotte Tilbury's contour powder most. This product's fineness is really unbeatable - there's no powdery feeling at all. Plus its color looks very natural, not fake at all. Using this product for contouring can easily create natural dimension.
For affordable products, I think Beauty Creations' contour palette is really the king of value for money! The colors are practical and the texture is good too. Though it might not be as fine as high-end products, it's completely sufficient for daily use.
Besides contour products, choosing suitable tools is also important. My commonly used contouring tools include: contour brush, powder brush, and beauty blender. Choose contour brushes with medium bristle firmness - too soft makes it hard to control intensity, too hard leaves brush marks. Powder brushes are mainly for blending, so choose ones with soft bristles. Beauty blenders are used to adjust how well contour products blend with base makeup.
Final Words
Contouring is both simple and complex. Simple because it's not difficult once you master the correct method; complex because everyone's face shape is different and needs to find the most suitable method.
Most importantly, remember that makeup should be something that makes you happy - don't put too much pressure on yourself. It's okay if today's makeup isn't perfect - just keep trying tomorrow.
Now every time I do makeup, I think of when I first started learning contouring - I was really all over the place. But through continuous practice and exploration, I can now easily handle various contouring techniques. So I want to tell all sisters who are learning: as long as you keep practicing, you'll definitely get better and better!
Oh right, I'm already preparing the next issue's content, planning to talk in detail about contouring techniques for different occasions. Like date makeup, work makeup, party makeup, etc. - the contouring focus is different for each occasion. Interested sweethearts must remember to follow me! Let's go further together on the path of beauty and become more and more beautiful!