
Opening Words
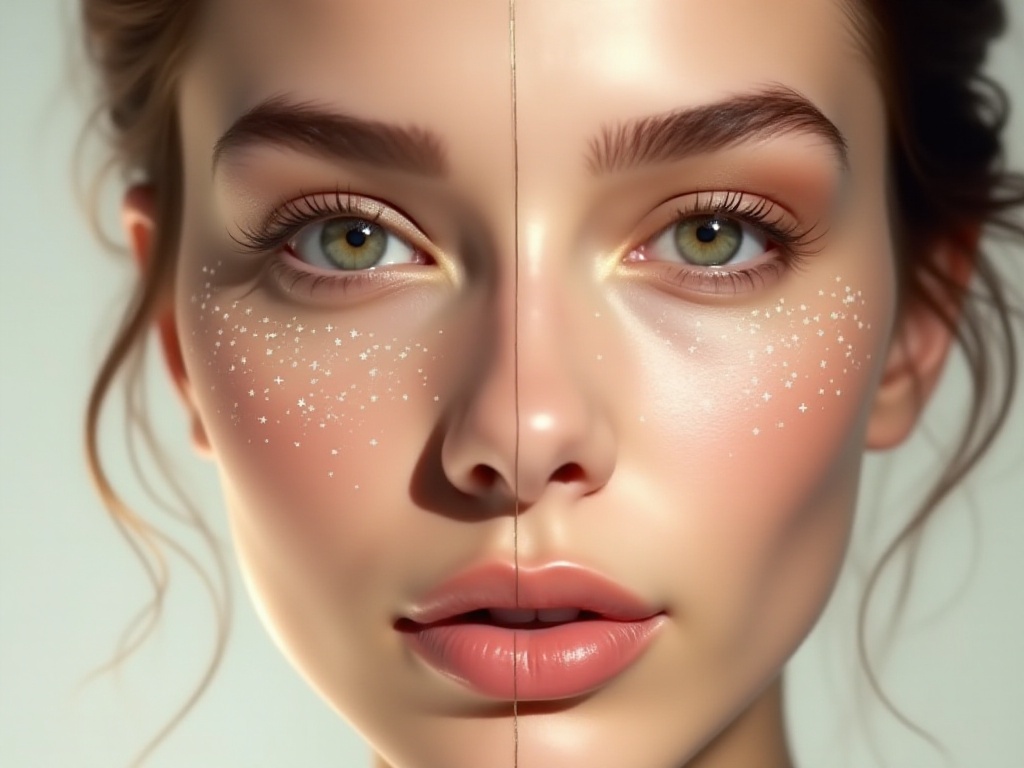
Dear beauties, have you ever felt that even with a perfect foundation, your face still looks ordinary and lacks dimension? Do you envy how others can look radiant in casual photos while feeling something's missing in yours? Today, I'll share a secret to instantly refine your facial features - the perfect combination of contouring and highlighting. As a seasoned makeup artist, I can confidently tell you that mastering these two techniques will instantly elevate your beauty game!
Basic Understanding
You've probably heard the terms contouring and highlighting often, but do you truly understand their functions? Many might think these techniques are difficult to master, but they're not - let me break it down for you.
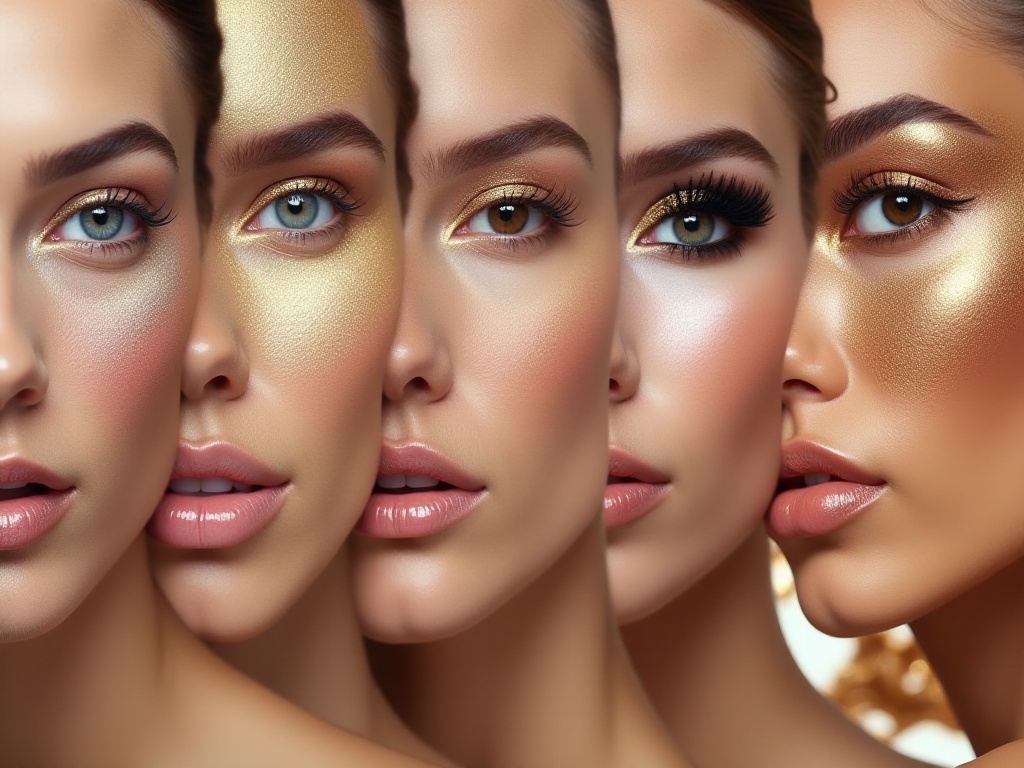
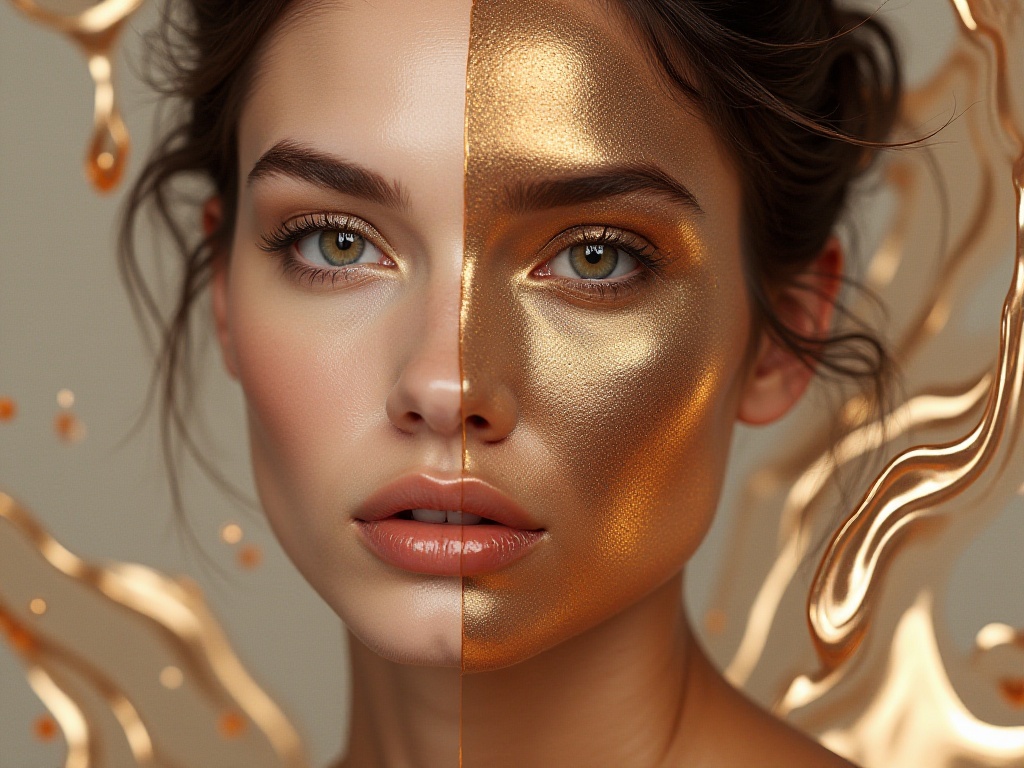
Simply put, contouring creates dimension by using darker products on specific areas of the face to make them appear more recessed, creating a sculpted look. It's like adding shadows when drawing to create depth. Highlighting does the opposite - it uses lighter products on high points to make certain areas more prominent, giving the face more fullness and radiance. It's like adding light sources to make the overall look more luminous and captivating.
Have you noticed how celebrities' makeup always looks especially refined under lighting and on camera? That's the magic of contouring and highlighting. When I first started learning makeup, I found contouring particularly challenging, worried about making my face look muddy. After years of experimentation, I finally found the most suitable contouring method for Asian features. Honestly, I made plenty of mistakes at first, like applying contour too heavily making me look aged, or using too much highlighter making my face look oily. But don't fear failure, because only through continuous trial and error can we find what works best for us.
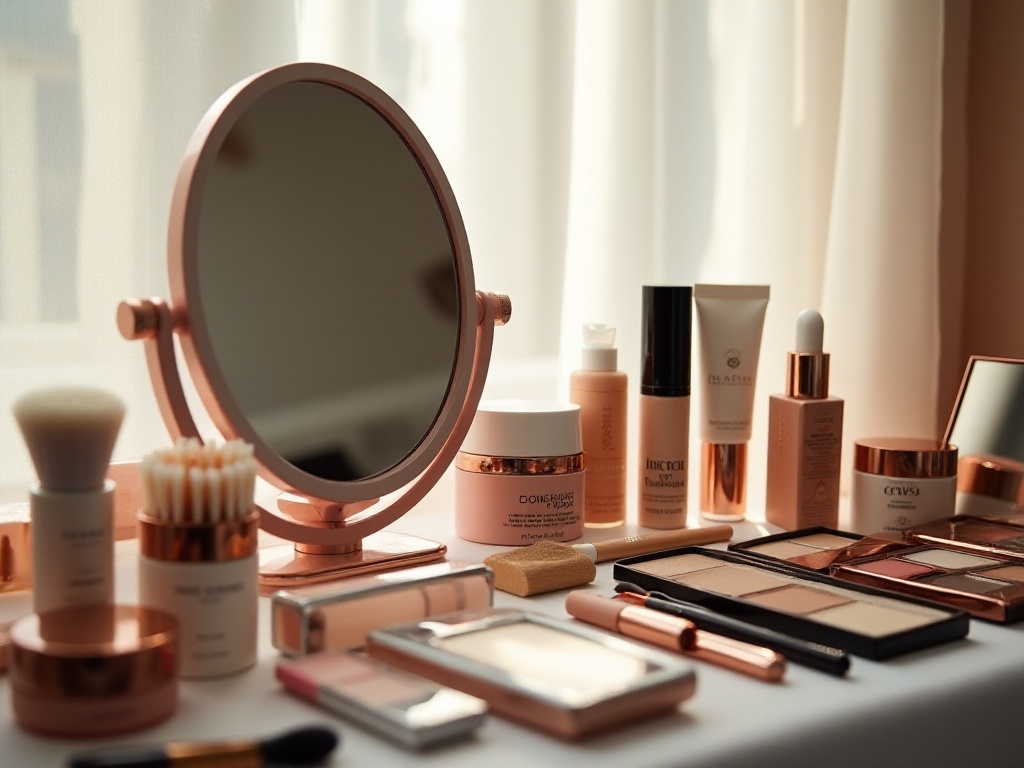
Product Selection
Choosing the right contouring products is quite intricate. I recommend beginners start with powder products as they're easier to control. Once you're more experienced, cream products can create a more natural, seamless finish. Powder products are beginner-friendly and less likely to go on too heavy, though they may have fallout. Cream products are more long-lasting and skin-like but require skill to blend perfectly.
Face Shape Strategies
Everyone's face shape is unique, so contouring focus points differ. For square faces, our main goal is to soften the angles. How exactly should we do this?
First, create shadows along the sides of the forehead starting from the hairline to make it appear narrower. Remember to use gentle strokes and gradually blend the product without leaving harsh lines. Then, from the ear towards the center of the face, draw a diagonal line below the cheekbones, but remember not to extend past the midpoint. Finally, slightly deepen the jawline to make the chin appear more refined.
For round faces, the focus is on creating vertical dimension. Add deeper shadows at the temples, then create flowing curves on the sides of the cheeks to make the face appear more elongated. Also, slightly intensify the chin area to make the lower face appear more delicate.
For long faces, focus on horizontal contouring. Appropriately deepen the forehead and chin areas to make facial proportions more harmonious. Also, extend the cheekbone contour slightly outward to make the face appear fuller.
Highlighting positions are relatively fixed. Generally, the center of the forehead, bridge of the nose, apple of the cheeks, and chin tip are suitable for highlighting. However, note that different face shapes may require adjustments in the range and intensity of highlighting. For instance, those with round faces can extend their cheek highlighting slightly outward to create more dimension.
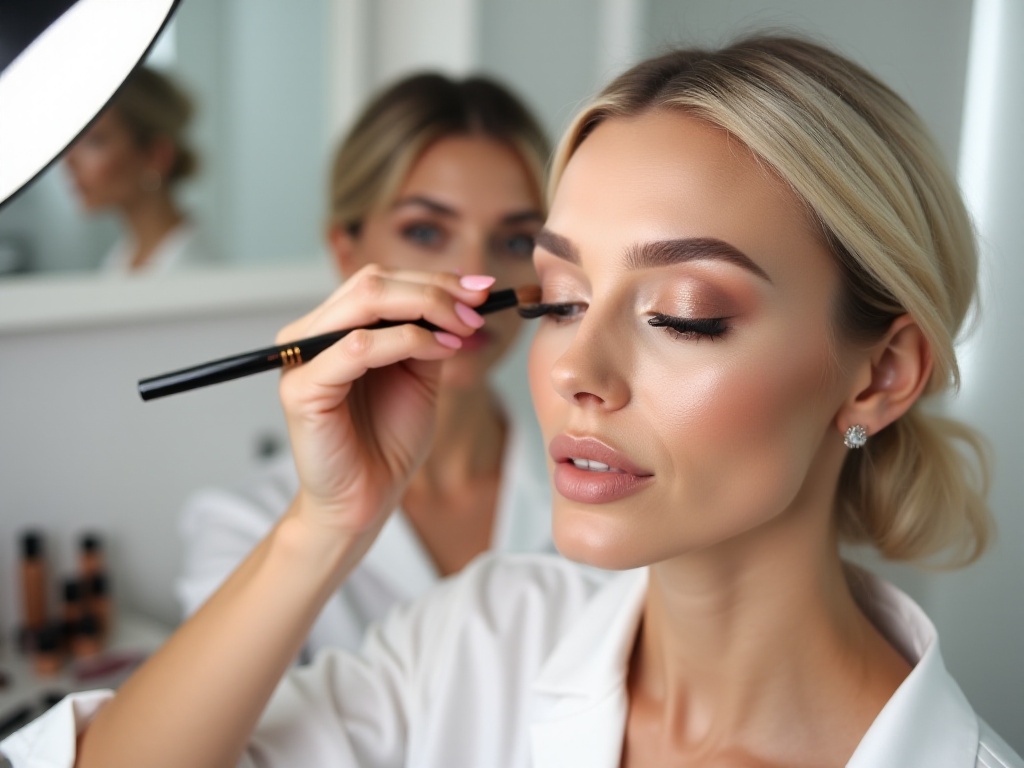
Quick Start Guide
I know many of you are rushed for work, so I've prepared a five-minute quick contouring and highlighting tutorial. First, ensure your foundation is completely set, then follow these steps:
Step one, lightly sweep contour product along your hairline, remembering to blend without leaving obvious marks. The key is using the right amount of product - too much looks fake, too little won't show effect. Start with a small amount and gradually build up if needed.
Step two, draw a diagonal line below your cheekbones - this is the most important step, ensuring even pressure throughout. When drawing the line, smile to find your apple of the cheeks, then draw below it. Remember not to draw too low or it will make your face appear droopy.
Step three, lightly contour the sides of your chin. Be especially careful not to apply too heavily here, as chin contour can easily look muddy. Just lightly sweep with remaining product.
Step four, apply highlighter to the center of your forehead, bridge of nose, apples of cheeks, and chin tip. Use highlighter moderately - too much looks oily, too little won't show. Start with a small amount and build up as needed.
Final step, lightly dust your entire face with powder brush to perfectly blend all products. This step is crucial for making your makeup look natural and seamless. If any contour appears too heavy, you can also lightly dust over it to soften.
Common Mistakes
The most common contouring pitfalls are choosing wrong shades and wrong placement. Many think darker contour is better, but that's not true. For Asian skin, choose products one to two shades darker than your skin tone. If you choose too dark, it can look fake, like there's ash on your face.
As for placement, remember contouring isn't about drawing lines but creating natural shadows. Many apply contour in obvious straight lines, which looks very rigid. The correct approach is to blend the product to naturally merge with your skin tone.
Another common mistake is overlapping contour and highlight placement. These products create dimension, and if overlapped, they not only lose effectiveness but make makeup look strange. Remember, contouring creates shadows, highlighting emphasizes high points - they should be used in different areas.
Many also neglect neck contouring. If you contour your face but completely ignore your neck, it creates an obvious disconnect. So after facial contouring, lightly sweep remaining product over your neck for a more natural overall look.
Advanced Techniques
Once you've mastered basic contouring and highlighting, you can try more advanced techniques. For example, nose contouring is quite technical. My tip is: use a very fine brush, start from the brows, draw two very light lines, then gently blend with your fingers - this creates a naturally lifted nose appearance.
Besides basic contour and highlight positions, there are some lesser-known but effective spots. For instance, adding a touch of highlight under the brow bone can make eyes appear brighter and more awake. Or slightly deepening the philtrum can make lips appear more dimensional.
For longer-lasting makeup, try layering different textures of products. For example, start with cream contour as a base, then set with powder contour - this creates a more long-lasting, natural effect. Similarly, layer liquid highlighter under powder highlighter for more lasting glow.
Adjust contour and highlight intensity for different occasions. For daily work, keep contour lighter and focus on highlighting. For important events or photos, contour can be slightly heavier to create more dimension on camera.
Final Thoughts
Contouring and highlighting are like yin and yang in makeup - complementary and essential. Through consistent practice, you'll definitely find methods that work best for you. Remember, makeup isn't about achieving perfection, but showing your most authentic and beautiful self.
In mastering these techniques, patience is key. Everyone's face shape and skin tone are different, so suitable methods will vary. Don't give up after one failure - with more practice, you'll find what works for you.
Also, pay attention to product selection and application methods. Good tools can make work easier, but even the best products won't work if used incorrectly. Choose products based on your needs and usage habits.
Finally, I hope every beauty finds their perfect makeup look. Remember, makeup isn't about changing yourself, but better presenting your beauty. Once you master the right techniques, you can confidently handle makeup for any occasion.
Dear beauties, do you have your own contouring secrets? Feel free to share your experiences in the comments below. Makeup is an art requiring continuous learning and improvement - let's continue this beauty journey together!
I'll bring more practical makeup tips next time. See you then!